
Learn how to fold a timeless origami lily flower with this simple tutorial!
Perfect for Mother's Day, Valentine's Day, or even as part of a beautiful paper bouquet, this classic design is sure to impress.

Jump to:
- Why You'll Love This Pattern
- Exclusive Content Just For You
- Skill Level
- Materials Needed
- Instructions
- Tips For Success
- Common Mistakes & How To Avoid Them
- Color, Paper Ideas, and Variations
- FAQ
- Other Paper Crafts You Might Like To Try:
- Helpful Origami Tips
- Useful Paper Craft Terms
- Stay Connected
- Other Patterns You Might Like To Try:
- Comments
This origami lily flower is a classic project that combines simplicity and elegance, making it one of the most beloved origami designs.
With just one sheet of paper, you can create a stunning paper flower that works wonderfully as a gift, decoration, or even part of a larger craft project.
Its curved petals and slender stem make it ideal for special occasions like Valentine's Day, Mother's Day, or any time you want to bring a bit of handmade charm to someone's day.
What makes the origami lily so delightful is its versatility.
You can create vibrant red lilies for Valentine's Day, soft pastel hues for springtime bouquets, or even metallic paper versions for Christmas or New Year's celebrations.
Whether displayed as a single stem in a vase or combined with other origami flowers in a bouquet, the lily adds a touch of grace and creativity to any setting.
If you're new to origami, don't worry - the lily's folds are simple and forgiving, and this step by step origami tutorial makes it a great project for beginners.
For experienced crafters, it's a chance to experiment with colors, paper textures, and arrangements to create something truly unique.
Ready to make a lasting impression? Let's get started!

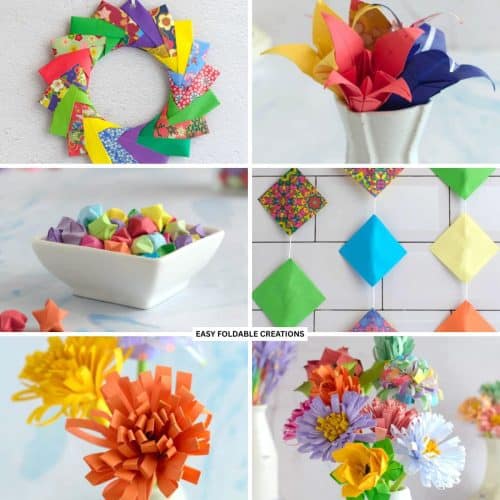
If you are after some other easy to make paper flowers, you might like to try these Paper Tulips, Traditional Origami Rose, Easy Origami Lotus, Simple Origami Flower, or Day Lily Origami Flower.
You can mix and match and make a cute flower bouquet of them!
Why You'll Love This Pattern
- Timeless elegance: The origami lily flower is a classic design that exudes sophistication and works for any occasion.
- Perfect for gifting: Whether it's Valentine's Day, Mother's Day, or just because, these handmade lilies are a heartfelt gesture.
- Easy to learn: With clear steps and minimal materials, this flower is accessible even for beginners.
- Year-round appeal: Suitable for Easter, Christmas, birthdays, or everyday decor, this versatile flower never goes out of style.
- Budget-friendly decor: Create beautiful arrangements for events like weddings or parties without breaking the bank.
- This project is a great activity to enjoy with family, friends, or kids, making memories while creating art.
Exclusive Content Just For You
Not sure what you want to make next, but feeling a bit creative? Or maybe you've been searching for a pattern that sparks something new. We've got a few ideas waiting for you.
The Fold Collective, Easy Foldable Creations' community, provides you with a library of exclusive ad-free video tutorials, printable PDF patterns, helpful tips, and more so you can improve your skills and enjoy crafting in your own time.
Skill Level
★☆☆☆☆ (Very Easy)
Materials Needed
One sheet of square paper, ideally 6x6 inches, but you can adjust the size based on your needs
Paper Size Options
- Square origami paper, e.g. 6x6 inch (15cm x 15cm) paper for a medium sized lily.
- Larger paper: Use 8x8 inches (20cm x 20cm) or bigger if you want to make a larger water lily for to use as a standalone decoration.
Paper Type & GSM
- For clean, crisp folds, use origami paper or lightweight paper around 60-80 GSM. Heavier paper may result in bulkier folds that don't lie flat.
Instructions
Step 1: Start with the color you want your lily to be facing up. Arrange the paper to sit like a diamond.
Step 2: Fold the top point down to meet the bottom point.
Step 3: Unfold previous step.
Step 4: Fold the left point to meet the right point.

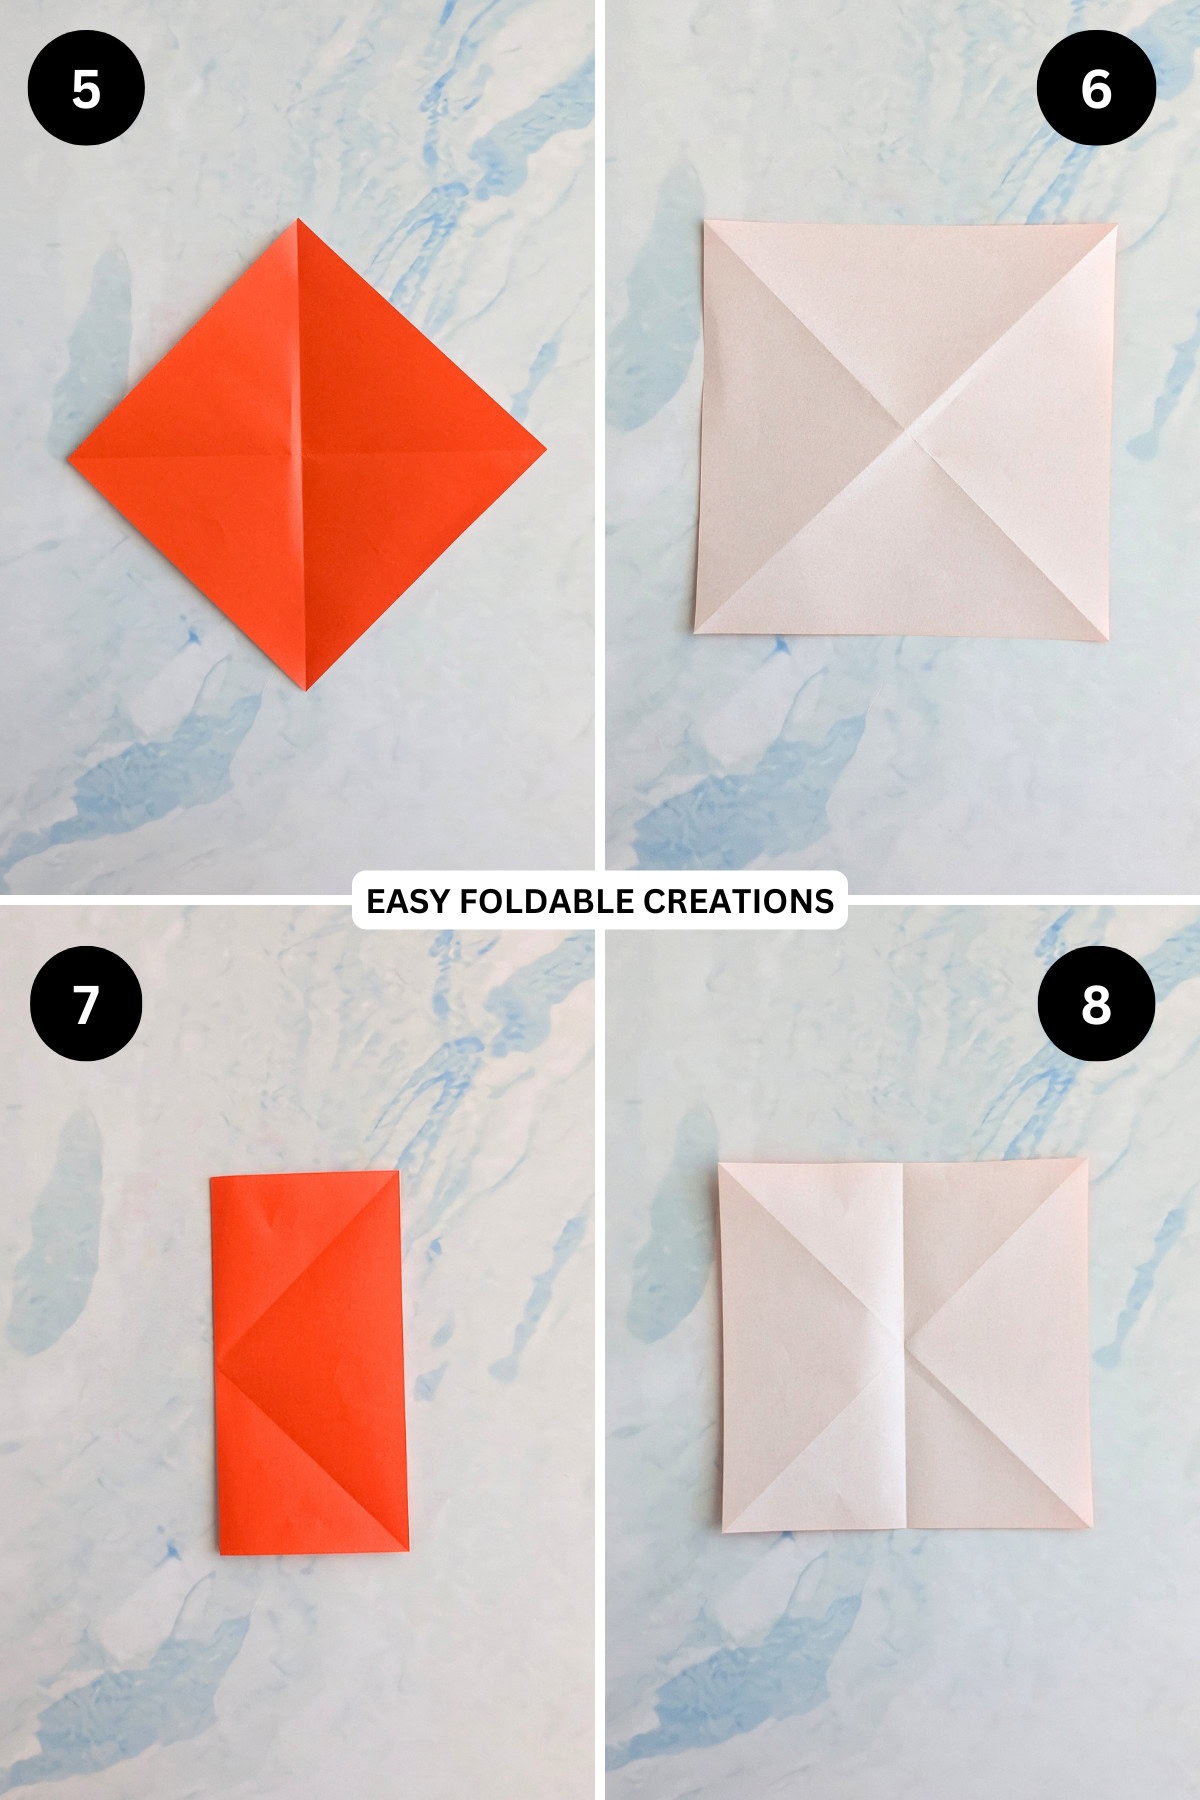
Step 5: Unfold previous step.
Step 6: Flip your paper over from left to right. Arrange your paper to sit as shown.
Step 7: Fold the paper in half from left to right.
Step 8: Unfold previous step.
Step 9: Fold the paper in half from top to bottom.
Step 10: Unfold previous step.
Step 11: Rotate your paper 45 degrees so it sits like a diamond.
Step 12: Bring the left, right, and top points down to meet the bottom corner. Start with the left and right points together, you will find the paper will collapse on itself as you bring them towards the bottom point.

Step 13: Rotate your paper 180 degrees so that the open edges are away from you.
Step 14: Fold the bottom right edge of the paper (top layer only) to meet the middle crease.
Step 15: Unfold previous step.

Step 16: Open out the top right side of the paper slightly and then squash fold the bottom right edge towards the left. The crease you made in step 14 will become the left edge of the new flap.
Step 17: Flip your paper over and repeat steps 14 to 16.
Step 18: Turn the left edge of the paper to the right side (like turning a page in a book).

Step 19: Flip your paper over and repeat previous step.
Step 20: Repeat steps 14 to 16.
Step 21: Flip your paper over from left to right.

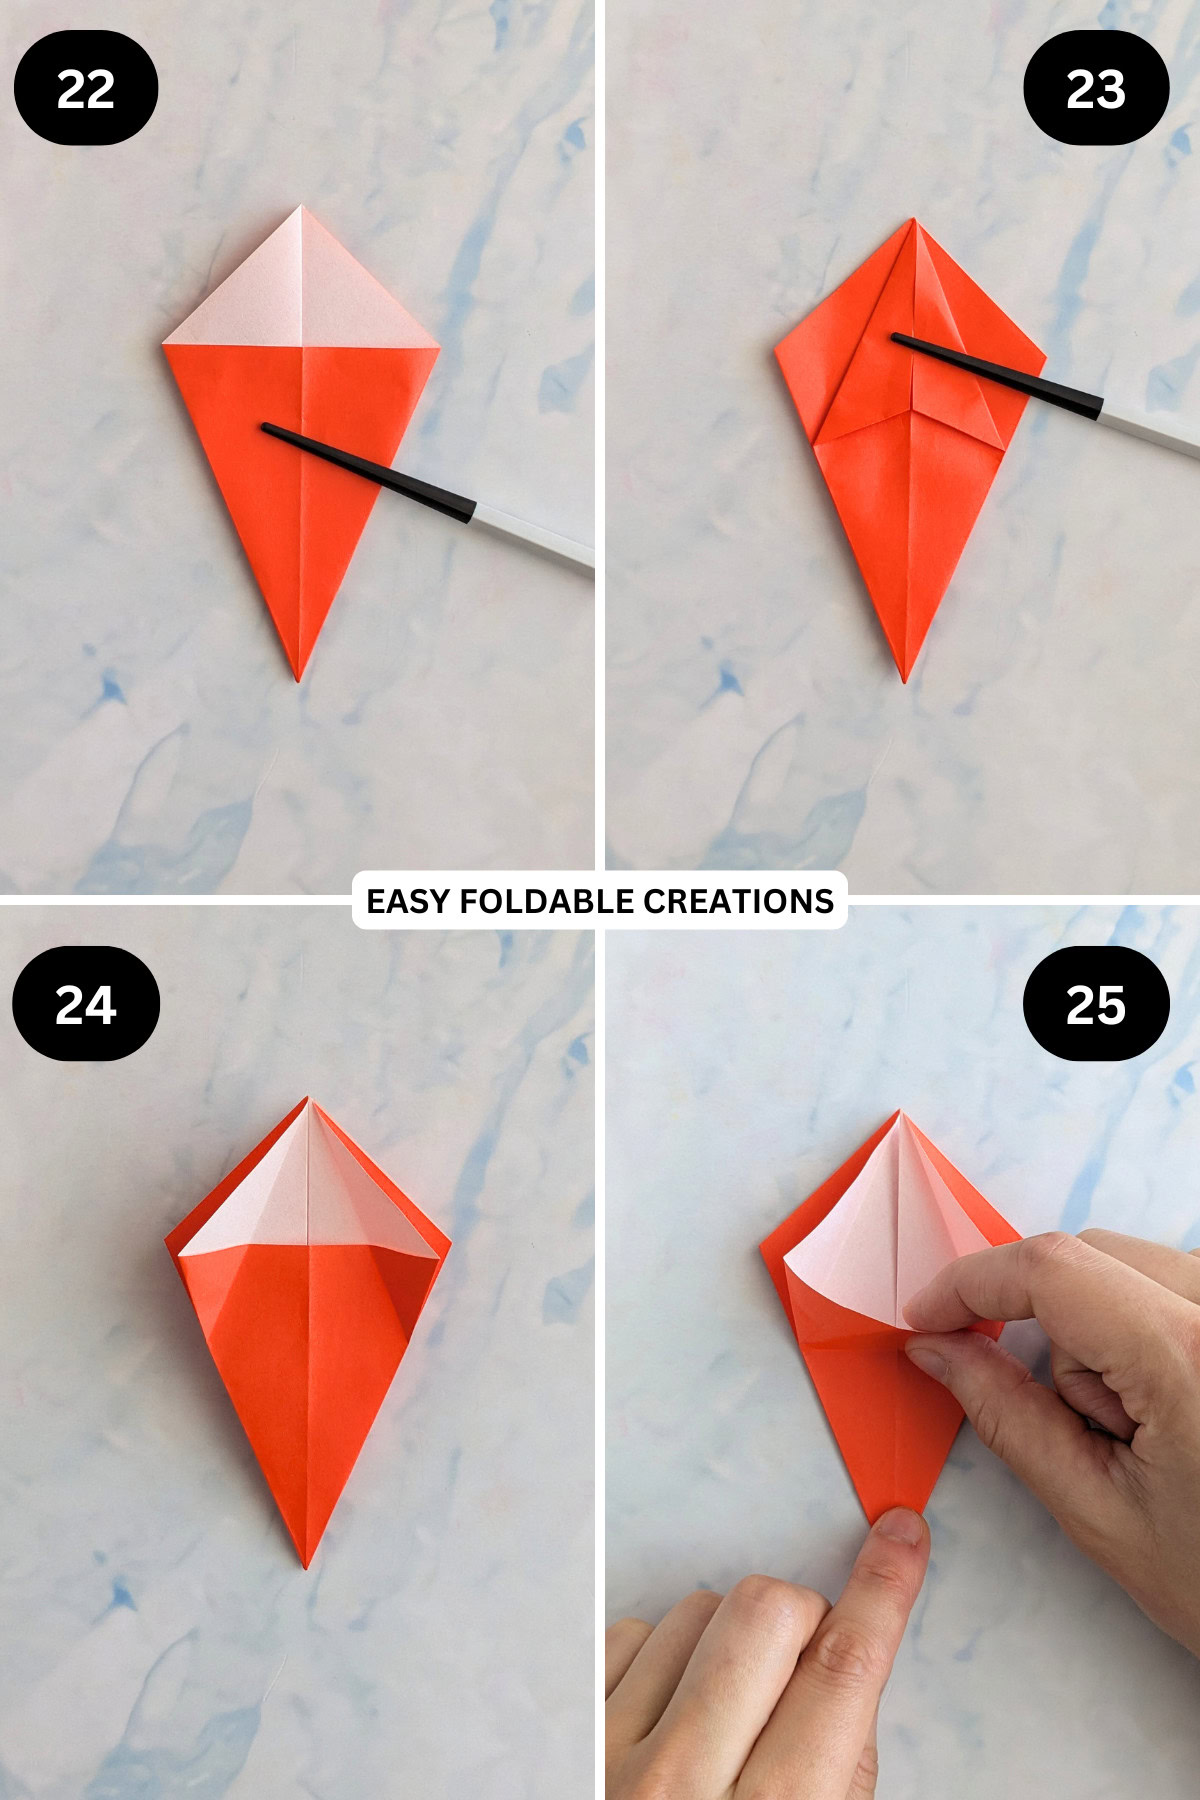
Step 22: Repeat steps 14 to 16.
Step 23: Fold the top left and right edges (top layer only) to meet the middle crease.
Step 24: Unfold previous step.
Step 25: We will now make a petal fold. To do this, pull down the top layer and fold the sides to the middle along the existing crease lines.
Step 26: Fold the triangle flap upward.
Step 27: Flip your paper over and repeat steps 23 to 26.

Step 28: Turn the left edge of the paper to the right.
Step 29: Flip your paper over from left to right. Once again, turn the left edge of the paper to the right.
Step 30: Repeat steps 23 to 26 for both sides.
Step 31: Turn the right edge of the paper (top layer only) to the left.

✨ You're almost there! ✨
To unlock the final steps of the photo tutorial and complete your pattern, create a free account with Grow.me. below.
Make sure you tick the box to subscribe to our newsletter and stay up to date with the latest patterns, tips, and more!
Once you're signed up, you'll get instant access to finish your project with the photo tutorial and enjoy exclusive content in the future.
Already signed up? Hit the button below and select 'Switch to Log In' to pick up where you left off and finish your project!
Step 32: Flip your paper over and repeat previous step.
Step 33: Fold the bottom left and right edges (top layer only) to meet the middle.
Step 34: Flip your paper over and repeat previous step.
Step 35: Turn the left edge over to the right.

Step 36: Flip your paper over and once again turn the left edge to the right.
Step 37: Repeat step 33 for both sides.
Step 38: Gently open out your lily by curling the petals outward. For a more defined curl, you could use a pencil.

Step 40: Completed origami lily.

Tips For Success
Go slow with the petals: The curling of the petals is the highlight of this flower, so take your time for a smooth finish.

Common Mistakes & How To Avoid Them
Always double-check your folds as you progress to maintain symmetry.
Be gentle when shaping them and make sure each petal gets the same amount of attention.
Adjust the folds at the base to give the flower more lift and volume.
Color, Paper Ideas, and Variations
- Valentine's Day: Go for red, pink, or even heart-printed paper for a romantic touch.
- Mother's Day: Soft pastel hues like lavender, blush, or cream create an elegant bouquet.
- Christmas: Try metallic green and gold paper for a festive yet unique holiday decoration.
- Bright greens, oranges, and yellows make for a vibrant floral display.
FAQ
Gently roll each petal over a pencil or similar tool to give them a soft, natural curve.
Absolutely! Use two-tone paper or layer multiple lilies in different colors for a striking effect.
A 6-inch x 6-inch (15 cm x 15 cm) sheet creates a standard-sized lily, but you can adjust based on your desired size.
Other Paper Crafts You Might Like To Try:
Helpful Origami Tips
If you're curious to learn more about origami, you might like to look at our basic guides on how to make some common origami folds.
Start with the valley fold and mountain fold-these are the foundation of most origami models.
Once you're comfortable, you might like to try the petal fold for 3D shapes, and explore the bird base and square base for more complex designs.
The water bomb base is also great for creating inflatable or geometric models, like this inflatable origami rabbit.
Useful Paper Craft Terms
Want to learn a little more about paper crafts and origami?
We've made this helpful printable just for you. It explains common terms and helpful tips you might come across when you are folding origami or making a paper craft project.
You can download the useful paper craft terms printable PDF here.
Stay Connected
Made this pattern? Let us know how it went in the comments below!
Pin this post - Pin now to take your paper crafting skills to the next level.
Share on Instagram or Facebook - Capture the beauty of your finished paper craft project and share it on Instagram or Facebook! Tag us @easyfoldablecreations so we can see your work!

On the hunt for more paper craft patterns like this one?
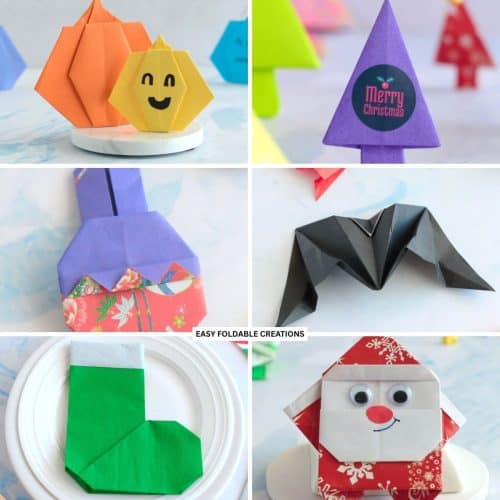
Try these origami flowers, simple paper flower, hexagon DIY pen holder, lucky star origami Christmas tree, origami bow, origami box with lid, origami chicken egg cup, origami Santa hat, pleated paper DIY gift bags, origami bowl, origami basket, 3D origami angel, standing napkin fold, rectangle origami box with lid, or paper flowers.
Other Patterns You Might Like To Try:
Looking for other easy patterns like this? Try these:
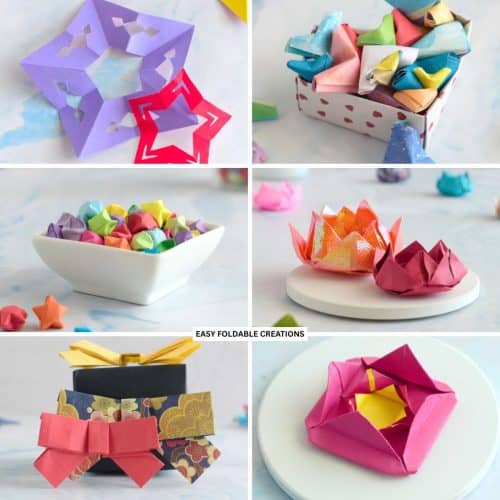
- Minimalist Seasonal Paper Decoration Ideas
- DIY Paper Decor Ideas For Every Season
- Wedding Confetti Alternatives That Are Venue Friendly
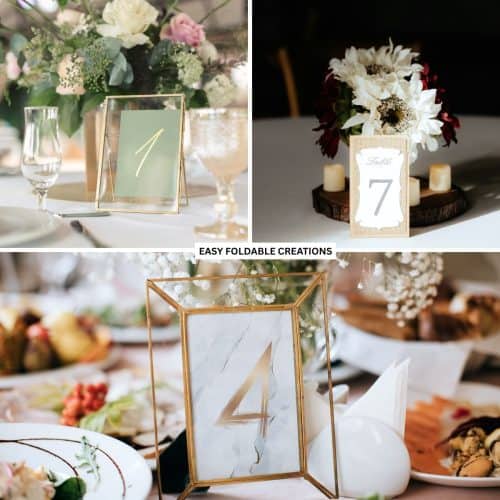
- DIY Wedding Table Number Ideas Using Paper
- DIY Paper Wedding Place Card Ideas You Can Make Yourself
- Gift Wrapping Topper Ideas
- Last Minute Gift Wrapping Ideas That Still Look Beautiful and Thoughtful
- Gift Wrapping Ideas For Oddly Shaped Gifts


Laura says
I'm glad I came across your site. I've followed a few of your tutorials now and they are so easy to follow