
The mountain fold is one of the most essential folds in origami, acting as the opposite of the valley fold.
Instead of creating a dip, this fold forms a peak, like a tiny mountain ridge.
Many origami designs rely on both valley and mountain folds to take shape. Mastering this simple technique will help you build more complex models with confidence.
Let's get started!

Jump to:
If you've already learned the valley fold, then understanding the mountain fold will be easy-it's essentially the reverse!
A mountain fold is a fundamental origami technique where the paper is folded outward to form a raised ridge or peak. It is commonly used alongside valley folds as a basic building step in most origami designs.
Instead of folding the paper forward to create a "V" shape, you fold it backward, forming a peak.
This small difference plays a huge role in origami, as many models require both types of folds to create depth and structure.
The mountain fold is commonly used in precreasing, a technique where folds are made before shaping a model.
It also appears in basic origami bases like the square base and bird base.
Learning to switch between valley and mountain folds is key to improving your origami skills.
If you're just starting out, be sure to check out our collection of easy origami for beginners for simple projects that use this fold.
Now, let's go step by step to create a perfect mountain fold.

Exclusive Content Just For You
Not sure what you want to make next, but feeling a bit creative? Or maybe you've been searching for a pattern that sparks something new. We've got a few ideas waiting for you.
The Fold Collective, Easy Foldable Creations' community, provides you with a library of exclusive ad-free video tutorials, printable PDF patterns, helpful tips, and more so you can improve your skills and enjoy crafting in your own time.
Skill Level
★☆☆☆☆ (Very Easy)
Materials Needed
1 square sheet of origami paper
Instructions
Step 1: Start with the color you want on the outside facing up.
Step 2: Fold the top edge of the paper away from you (behind) to meet the bottom edge. Once you match the edges, crease your paper.
Step 3: Completed mountain fold. Note: Mountain folds can occur in many different forms, more than just folding the paper like we just did.
The basis of a mountain fold is typically when the paper is folded into an inverted "v" shape (like a mountain peak) when you unfold it.

Common Uses
The mountain fold is used in many origami projects, including:
- Paper Leaf Envelope - A stylish origami envelope with a leaf-shaped flap.
- Origami Fox - A fun, beginner-friendly animal model that requires both valley and mountain folds.

Related Folds
Now that you know the mountain fold, try these next:
- Valley Fold - The opposite of a mountain fold, creating an inward crease.
- Square Base Fold - A fundamental origami base that combines both mountain and valley folds.
- Blintz Fold - A technique where all four corners of a square are folded to the center.
Helpful Origami Tips
If you're curious to learn more about origami, you might like to look at our basic guides on how to make some common origami folds.
Start with the valley fold and mountain fold-these are the foundation of most origami models.
Once you're comfortable, you might like to try the petal fold for 3D shapes, and explore the bird base and square base for more complex designs.
The water bomb base is also great for creating inflatable or geometric models, like this inflatable origami rabbit.
Useful Paper Craft Terms
Want to learn a little more about paper crafts and origami?
We've made this helpful printable just for you. It explains common terms and helpful tips you might come across when you are folding origami or making a paper craft project.
You can download the useful paper craft terms printable PDF here.
Stay Connected
Made this pattern? Let us know how it went in the comments below!
Pin this post - Pin now to take your paper crafting skills to the next level.
Share on Instagram or Facebook - Capture the beauty of your finished paper craft project and share it on Instagram or Facebook! Tag us @easyfoldablecreations so we can see your work!

Other Patterns You Might Like To Try:
Looking for other easy patterns like this? Try these:
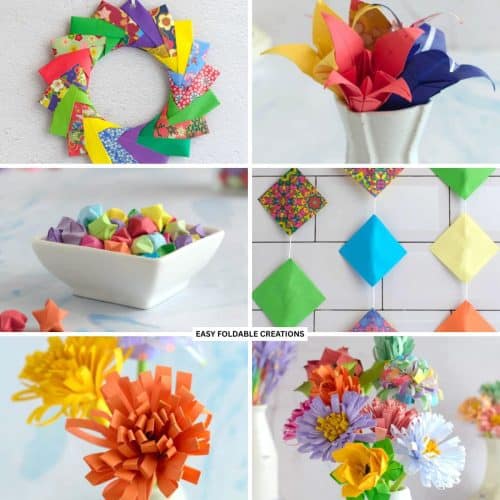
- Minimalist Seasonal Paper Decoration Ideas
- DIY Paper Decor Ideas For Every Season
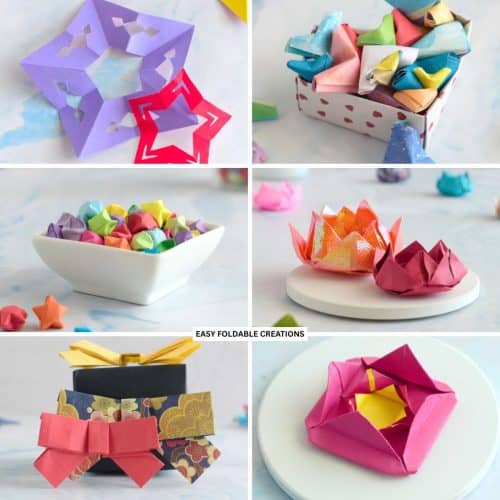
- Wedding Confetti Alternatives That Are Venue Friendly
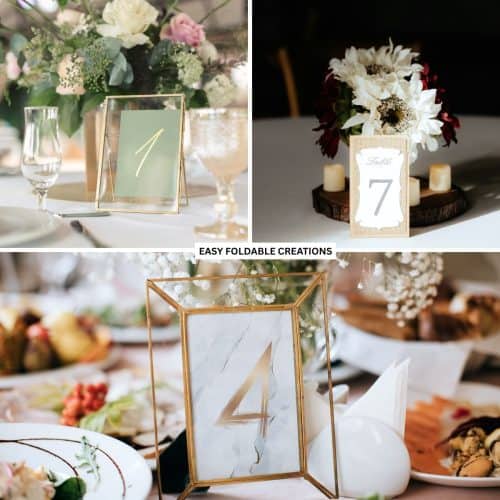
- DIY Wedding Table Number Ideas Using Paper
- DIY Paper Wedding Place Card Ideas You Can Make Yourself
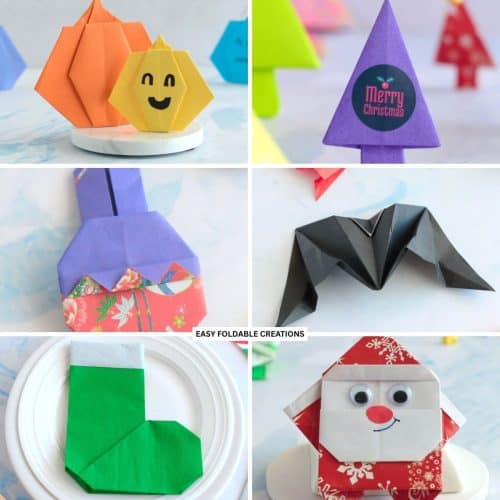
- Gift Wrapping Topper Ideas
- Last Minute Gift Wrapping Ideas That Still Look Beautiful and Thoughtful
- Gift Wrapping Ideas For Oddly Shaped Gifts


Comments
No Comments