
The origami bird base is a fundamental starting point for many traditional origami models, including the iconic paper crane.
It combines multiple petal folds to create a structure that can be shaped into elegant birds and other intricate designs.
Mastering this base will open the door to a variety of beautiful origami projects.
Let's go step by step!

Jump to:
The bird base is one of the most recognizable origami bases, serving as the foundation for numerous bird-inspired and advanced designs.
If you've ever folded a paper crane, you've already worked with this base!
It builds on the square base and incorporates multiple petal folds to form long, pointed extensions-perfect for creating wings, tails, and beaks.
While it may seem a little complex at first, the bird base is an important milestone for anyone looking to improve their origami skills.
Once you've mastered it, you'll be able to create cranes, doves, and even more intricate birds.
If you're new to origami, be sure to check out our collection of easy origami for beginners to get comfortable with basic folds before attempting this one.

Exclusive Content Just For You
Not sure what you want to make next, but feeling a bit creative? Or maybe you've been searching for a pattern that sparks something new. We've got a few ideas waiting for you.
The Fold Collective, Easy Foldable Creations' community, provides you with a growing library of exclusive ad-free video tutorials, printable PDF patterns and more so you can improve your skills and enjoy crafting in your own time.
Skill Level
★★☆☆☆ (Easy)
Materials Needed
1 square sheet of origami paper
Instructions
Step 1: Start with the color you want on the outside facing down.
Step 2: Fold the bottom edge up to meet the top edge.
Step 3: Unfold previous step.
Step 4: Fold the left edge to meet the right edge.

Step 5: Unfold previous step.
Step 6: Flip your paper over and arrange it so it sits like a diamond shape as shown.
Step 7: Fold the bottom point up to meet the top point.
Step 8: Unfold previous step.

Step 9: Fold the left point to meet the right point.
Step 10: Unfold previous step.
Step 11: Flip your paper over from left to right (make sure it still sits like a diamond shape).

Step 12: Hold both the left and right points as shown and gently push in the centre where all the creases meet. Then bring the corners inward and toward the bottom point. You will find the paper starts to collapse on itself to form a square.

Step 13: Fold the bottom right diagonal edge (top layer only) towards the left to meet the middle crease.
Step 14: Repeat previous step for the bottom left diagonal edge.
Step 15: Fold the top point down along the top edge of the flaps you just made.

Step 16: Unfold previous three steps.
Step 17: Fold the bottom point (top layer only) up along the creases you just made.
Step 18: Continue to lift the point up and at the same time, push the sides in along the creases you made before. Then flatten everything along the existing creases.

Step 19: Flip your paper over from left to right.
Step 20: Repeat steps 13 to 18.
Step 21: Completed bird base.

Common Uses
The bird base is an essential starting point for many origami projects, including:
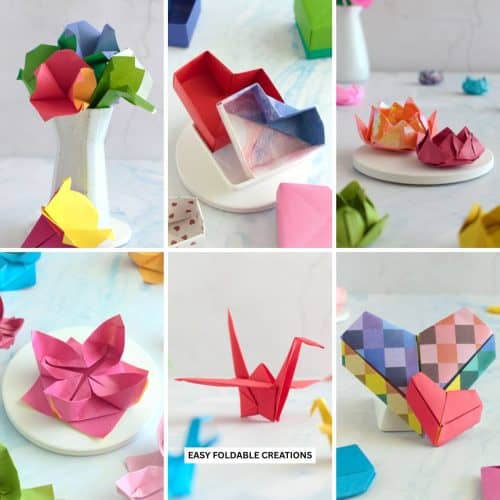
- Paper Crane - One of the most famous origami models, created by shaping the bird base into a crane.

Related Folds
If you've mastered the bird base, try these next:
- Petal Fold - A key technique used within the bird base to create pointed extensions.
- Rabbit Ear Fold - A useful fold for creating sharp, triangular shapes.
- Water Bomb Fold - A similar structural fold used in collapsible origami designs.
Helpful Origami Tips
If you're curious to learn more about origami, you might like to look at our basic guides on how to make some common origami folds.
Start with the valley fold and mountain fold-these are the foundation of most origami models.
Once you're comfortable, you might like to try the petal fold for 3D shapes, and explore the bird base and square base for more complex designs.
The water bomb base is also great for creating inflatable or geometric models, like this inflatable origami rabbit.
Useful Paper Craft Terms
Want to learn a little more about paper crafts and origami?
We've made this helpful printable just for you. It explains common terms and helpful tips you might come across when you are folding origami or making a paper craft project.
You can download the useful paper craft terms printable PDF here.
Stay Connected
Made this pattern? Let us know how it went in the comments below!
Pin this post - Pin now to take your paper crafting skills to the next level.
Share on Instagram or Facebook - Capture the beauty of your finished paper craft project and share it on Instagram or Facebook! Tag us @easyfoldablecreations so we can see your work!

Other Patterns You Might Like To Try:
Looking for other easy patterns like this? Try these:
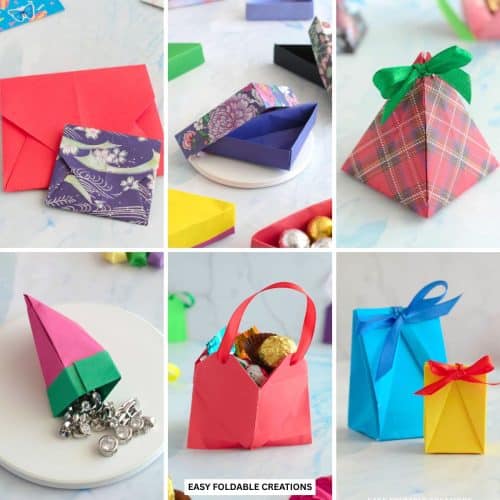
- Beautiful Wedding Gift Wrapping Ideas
- Creative Origami Ideas For Weddings
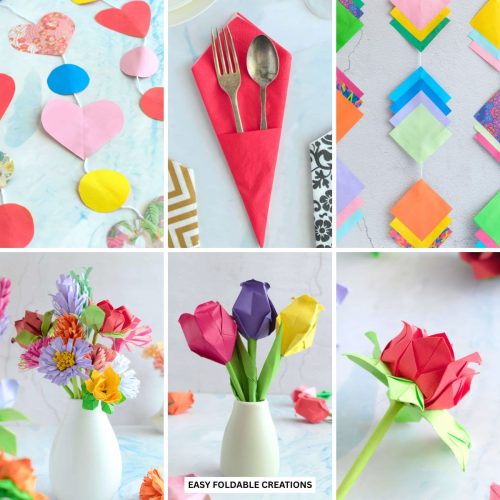
- DIY Paper Flowers for Wedding Decorations
- DIY Paper Wedding Favor Ideas Guests Will Love
- Easy Paper Crafts for Weddings
- DIY Wedding Favor Boxes and Bags
- DIY Paper Wedding Decorations for Your Big Day
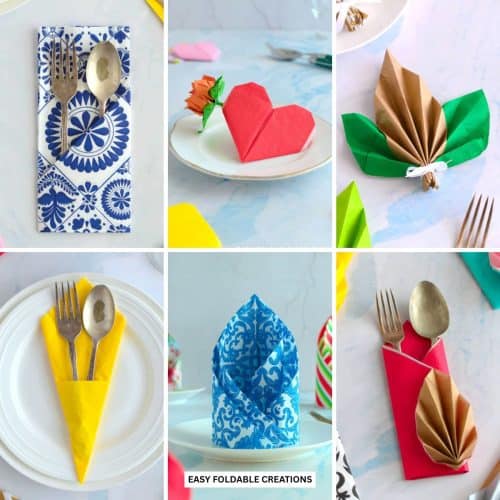
- Wedding Napkin Folding Ideas For Elegant Tables


Comments
No Comments