

Need a quick and stylish way to package gifts?
This how to make a gift bag with handles guide shows you how to create a sturdy paper gift bag using a printable design, a hole punch, ribbon, and either glue or double-sided tape.

Table of Contents
Looking for more paper crafts to try? You'll find exclusive tutorials and printables inside The Fold Collective.
If you've ever needed a gift bag quickly but didn't want to run out to the shops, this is a simple way to sort it at home.
A gift bag with handles is a handmade paper bag design created through folding and assembly, with added handles for carrying. It is commonly used for gift wrapping, party favours, and retail-style presentation, and combines structure with practical functionality.
This guide on how to make a gift bag with handles lets you turn a flat sheet of paper into a neat, sturdy bag that actually looks like something you'd pick up in a store, even though you made it yourself in just a few minutes.
It's especially helpful when you've got a gift ready but nothing to put it in, or when you want something that feels a bit more thoughtful than wrapping paper alone.
Once assembled, the bag stands nicely on its own and the ribbon handles give it a finished, put-together look without much effort.
What makes this style so useful is how flexible it is. You can keep it simple for everyday gifting, or dress it up depending on the occasion.
It works just as well for birthdays and holidays as it does for weddings, baby showers, or small handmade business packaging.
It's one of those things that quietly saves you time while still making your gift feel intentional.
This style works well for birthdays, weddings, baby showers, holidays, or even small business packaging when you want a consistent, handmade feel across multiple items.
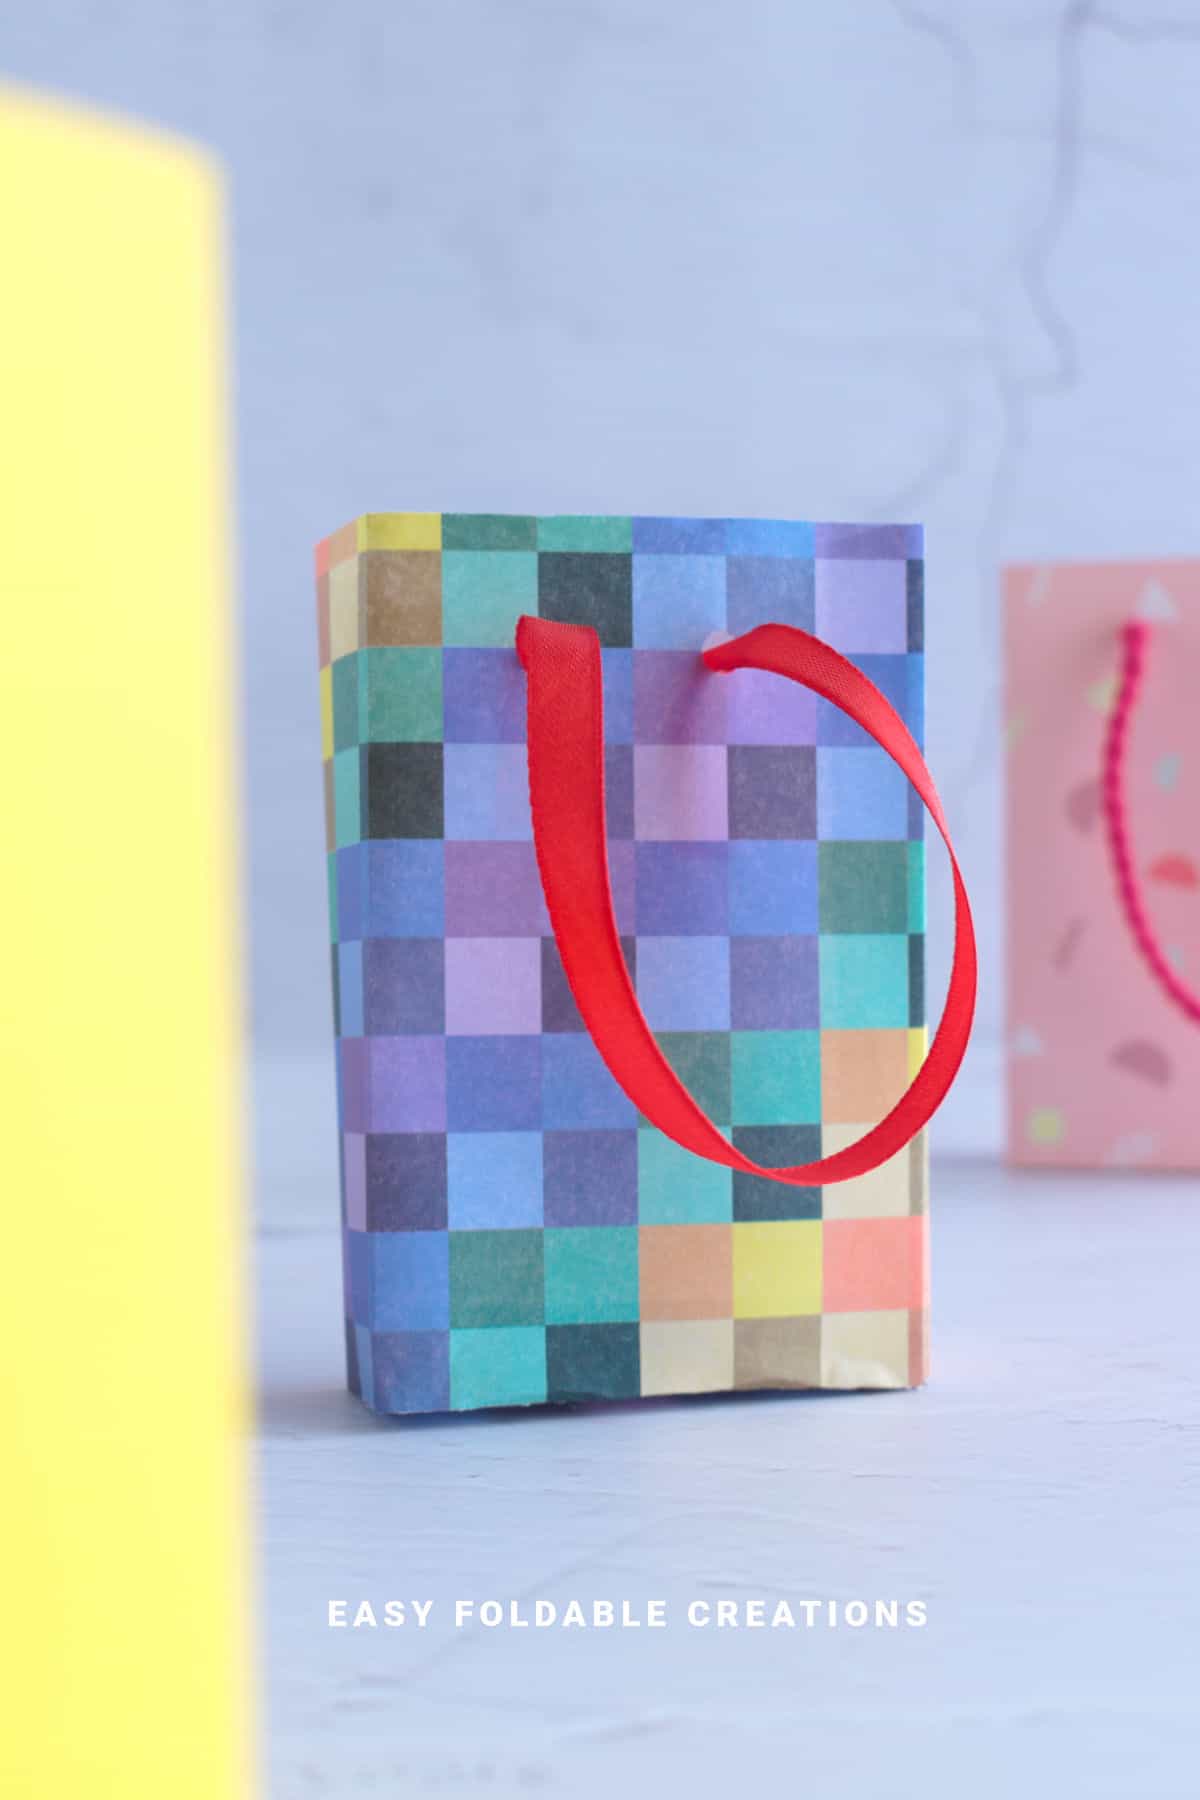
Why You'll Love This Pattern
- This how to make a gift bag with handles template gives you a fast way to create gift packaging that looks polished without complicated steps.
- It uses simple materials like paper, ribbon, glue, or double-sided tape, making it easy to assemble at home.
- The finished bag stands upright and holds small to medium gifts securely.
- It's perfect for occasions where presentation matters, like birthdays, weddings, and celebrations.
- You can make multiple bags quickly, which is great for parties or event favors.
- It can be styled in different ways depending on paper choice and ribbon color.
Looking for more paper crafts to try? You'll find exclusive tutorials and printables inside The Fold Collective.
More Crafting Ideas Inside The Fold Collective
Looking for your next paper craft? The Fold Collective gives you access to exclusive ad-free video tutorials, printable PDFs, helpful resources, and more.
Explore The Fold Collective today!
Skill Level
★☆☆☆☆ (Easy)
Materials Needed
- Printable Gift Bag Template (provided)
- A4 Paper or Cardstock (cardstock recommended for sturdier boxes)
- Scissors
- Glue or Double-Sided Tape
- Hole Punch
- Satin Ribbon
Finished bag size: About 3 inches (8 cm) wide, 5 inches (12.5 cm) tall, and 1.10 inches (3 cm) deep.
Gift Bag Printable
Below you can find the printable for the gift box.
Instructions
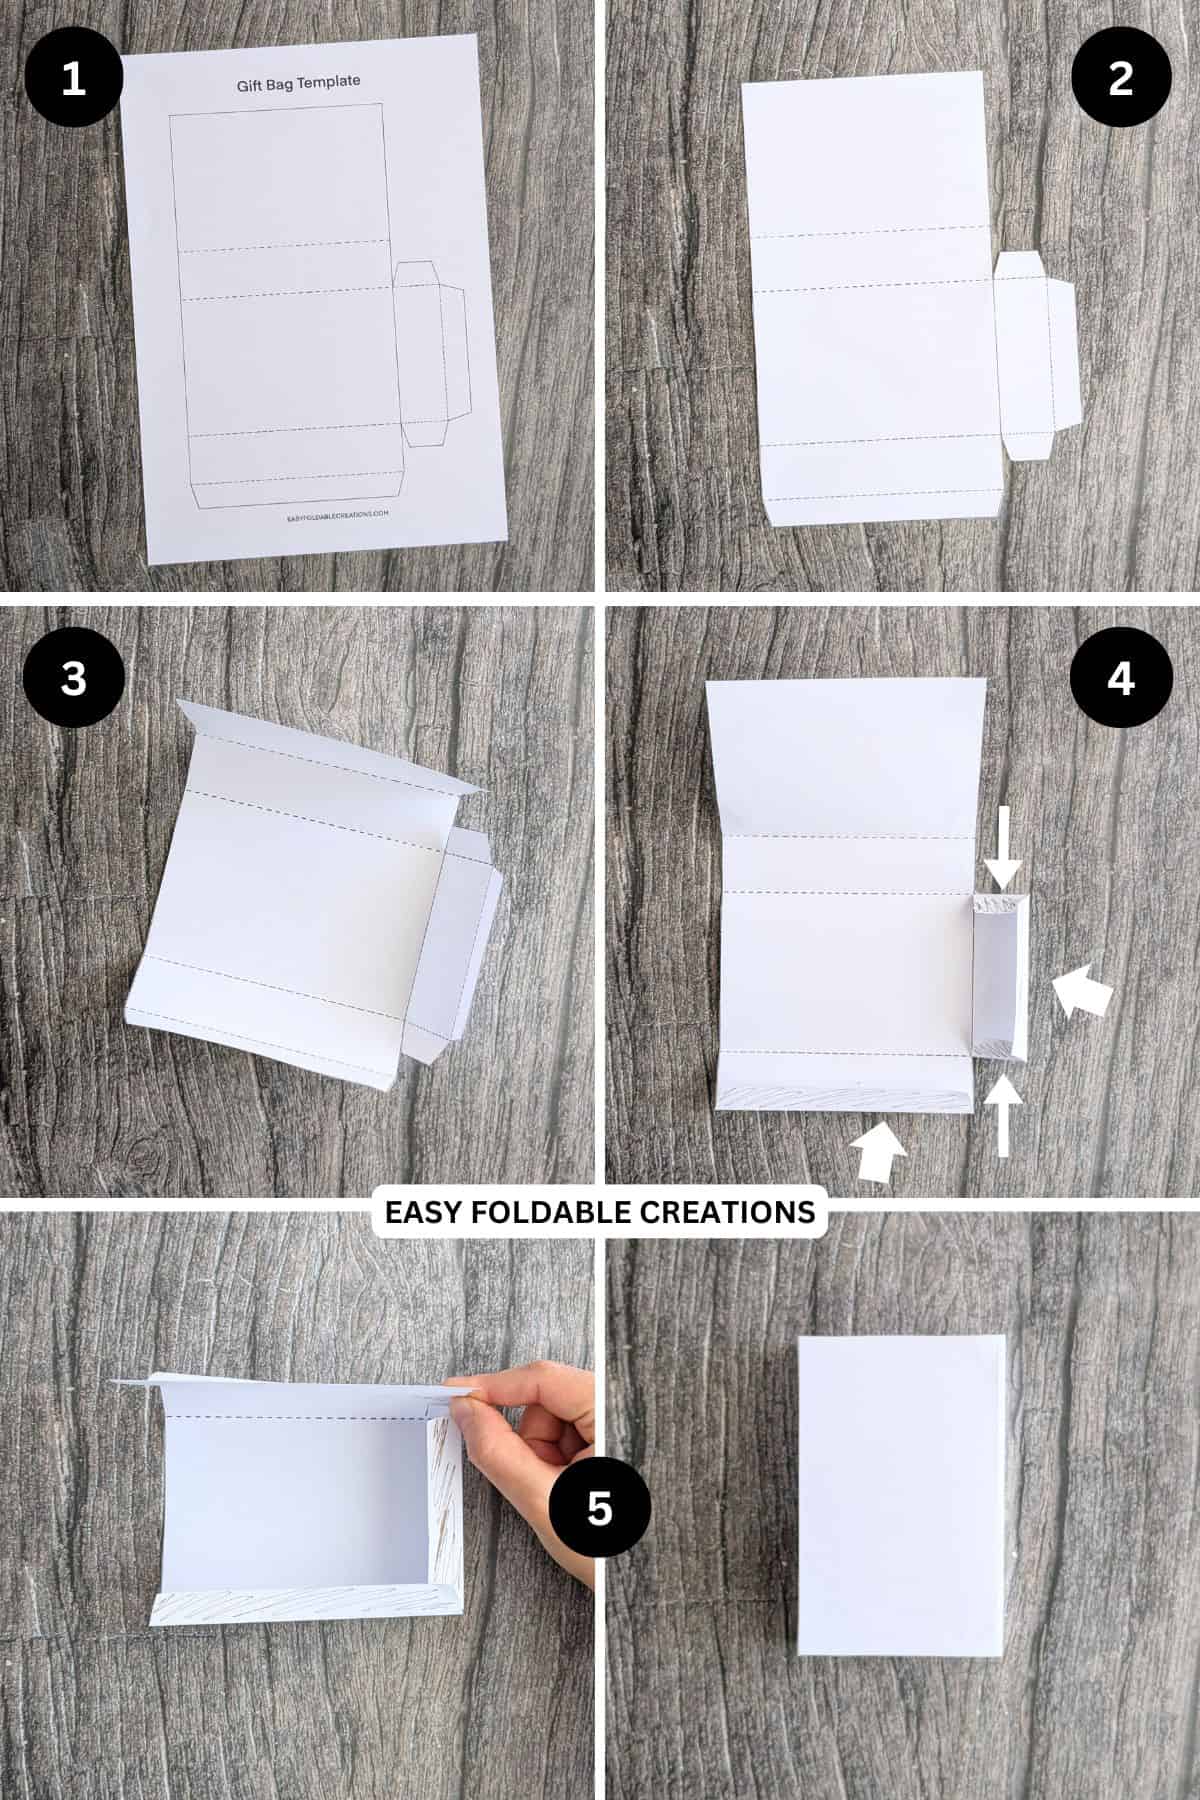
Step 1: Print out your gift bag template. Optional: Print it out on colored/patterned paper.
Step 2: Cut your template out. If you want, you can use the cut out template to trace onto color or patterned paper before you continue.
Step 3: Fold or score along the dotted lines.
Step 4: Apply glue or double sided tape to the side flaps (see picture for guide).
Step 5: Begin to assemble your box. First, glue the bottom flaps to the sides of the bag, then attach the side flap to the opposite side. Allow the glue to dry.
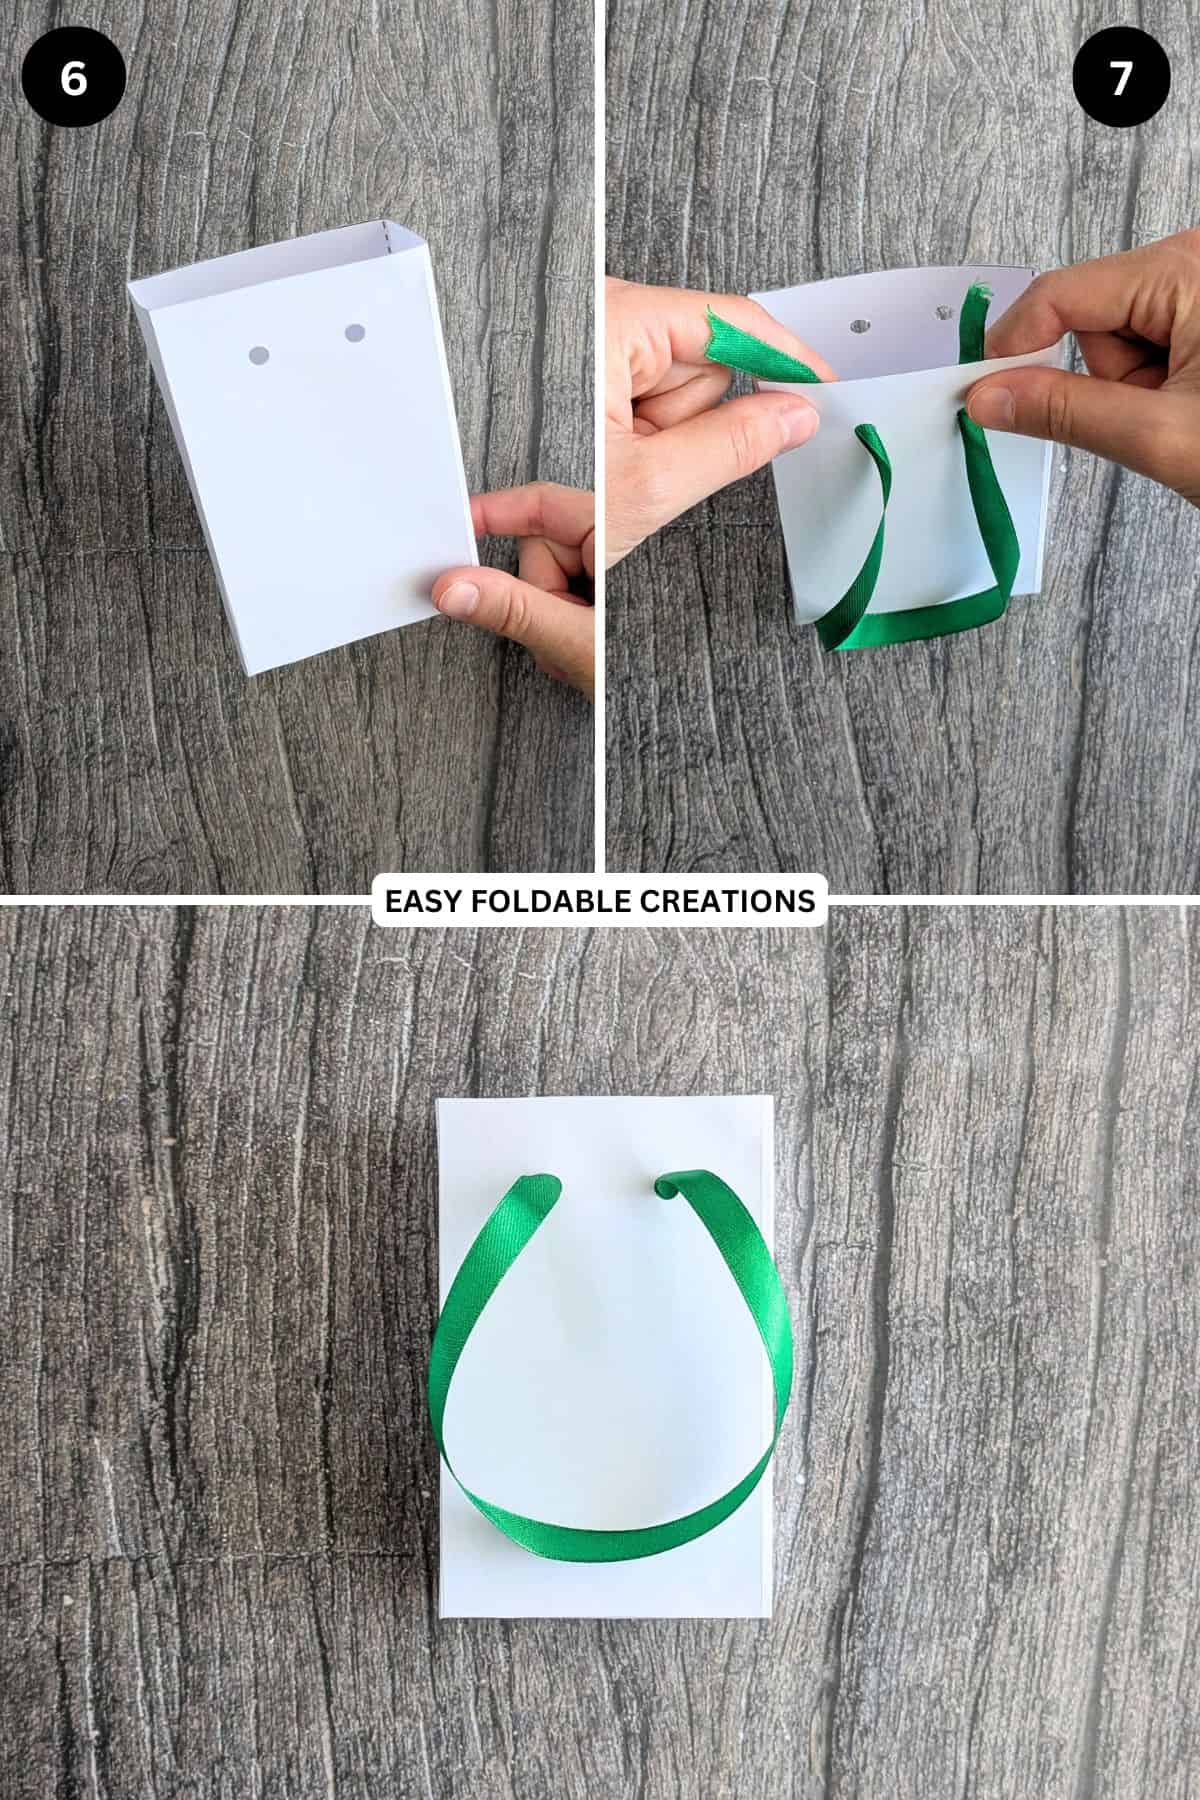
Step 6: Using a hole punch, punch two holes on the front side of the bag and 2 holes on the back of the bag. Try to keep the holes in the same position on either side of the bag.
Step 7: Thread some ribbon through the holes on the front side, knotting each end of the ribbon once threaded through. Then, repeat for the back.
Looking for more paper crafts to try? You'll find exclusive tutorials and printables inside The Fold Collective.
Tips For Success
- Use thicker paper or cardstock so the bag holds its shape better.
- Score fold lines before assembling to create cleaner edges.
- Reinforce the base with extra tape or glue if you're adding heavier items.
- Make sure hole punches are evenly aligned so the ribbon handles sit straight.
- Choose ribbon that matches your theme for a more cohesive look.
- Let glue fully dry before adding items to avoid weakening the structure.
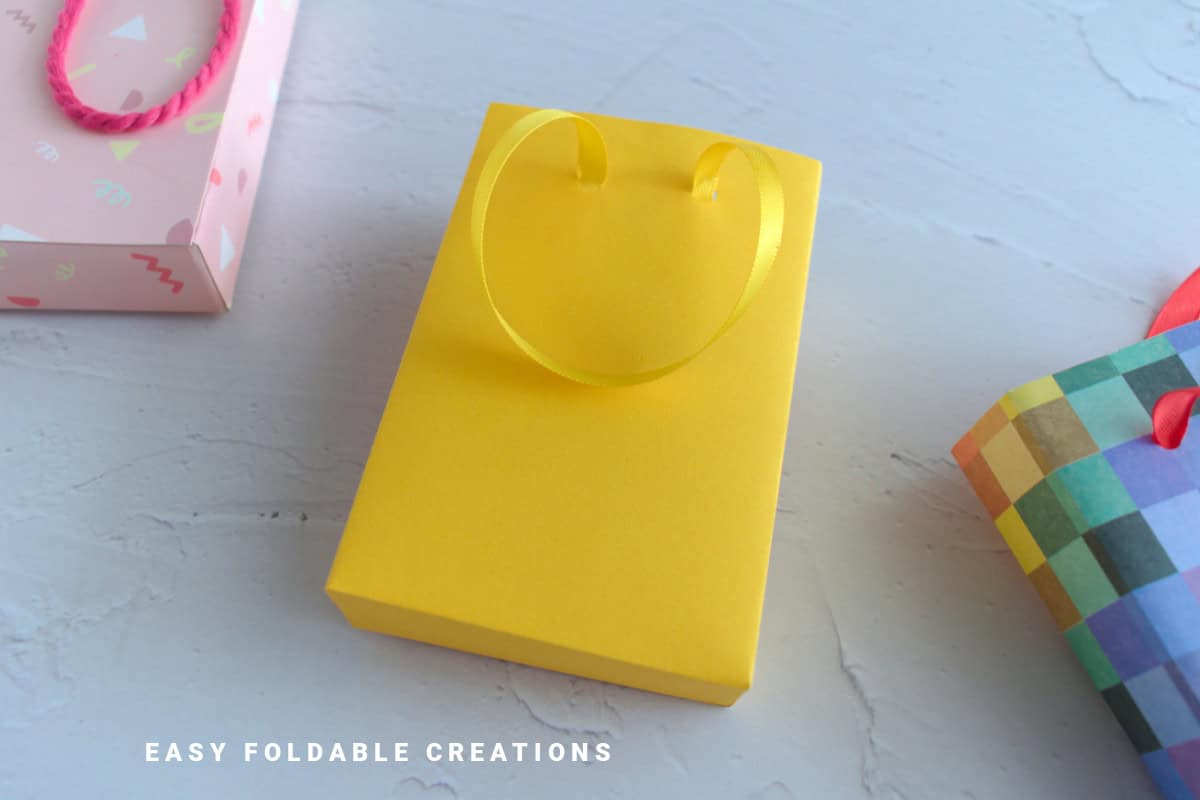
Color, Paper Ideas, and Variations
- Use kraft paper for a rustic, minimal gift bag style.
- Use patterned paper for birthdays, holidays, or themed parties.
- Add tags or stickers for personalization.
- Use satin ribbon for weddings or more elegant events.
- Use twine or string for a more casual, handmade look.
- Scale the template up or down depending on gift size.
- Use as party favor bags for events or celebrations.
FAQ
It works well for small to medium gifts like treats, candles, jewelry, or party favors.
No, just a printer, scissors, glue or double-sided tape, a hole punch, and ribbon.
Yes, using thicker paper and reinforcing the base will make it sturdier.
Other Paper Crafts You Might Like To Try:
Stay Connected
Made this pattern? Let us know how it went in the comments below!
Pin this post - Pin now to take your paper crafting skills to the next level.
Share on Instagram or Facebook - Capture the beauty of your finished paper craft project and share it on Instagram or Facebook! Tag us @easyfoldablecreations so we can see your work!

Other Patterns You Might Like To Try:
Looking for other easy patterns like this? Try these:
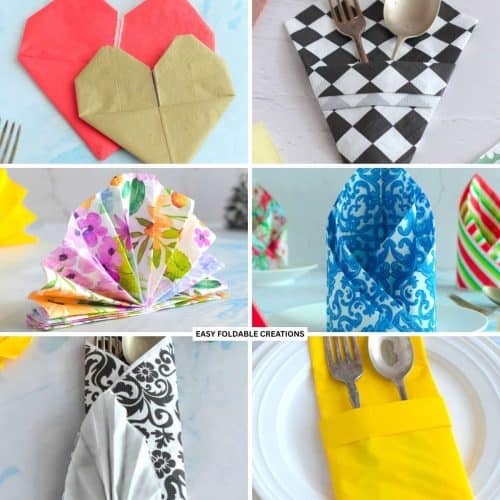
- Paper Napkin Folding Ideas For Every Table Styling
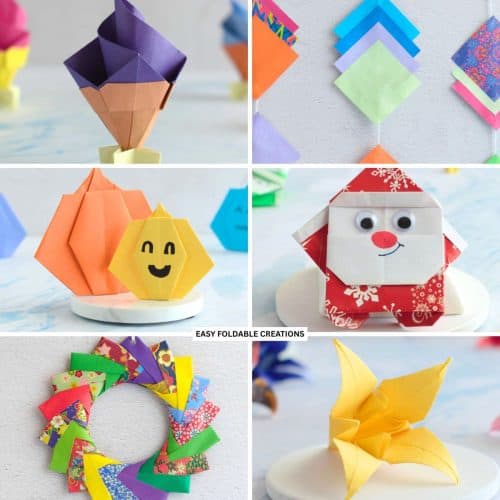
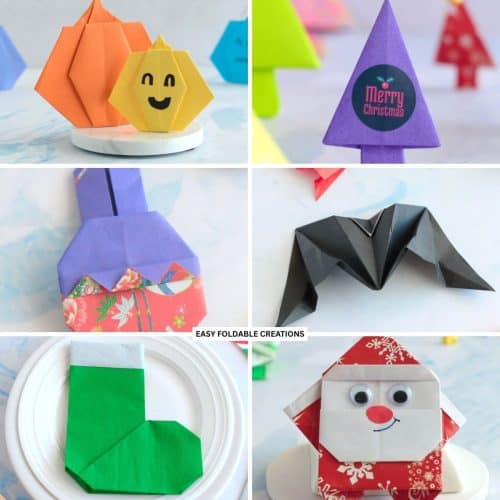
- Quick Seasonal Paper Decor Ideas For Easy Home Updates
- Minimalist Seasonal Paper Decoration Ideas
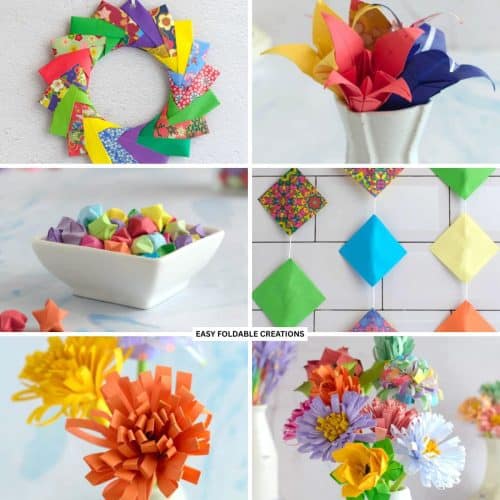
- DIY Paper Decor Ideas For Every Season
- Wedding Confetti Alternatives That Are Venue Friendly
- DIY Wedding Table Number Ideas Using Paper
- DIY Paper Wedding Place Card Ideas You Can Make Yourself
- Gift Wrapping Topper Ideas
Comments
No Comments