
Transform a simple square sheet of paper into an adorable and functional easy cat origami box!
Perfect for Halloween treats, themed birthday parties, or even as a desk organizer, this fun and easy craft is ideal for kids and adults alike.
Customize the size and colors to match any occasion, and bring some feline charm to your celebrations or workspace!

Jump to:
- Why You'll Love This Pattern
- Exclusive Content Just For You
- Skill Level
- Materials Needed
- Video Tutorial
- Instructions
- Tips For Success
- Color, Paper Ideas, and Variations
- FAQ
- Other Paper Crafts You Might Like To Try:
- Helpful Origami Tips
- Useful Paper Craft Terms
- Stay Connected
- Other Patterns You Might Like To Try:
- Comments
Looking for a charming and functional way to add some personality to your gifts, desk, or party décor?
This easy cat origami box is the perfect craft! This delightful design creates a box shaped like a cat's head, complete with adorable ears and plenty of character.
Whether you're planning a Halloween party, a cat-themed birthday bash, or just want a unique way to organize small items on your desk, this origami project has you covered.
Its versatility means it can double as a candy container, a desk organizer, or even a whimsical gift box for cat lovers.
The design features a box shaped like a cat's head, complete with ears that add to its irresistible appeal.
You can create these boxes in various sizes and colors to suit your needs.
Imagine black cat boxes for Halloween, pastel-colored boxes for springtime events, or even gold and red designs for Chinese New Year!
These versatile boxes are easy to make, requiring just one sheet of paper and no cutting or glue.
This craft is beginner-friendly yet satisfying for experienced folders too. It's an excellent way to introduce kids to origami, as the finished product is both fun and functional.
Use these boxes to hold candies, small toys, paper clips, or even as unique gift packaging.
Once you start folding, you might find yourself creating a whole litter of these cute cat boxes! Oh, and if you're after another cute cat origami box that stands, you just have to try this Cat Origami Box!

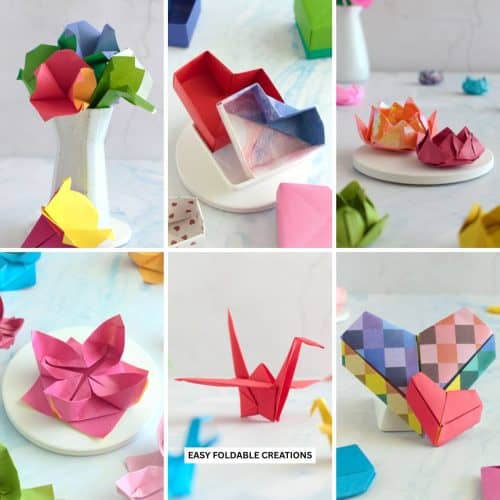
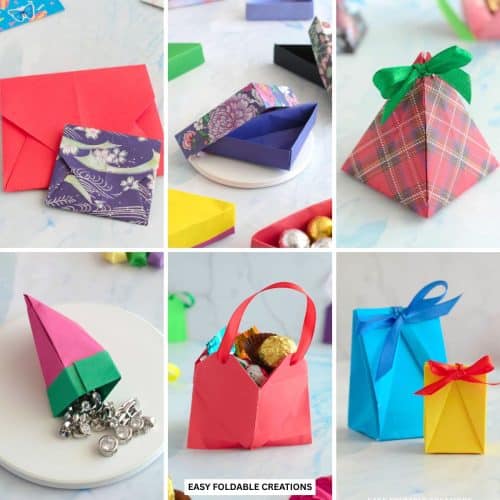
Other easy origami boxes you might like to try include this Heart Origami Box With Lid, Triangle Modular Origami Box, Sliding Origami Rectangle Box, Origami Masu Box, or this Square Origami Box (With Interlocking Lid).
Why You'll Love This Pattern
- Adorable and functional: Perfect for cat lovers and adds a cute touch to any occasion.
- Great for parties: Makes a charming container for treats or party favors, especially for Halloween or themed events.
- Customizable sizes: Easily create small, medium, or large boxes to suit your needs.
- Versatile uses: Use it for desk organization, gift packaging, or festive decor.
- Beginner-friendly: No scissors or glue required, making it simple for kids and adults alike.
- Festive potential: Easily adapt the design for holidays like Chinese New Year or Halloween with appropriate colors and patterns.
Exclusive Content Just For You
Not sure what you want to make next, but feeling a bit creative? Or maybe you've been searching for a pattern that sparks something new. We've got a few ideas waiting for you.
The Fold Collective, Easy Foldable Creations' community, provides you with a growing library of exclusive ad-free video tutorials, printable PDF patterns and more so you can improve your skills and enjoy crafting in your own time.
Skill Level
★☆☆☆☆ (Easy)
Materials Needed
- Square paper: Use lightweight origami paper for smaller boxes and lightweight cardstock for larger or more durable designs.
- Optional decorations: Add markers, stickers, or googly eyes to customize your cat box.
| Paper Size | Final Box Size | |
| Small Cat Box | 6 inch x 6 inch (15 cm x 15cm) | 2 inch (5cm) inner width |
| Medium Cat Box | 6.5 inch x 6.5 inch (16cm x 16cm) | 2.5 inch (6 cm) inner width |
| Large Cat Box | 8 inch x 8 inch (20 cm x 20cm) | 3 inch (7.5 cm) inner width |

Video Tutorial
Struggling with a tricky fold or want to see it done in real time?
You're not alone - that's why we created a full step-by-step video tutorial for this design inside The Fold Collective (an Easy Foldable Creations exclusive community).
We guide you through each fold at a pace that's easy to follow, so you can fold along with confidence and enjoy the process.
Joining gives you access to this video tutorial and a growing library of exclusive tutorials - all designed to inspire you, help you improve, and make folding even more fun.
The Fold Collective is more than just exclusive video tutorials and printable PDF patterns.
It's about building a thriving community of paper crafters from all over the world.
If you want to be part of something special, and gain access to a growing library of exclusive tutorials, join The Fold Collective and start folding today.
Prefer the step-by-step photo tutorial instead?
No problem - the full photo guide is waiting just below.
Instructions
Step 1: Start with the color you want the inside of your box to be facing down.
Step 2: Fold the paper in half from left to right.
Step 3: Unfold previous step.
Step 4: Fold the paper in half from top to bottom.

Step 5: Unfold previous step.
Step 6: Fold the bottom left corner up to meet the top right corner.
Step 7: Unfold previous step.
Step 8: Fold the bottom right corner up to meet the top left corner.

Step 9: Unfold previous step.
Step 10: Fold the bottom left corner in to meet the middle point.
Step 11: Repeat previous step for remaining corners.
Step 12: Flip your paper over from left to right. Make sure your paper is arranged to sit like a diamond.

Step 13: Fold both the left and right points inward to meet the middle point.
Step 14: Flip your paper over from left to right.
Step 15: Fold all the inner corners to meet their outside corners.
Step 16: Flip your paper over from left to right.

Step 17: Fold the left and right edges in to meet the middle crease.
Step 18: Fold the top point down to meet the centre point.
Step 19: Fold the bottom point up to meet the centre point.
Step 20: Unfold previous 2 steps.

✨ You're almost there! ✨
To unlock the final steps of the photo tutorial and complete your pattern, create a free account with Grow.me. below.
Make sure you tick the box to subscribe to our newsletter and stay up to date with the latest patterns, tips, and more!
Once you're signed up, you'll get instant access to finish your project with the photo tutorial and enjoy exclusive content in the future.
Already signed up? Hit the button below and select 'Switch to Log In' to pick up where you left off and finish your project!
Step 21: Lift the left and right edges of the paper by 90 degrees (so they stand up).
Step 22: Lift the top point up, you will find that the sides will start to naturally collapse inwards.
Step 23: Fold the top point down once again to meet the middle point.

Step 24: Push the bottom left and right flaps inward slightly toward the centre.
Step 25: Like you did for the top point, fold the bottom point upward towards the middle point. Do not push on the outer layers found on the left and right sides (these will become the cat's ears).
Step 26: Rotate your model 180 degrees. Completed origami cat box.

Tips For Success
- Ensure crisp folds for a polished look. Use a bone folder or the edge of a ruler for sharp creases.
- If using lightweight cardstock, fold carefully to avoid cracking the paper.

Color, Paper Ideas, and Variations
- Halloween: Use black or orange paper and add a spooky face to match the holiday theme.
- Birthday parties: Choose colorful patterns or solid colors to suit the party's theme.
- Chinese New Year: Go for bold red and gold for a festive touch that symbolizes prosperity and good fortune.
- Desk organizers: Match your office or room's decor with neutral or pastel shades.
FAQ
Small items like candies, jewelry, office supplies, or even lucky charms for Chinese New Year!
Yes, any square paper will work, but thinner paper folds more easily for smaller boxes.
Other Paper Crafts You Might Like To Try:
Helpful Origami Tips
If you're curious to learn more about origami, you might like to look at our basic guides on how to make some common origami folds.
Start with the valley fold and mountain fold-these are the foundation of most origami models.
Once you're comfortable, you might like to try the petal fold for 3D shapes, and explore the bird base and square base for more complex designs.
The water bomb base is also great for creating inflatable or geometric models, like this inflatable origami rabbit.
Useful Paper Craft Terms
Want to learn a little more about paper crafts and origami?
We've made this helpful printable just for you. It explains common terms and helpful tips you might come across when you are folding origami or making a paper craft project.
You can download the useful paper craft terms printable PDF here.
Stay Connected
Made this pattern? Let us know how it went in the comments below!
Pin this post - Pin now to take your paper crafting skills to the next level.
Share on Instagram or Facebook - Capture the beauty of your finished paper craft project and share it on Instagram or Facebook! Tag us @easyfoldablecreations so we can see your work!

On the hunt for more paper craft patterns like this one?
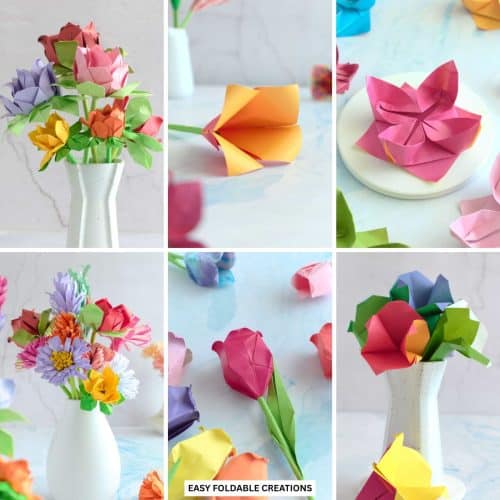
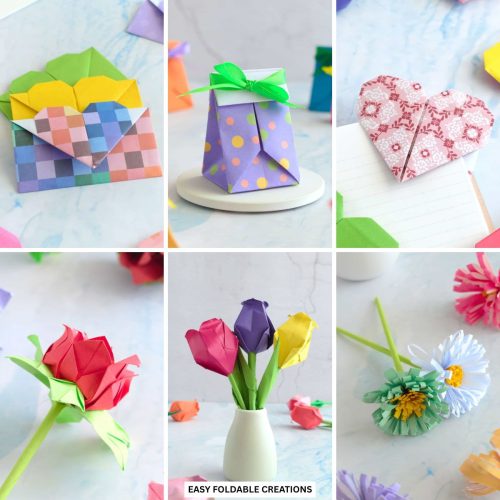
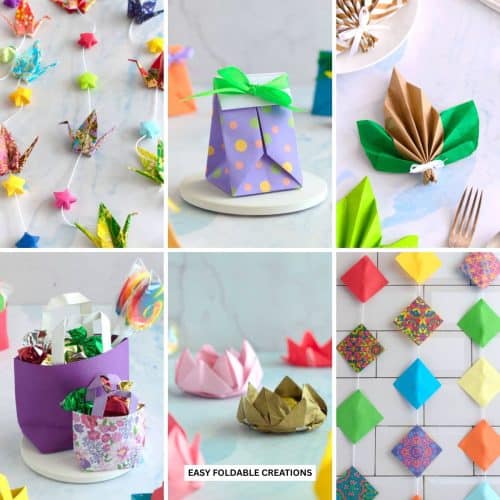
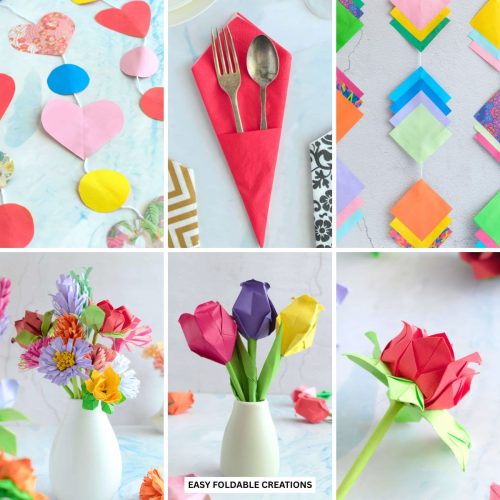
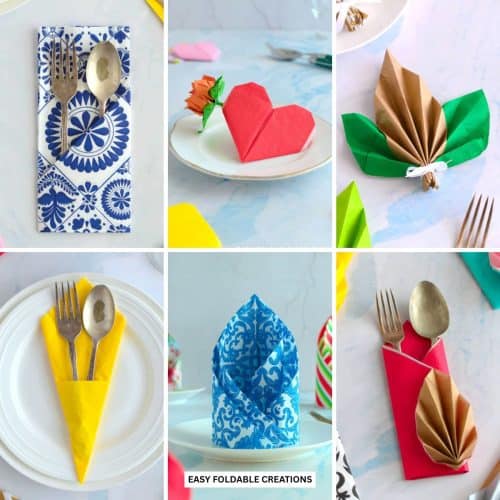
Try these origami flowers, simple paper flower, hexagon DIY pen holder, lucky star origami Christmas tree, origami bow, origami box with lid, origami chicken egg cup, origami Santa hat, pleated paper DIY gift bags, origami bowl, origami basket, 3D origami angel, standing napkin fold, rectangle origami box with lid, or paper flowers.
Other Patterns You Might Like To Try:
Looking for other easy patterns like this? Try these:
- Beautiful Wedding Gift Wrapping Ideas
- Creative Origami Ideas For Weddings
- DIY Paper Flowers for Wedding Decorations
- DIY Paper Wedding Favor Ideas Guests Will Love
- Easy Paper Crafts for Weddings
- DIY Wedding Favor Boxes and Bags
- DIY Paper Wedding Decorations for Your Big Day
- Wedding Napkin Folding Ideas For Elegant Tables


Comments
No Comments