
Need a quick, DIY envelope for your letter, note or gift card?
Learn how to make a paper envelope with that requires just one square sheet of paper-no glue or scissors needed!

Jump to:
- Why You'll Love This Pattern
- Exclusive Content Just For You
- Skill Level
- Materials Needed
- Video Tutorial
- Instructions
- Tips For Success
- Color, Paper Ideas, and Variations
- FAQ
- Other Paper Crafts You Might Like To Try:
- Helpful Origami Tips
- Useful Paper Craft Terms
- Stay Connected
- Other Patterns You Might Like To Try:
- Comments
Creating a paper envelope using origami is a fantastic way to add a personal touch to letters, invitations, or small gifts without having to rely on store-bought options.
These paper envelopes have a charm all their own, giving each letter a unique look that stands out from standard envelopes.
This project is not only easy and quick but also allows you to experiment with various types of square paper, adding character through colors, patterns, and textures.
These origami paper envelopes are perfect for occasions like birthdays, anniversaries, weddings, or any event where you want your note to feel a little extra special.
The beauty of this DIY paper craft is in its simplicity: with just a few well-placed folds, you'll have an envelope that securely holds notes or gift cards without any adhesive or additional materials.
It's also highly adaptable-switching between smaller and larger squares allows you to control the envelope size, making this a versatile addition to your DIY craft skills.
Whether you're making an envelope for a holiday card or creating several to match a wedding theme, this easy technique lets you customize each one to suit any purpose.

Why You'll Love This Pattern
- No glue or scissors needed, just folding!
- A versatile project that can hold small items like notes, gift cards, or photos.
- Customizable to any theme or occasion.
- Easy to make in just a few minutes.
Exclusive Content Just For You
Not sure what you want to make next, but feeling a bit creative? Or maybe you've been searching for a pattern that sparks something new. We've got a few ideas waiting for you.
The Fold Collective, Easy Foldable Creations' community, provides you with a library of exclusive ad-free video tutorials, printable PDF patterns, helpful tips, and more so you can improve your skills and enjoy crafting in your own time.
Skill Level
★☆☆☆☆ (Very Easy)
Materials Needed
Paper Size Options
For most uses, a 6 inch x 6 inch (15 cm x 15 cm) square will create a perfect size envelope for notes or small cards. Larger sizes like 8 inch x 8 inch (20 cm x 20 cm) or 10 inch x 10 inch (25 cm x 25 cm) work well for longer notes or larger items.
Paper Type & GSM
Origami or lightweight paper with 70-90 GSM works well. Avoid thick paper, as it may make the folds difficult and result in a bulky envelope.

Video Tutorial
Struggling with a tricky fold or want to see it done in real time?
You're not alone - that's why we created a full step-by-step video tutorial for this design available in The Fold Collective shop (an Easy Foldable Creations exclusive community).
We guide you through each fold at a pace that's easy to follow, so you can fold along with confidence and enjoy the process.
Access this exclusive video tutorial in the shop.
Or, why not join The Fold Collective which gives you access to a library of video tutorials and printable PDF tutorials - all designed to inspire you, help you improve, and make folding even more fun.
The Fold Collective is more than just exclusive video tutorials and printable PDF patterns.
It's about building a thriving community of paper crafters from all over the world.
If you want to be part of something special, and gain access to a growing library of exclusive tutorials, join The Fold Collective and start folding today.
Prefer the step-by-step photo tutorial instead?
No problem, the full photo guide is waiting just below.
Instructions
Step 1: Start with the color you want your envelope to be facing down.
Step 2: Fold the bottom edge to meet the top edge.
Step 3: Unfold previous step.
Step 4: Fold the bottom edge to meet the middle crease.

Step 5: Fold the top edge to meet the middle crease.
Step 6: Unfold previous 2 steps.
Step 7: Fold the bottom edge up to meet the nearest crease.
Step 8: Fold the bottom edge up to meet the middle crease line.

✨ You're almost there! ✨
To unlock the final steps of the photo tutorial and complete your pattern, create a free account with Grow.me. below.
Make sure you tick the box to subscribe to our newsletter and stay up to date with the latest patterns, tips, and more!
Once you're signed up, you'll get instant access to finish your project with the photo tutorial and enjoy exclusive content in the future.
Already signed up? Hit the button below and select 'Switch to Log In' to pick up where you left off and finish your project!
Step 9: Fold the top edge down to meet the 1st crease from the bottom.
Step 10: Unfold previous step.
Step 11: Fold the bottom left corner up to meet the nearest crease.
Step 12: Fold the bottom right corner up to meet the nearest crease.

Step 13: Fold the left and right ledges in, following the edges of the triangles you made in the previous 2 steps.
Step 14: Fold the top left corner to meet the middle (it's edge should line up with the 2nd crease from the top).
Step 15: Repeat previous step for the top right corner.
Step 16: Fold the top point down and tuck inside the bottom. Completed paper envelope.

Tips For Success
For a more polished look, make sure your folds are crisp and aligned. Using a bone folder or even the edge of a ruler can help smooth and secure creases.

Color, Paper Ideas, and Variations
Opt for paper that matches the theme or occasion. Pastels work well for spring events, whereas bold colors or patterns can make the envelope stand out as a gift.
You can also use recycled paper for a more eco-friendly approach or decorate plain paper with stamps, stickers, or drawings for a customized look.
FAQ
Yes, you can. Just make sure you cut it into a square before folding.
You can trim it into a square before folding.
Or you might like to try this envelope that uses rectangle paper.
Simply tuck in the final edge securely or use a small sticker for extra hold.
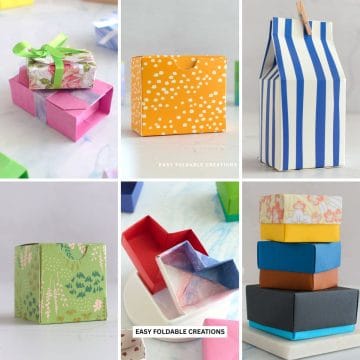
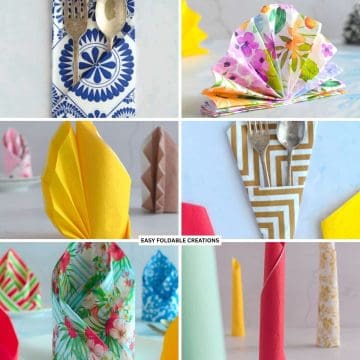
Other Paper Crafts You Might Like To Try:
Helpful Origami Tips
If you're curious to learn more about origami, you might like to look at our basic guides on how to make some common origami folds.
Start with the valley fold and mountain fold-these are the foundation of most origami models.
Once you're comfortable, you might like to try the petal fold for 3D shapes, and explore the bird base and square base for more complex designs.
The water bomb base is also great for creating inflatable or geometric models, like this inflatable origami rabbit.
Useful Paper Craft Terms
Want to learn a little more about paper crafts and origami?
We've made this helpful printable just for you. It explains common terms and helpful tips you might come across when you are folding origami or making a paper craft project.
You can download the useful paper craft terms printable PDF here.
Stay Connected
Made this pattern? Let us know how it went in the comments below!
Pin this post - Pin now to take your paper crafting skills to the next level.
Share on Instagram or Facebook - Capture the beauty of your finished paper craft project and share it on Instagram or Facebook! Tag us @easyfoldablecreations so we can see your work!

Look no further for your next craft project inspiration.
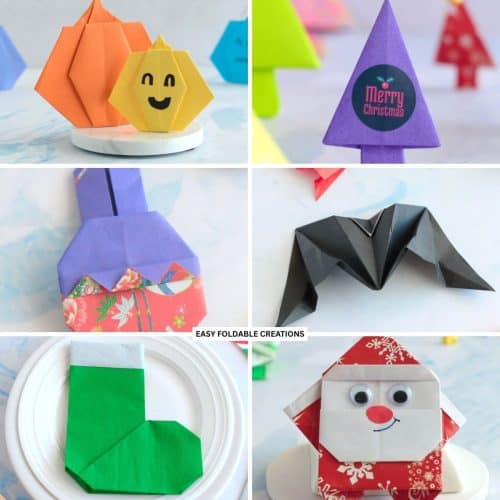
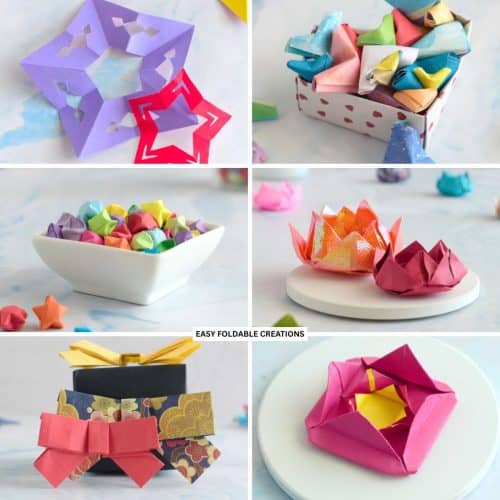
Try these Christmas stocking napkin folds, origami rabbit ear fold, DIY Christmas tree cake toppers, easy origami pouch, easy paper flowers, halloween origami, paper pencil wraps, 2D origami pumpkin, bottle gift wrapping idea with fan, cute origami Santa, or easy origami boxes next!
Other Patterns You Might Like To Try:
Looking for other easy patterns like this? Try these:
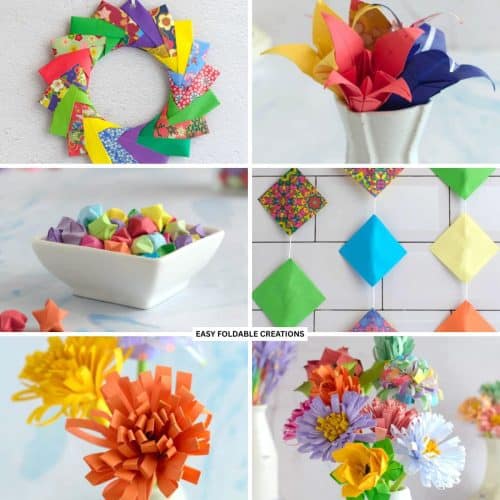
- Minimalist Seasonal Paper Decoration Ideas
- DIY Paper Decor Ideas For Every Season
- Wedding Confetti Alternatives That Are Venue Friendly
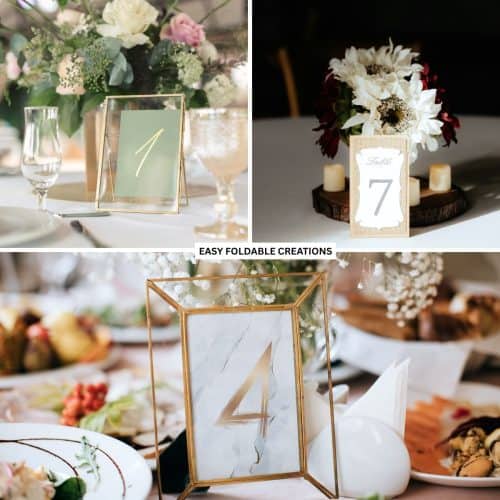
- DIY Wedding Table Number Ideas Using Paper
- DIY Paper Wedding Place Card Ideas You Can Make Yourself
- Gift Wrapping Topper Ideas
- Last Minute Gift Wrapping Ideas That Still Look Beautiful and Thoughtful
- Gift Wrapping Ideas For Oddly Shaped Gifts


Comments
No Comments