
These easy paper carrots are a fun and simple craft that's perfect for Easter, spring decorations, and even year-round crafts.
Made using just strips of paper and a stapler, they come together in no time and are a fantastic project for all ages.
Whether you use them as table décor, string them into a garland, or add them to a gift basket, these adorable paper carrots will bring a festive touch wherever they go.

Jump to:
These easy paper carrots are a fun and festive craft for Easter, springtime, and beyond.
Easy paper carrots are simple paper crafts shaped like carrots, often used for Easter decorations and seasonal activities. They are commonly used in classroom crafts, party décor, and themed displays, and are created using basic folding or cutting techniques.
Whether you use them as decor, party favors, or a garland, they're sure to bring a pop of color and charm to any setting. So grab some paper and get crafting!
Because they are made from just two colors of paper (orange and green) and require no special tools, they are a beginner-friendly craft that can be done with kids or even as a quick DIY for last-minute decorating.
Hang them on an Easter tree, use them for party décor, or add them to a spring-themed centerpiece-the possibilities are endless!
You can also turn these into a garland by making several and threading them together with string or twine.
This makes a fantastic decoration for Easter brunch, spring birthday parties, or even a baby shower with a bunny or woodland theme!
With their bright colors and simple design, these paper carrots are a wonderful way to bring a bit of spring indoors. Let's get started!
If you're after another easy to make carrot craft, you just have to try making this easy origami carrot.

Why You'll Love This Pattern
- Super easy & quick - Made from simple strips of paper, no complicated folding required!
- Perfect for Easter & Spring - A great decoration for baskets, centerpieces, and seasonal décor.
- Kid-friendly - Safe and simple enough for little hands to help.
- Customizable - Make them in different sizes or colors for a unique look.
- Great for garlands - String them together for an adorable DIY banner!
Exclusive Content Just For You
Not sure what you want to make next, but feeling a bit creative? Or maybe you've been searching for a pattern that sparks something new. We've got a few ideas waiting for you.
The Fold Collective, Easy Foldable Creations' community, provides you with a library of exclusive ad-free video tutorials, printable PDF patterns, helpful tips, and more so you can improve your skills and enjoy crafting in your own time.
Skill Level
Difficulty: ★☆☆☆☆ (Very Easy)
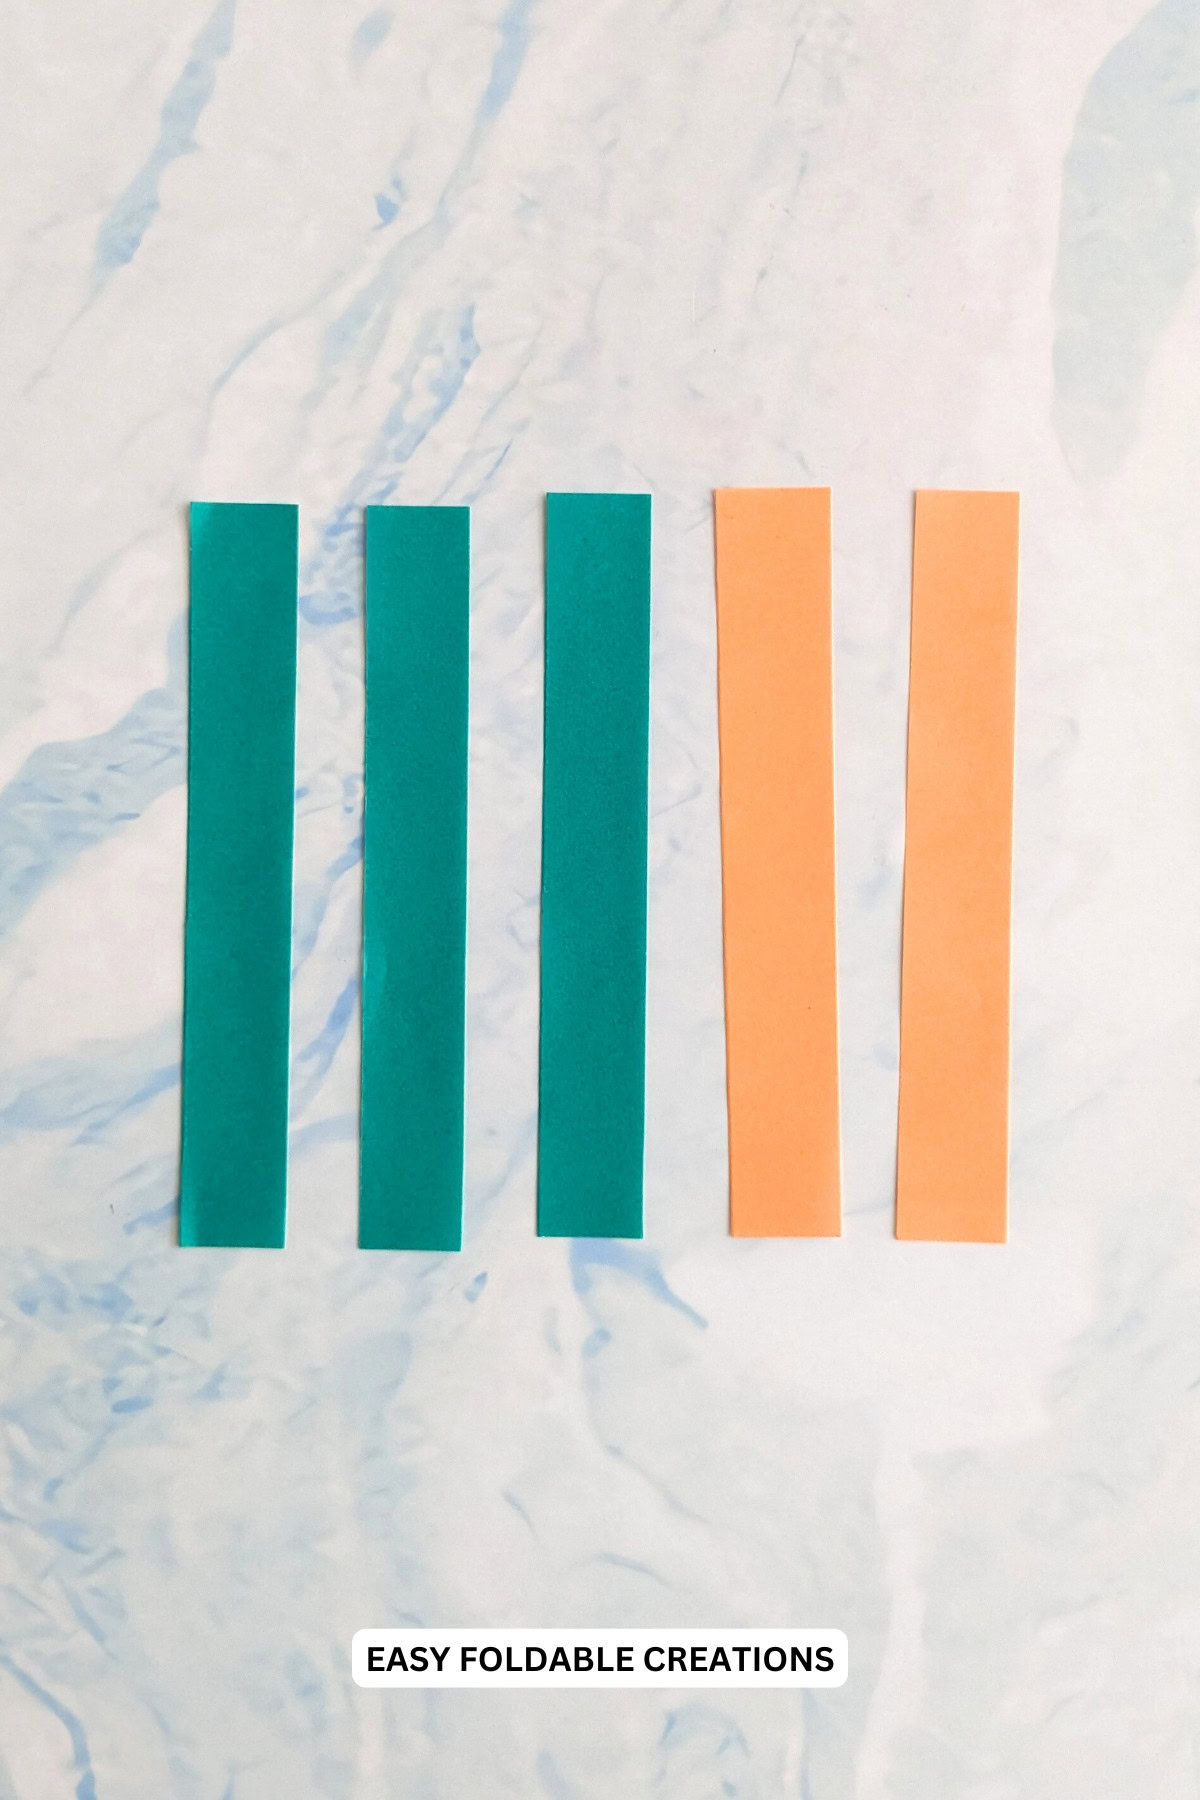
Materials Needed
- 3 green strips of paper
- 2 orange strips of paper (or any other color of your choice)
- Stapler
To make a carrot that is about 7 inches (18 cm) x 3 inches (7 cm) use strips that are about 6 inches (15 cm) x 1 inch (2.5 cm).
You can experiment with strip size to make different sized carrots.
Instructions
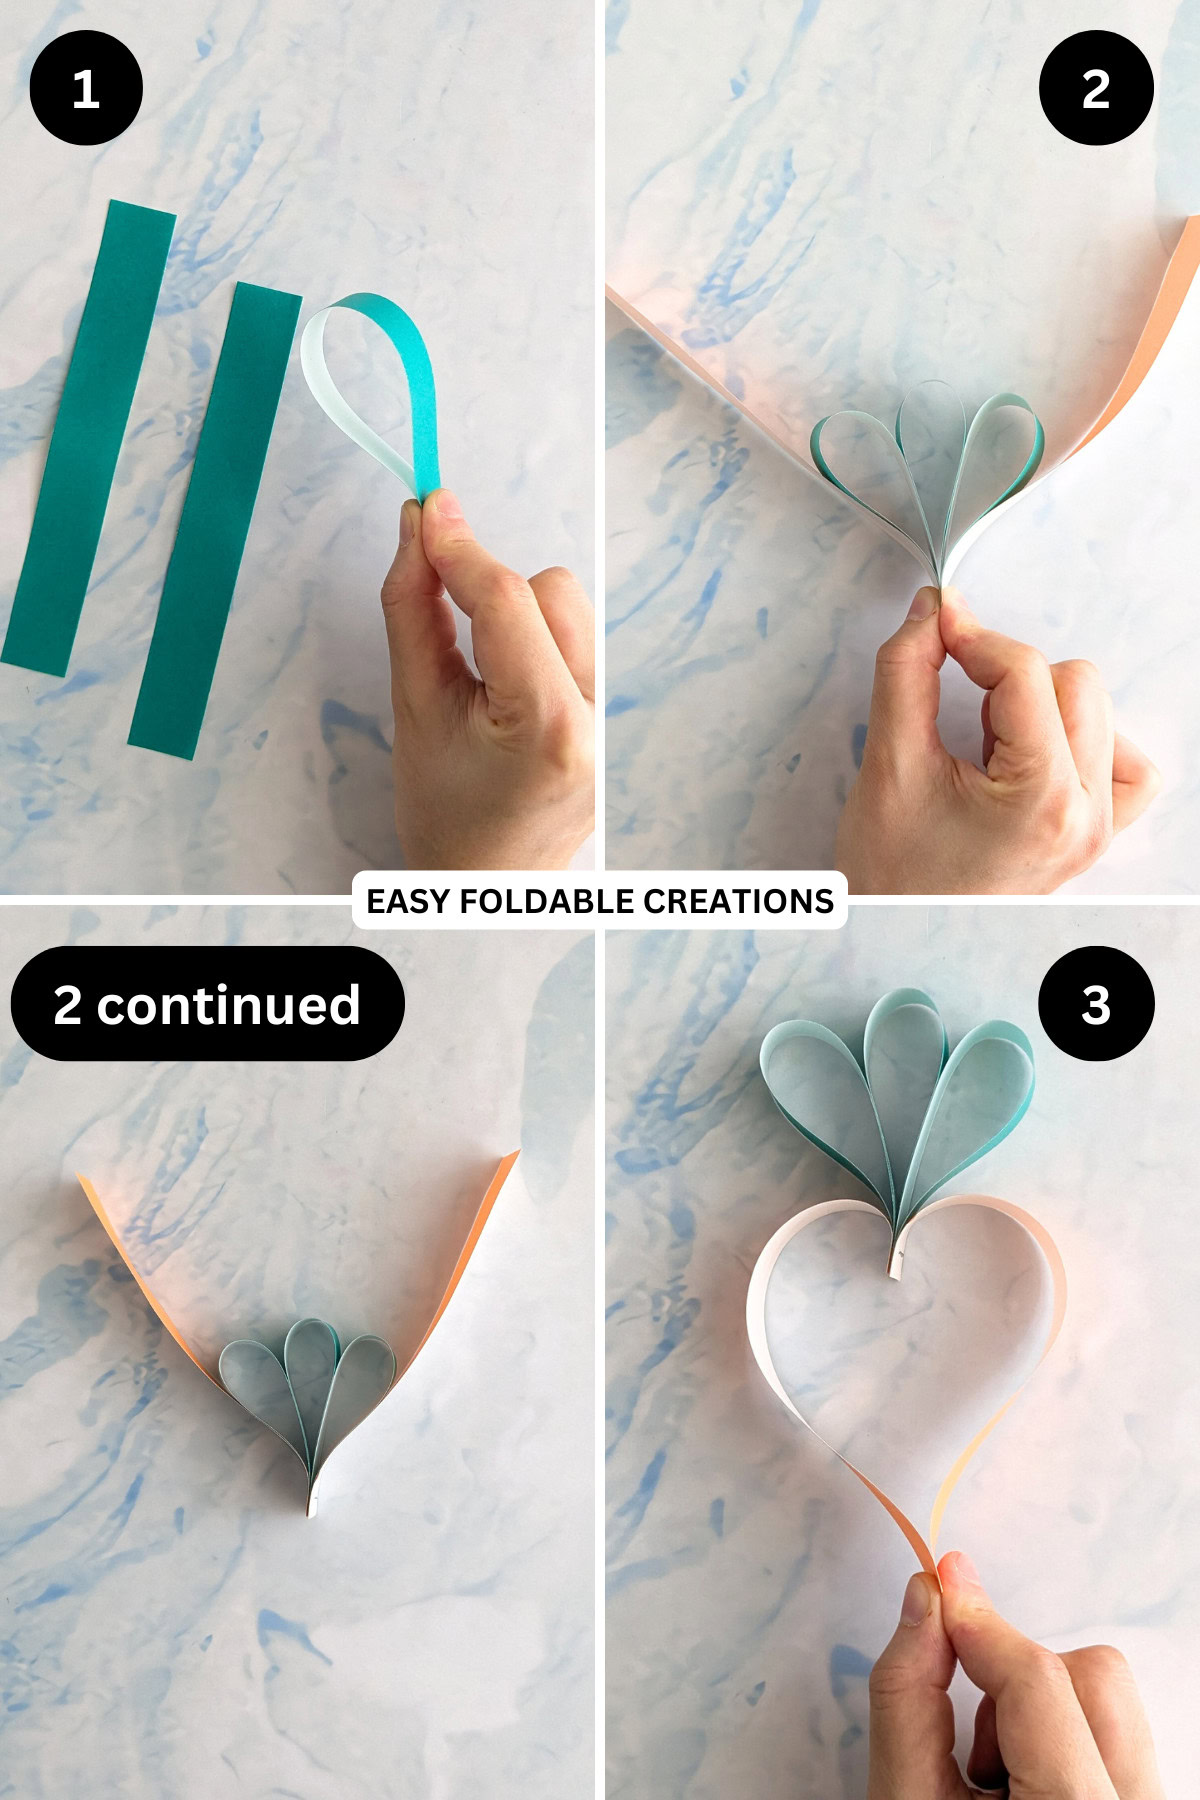
Step 1: Bend all 3 green strips of paper in half (do not crease it). You want to make each strip into a loop.
Step 2: While holding all of the 3 bent green strips together as shown, place an orange strip on either side of the loops, sandwiching them together.
If you are using orange paper that is white on one side, make sure you have the white side facing out.
You want the orange strips to line up with the edge of the green strips. Then staple all the strips together.
✨ You're almost there! ✨
To unlock the final steps of the photo tutorial and complete your pattern, create a free account with Grow.me. below.
Make sure you tick the box to subscribe to our newsletter and stay up to date with the latest patterns, tips, and more!
Once you're signed up, you'll get instant access to finish your project with the photo tutorial and enjoy exclusive content in the future.
Already signed up? Hit the button below and select 'Switch to Log In' to pick up where you left off and finish your project!
Step 3: Bend down both orange strips and staple them together to join then.
Step 4: Completed carrot.

Tips For Success
- Use a mix of orange shades - This gives a more natural, fun look to your carrots.
- Try patterned paper - Add some fun texture with polka dots or stripes!
- Make a bunch at once - If you're making a garland, it's easier to work assembly-line style.

Color, Paper Ideas, and Variations
- Pastel Carrots - Soft orange and mint green paper make them perfect for a baby shower.
- Bright & Bold - Use neon colors for a fun, modern take on this craft.
- Mini Carrots - Make tiny ones for cupcake toppers or tiny decorations.
- Patterned Paper - Polka dots, gingham, or stripes add extra charm!
- Golden Carrots - Use metallic paper for a chic and elegant look.
FAQ
Yes! Just pre-cut the strips for them, and they can help staple the strips together.
Or they could decorate the strips before you put the carrots together.
Simply punch a hole near the top and string them together with twine or ribbon.
Lay them flat in a box or bag to prevent bending.
Other Paper Crafts You Might Like To Try:
Helpful Origami Tips
If you're curious to learn more about origami, you might like to look at our basic guides on how to make some common origami folds.
Start with the valley fold and mountain fold-these are the foundation of most origami models.
Once you're comfortable, you might like to try the petal fold for 3D shapes, and explore the bird base and square base for more complex designs.
The water bomb base is also great for creating inflatable or geometric models, like this inflatable origami rabbit.
Useful Paper Craft Terms
Want to learn a little more about paper crafts and origami?
We've made this helpful printable just for you. It explains common terms and helpful tips you might come across when you are folding origami or making a paper craft project.
You can download the useful paper craft terms printable PDF here.
Stay Connected
Made this pattern? Let us know how it went in the comments below!
Pin this post - Pin now to take your paper crafting skills to the next level.
Share on Instagram or Facebook - Capture the beauty of your finished paper craft project and share it on Instagram or Facebook! Tag us @easyfoldablecreations so we can see your work!

Other Patterns You Might Like To Try:
Looking for other easy patterns like this? Try these:
- DIY Paper Wedding Place Card Ideas You Can Make Yourself
- Gift Wrapping Topper Ideas
- Last Minute Gift Wrapping Ideas That Still Look Beautiful and Thoughtful
- Gift Wrapping Ideas For Oddly Shaped Gifts
- DIY Gift Box Ideas
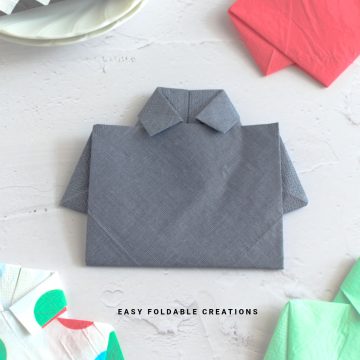
- Restaurant Style Napkin Folding Ideas You Can Do At Home
- Crown Napkin Fold
- Elegant Standing Fan Napkin Fold


Suzie says
Super cute! Can't wait to make these with my kids for Easter. Thanks for the tutorial