
Create a stylish and unique DIY star paper bracelet using origami lucky stars!
Perfect for gifting, adding a personal touch to your outfit, or as a fun craft project.
Use colorful paper and string to craft a one-of-a-kind accessory for any occasion!

Jump to:
Making your own jewelry is a fun, creative way to express your style, and this DIY star paper bracelet is a perfect project for beginners and seasoned crafters alike.
This bracelet uses adorable origami lucky stars, each folded by hand, and threaded together to create a stunning and personalized accessory.
Whether you're crafting it for yourself, making a thoughtful gift, or adding a pop of charm to your collection, this DIY project is quick, easy, and rewarding.
Not only is this bracelet a beautiful accessory, but it's also a great way to use up small pieces of paper.
You can customize the stars with different colors or patterns, making it a fun and personalized gift for birthdays, Mother's Day, Valentine's Day, or any special occasion.
Plus, it's a wonderful activity to do with friends or as a solo craft session while listening to music or podcasts.
In this guide, we'll take you through the simple steps needed to create your own star paper bracelet, from folding the lucky stars to threading them onto string and finishing off the bracelet with your personal touch.
And if you're giving these super cute bracelets as a gift, you might like to present them in a heart shaped origami box or the classic origami masu box with lid.
You could even pair this DIY star paper bracelet with a cute paper heart shaped ring.
You can easily mix and match the colors of the origami stars to create a vibrant, custom-made bracelet or a more subdued, minimalist design based on your personal preferences!

Why You'll Love This Pattern
- Simple and fun: This project is great for crafters of all skill levels. Folding the lucky stars is easy to learn, and the assembly of the bracelet is a smooth process.
- Customizable: Choose different colors or patterned paper to make your bracelet unique, and even add beads or charms between the stars for extra flair.
- Perfect gift idea: Whether it's for a birthday, holiday, or just because, this bracelet is a thoughtful and personal gift.
- Relaxing and meditative: Folding the tiny stars is a peaceful and repetitive process, perfect for those who want to unwind while being creative.
- Budget-friendly: All you need is paper, string, and a needle-simple and inexpensive materials for a beautiful result.
Exclusive Content Just For You
Not sure what you want to make next, but feeling a bit creative? Or maybe you've been searching for a pattern that sparks something new. We've got a few ideas waiting for you.
The Fold Collective, Easy Foldable Creations' community, provides you with a growing library of exclusive ad-free video tutorials, printable PDF patterns and more so you can improve your skills and enjoy crafting in your own time.
Skill Level
Difficulty: ★☆☆☆☆ (Easy)
Materials Needed
- For the stars: Each star will need a strip of paper. You can cut a strip of paper from lightweight A4 paper. The width of the strip will determine how big your star will be. We recommend starting with a strip that is 0.8 inch x 11inch (2cm x 29cm). This will make a star that is about 1.20 inch x 1.20 inch (3cm x 3cm). Once you get the hang of making a lucky star, you could then move on to a small strip of paper (such as 0.40 inch x 11 inch (1cm x 29cm)).
- String (strong cotton thread or nylon thread is recommended)
- Needle (used to thread the stars, be cautious not to prick yourself!)
- Scissors
- Optional: Beads, charms, or decorative elements. You could thread these through in between your stars if you want.
| Small Bracelet (Kids) | Medium/Large (Adult) | |
| Stars Needed | 14 stars | 16 stars |
| Length of String | 15 inches (38 cm) | 17 inches (43 cm) |
*The above measurements in the table are just a guide. Increase or decrease the number of stars and length of the string as needed.
Instructions
Making The Stars
Using Your Strips Of Paper
Step 1: Start with the color you want your star to be facing up.
Step 2: Bring the right end of the paper over the top of the strip.
Step 3: Bring the same end of the paper behind, forming a loop.
Step 4: Feed the top end behind and through the loop. Continue to pull gently to tighten the knot. Make sure the left side of the knot is much longer than the right side.

Step 5: Making sure the knot is flattened, fold any excess paper on the right behind. If the excess is too long, you can trim it down.
Step 6: Fold the left side behind, aligning it with the bottom edge of the pentagon.
Step 7: Wrap the long end to the left, following the top right edge.
Step 8: Continue wrapping, alternating between edges.
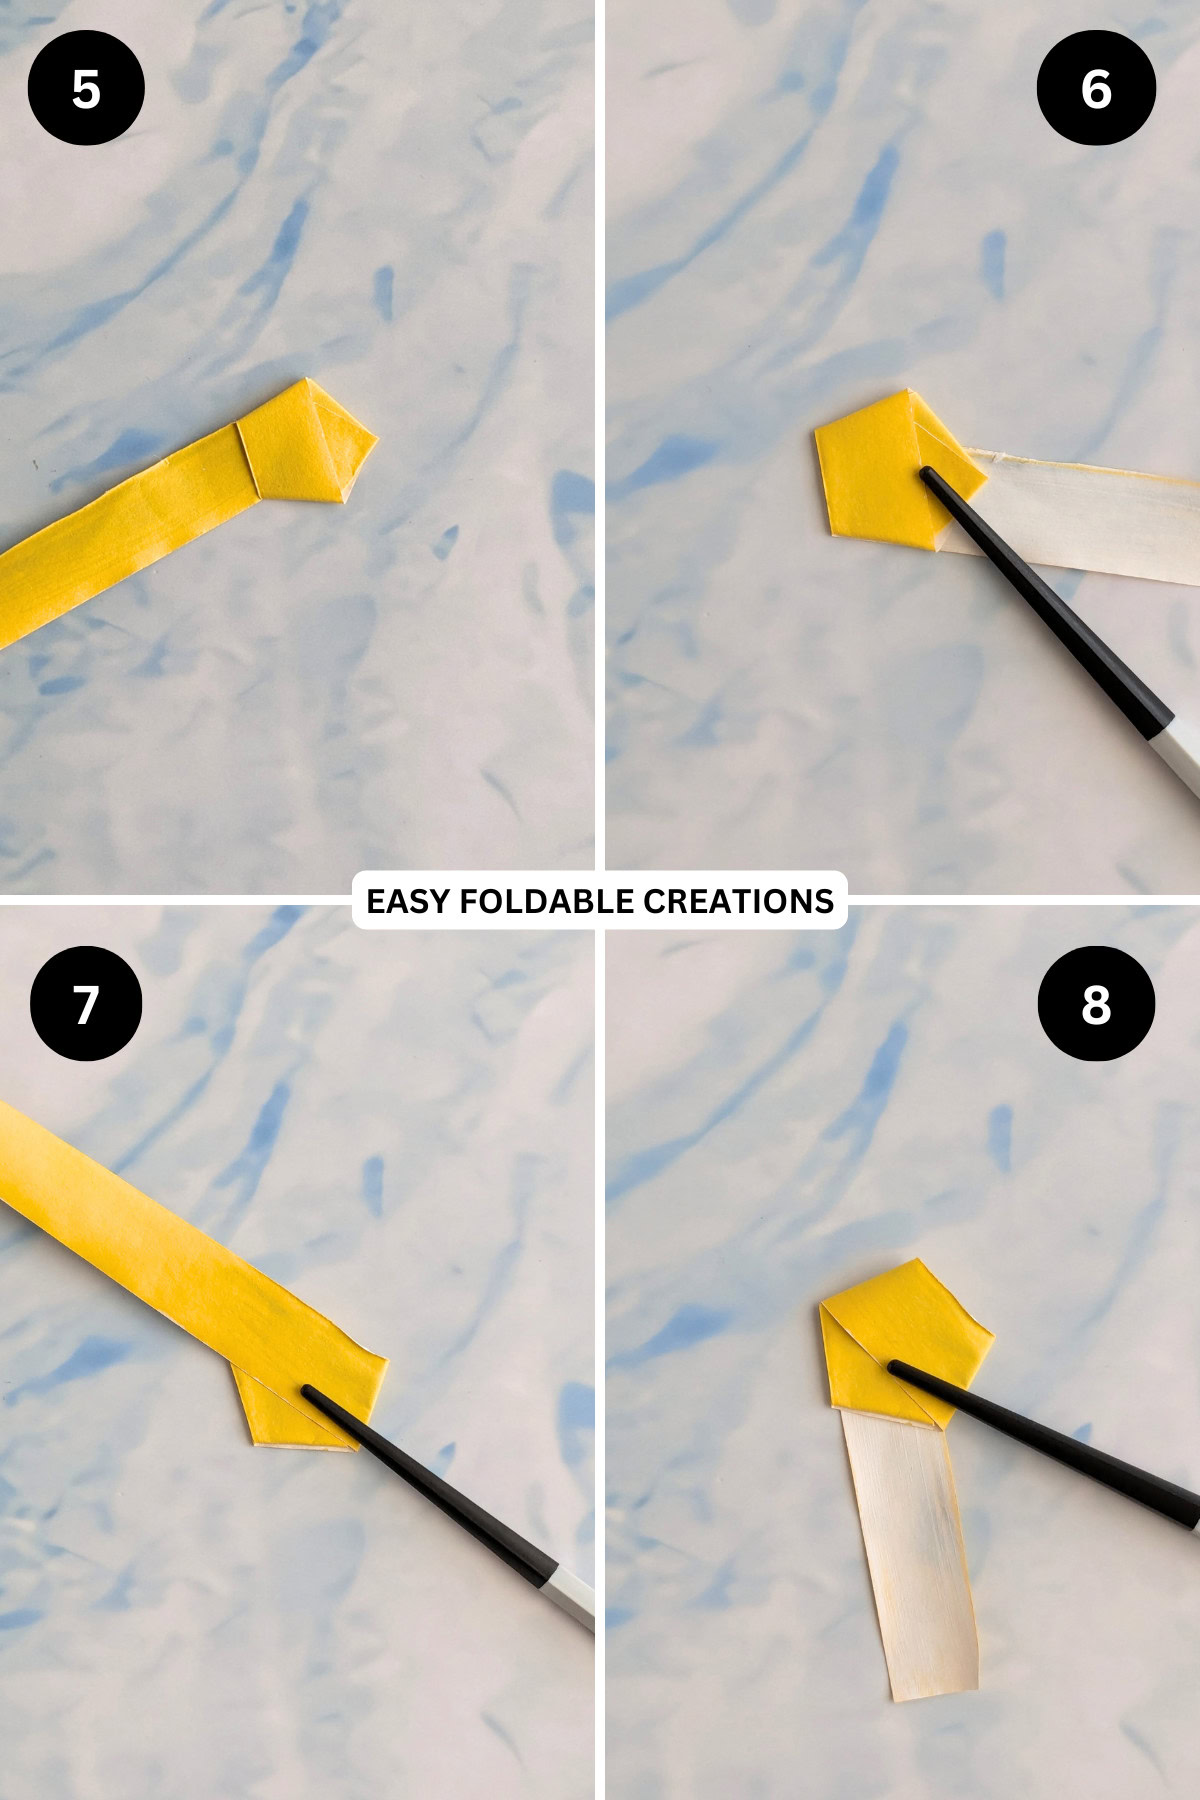
Step 9: Wrap until there is very little left of the strip.
Step 10: Insert the end of the strip inside the little pocket of your paper.
Step 11: Use your index finger and thumb to pinch in one of the points of the star.
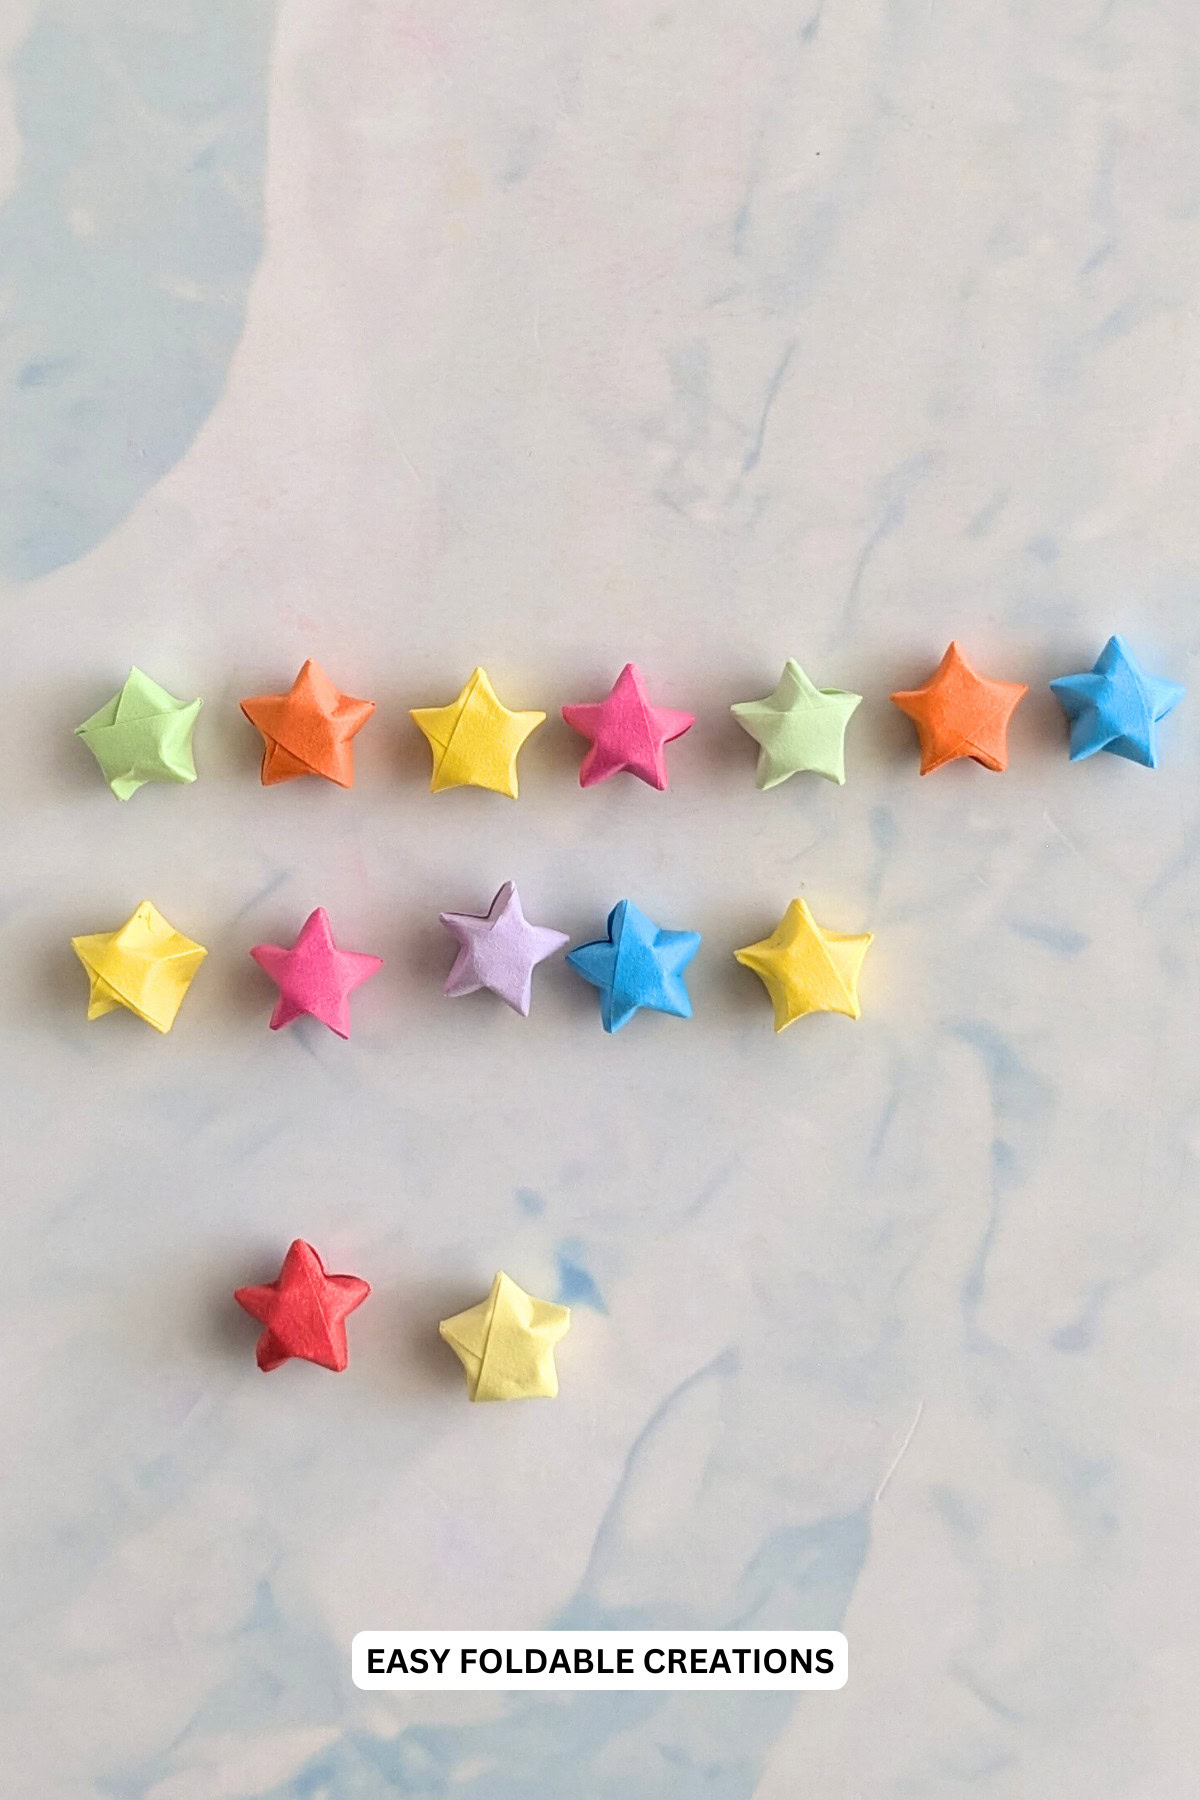
Step 12: Repeat previous step for remaining points. Completed lucky star.

Repeat previous steps to make more stars as needed.
Putting The Bracelet Together
Step 1: Thread your string through the needle.
Step 2: Hold one lucky star on two opposite points and thread the needle through the middle. Be very careful not to prick yourself with the needle.
Step 3: Repeat previous step for remaining stars. Note: You will need to keep 2 stars aside as you will use them later.
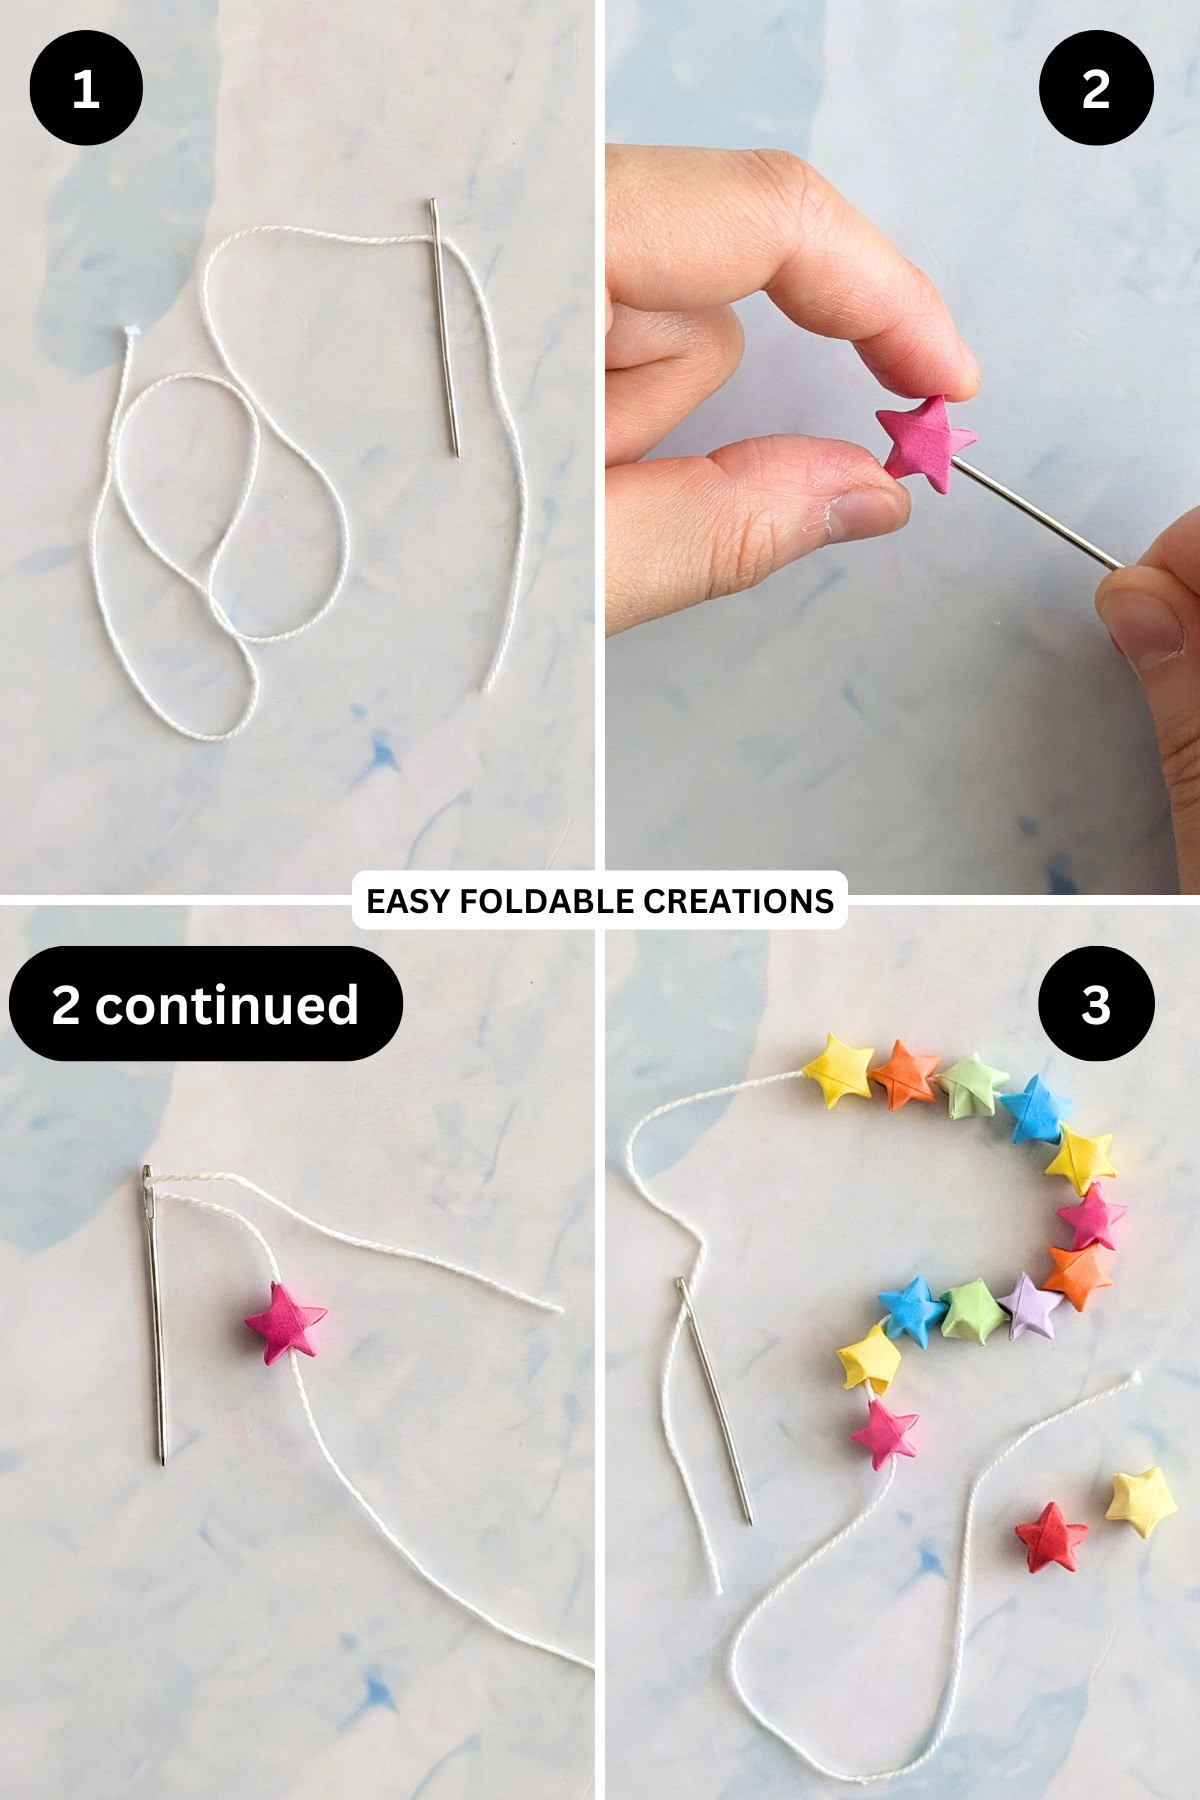
Step 4: Arrange the threaded stars along the string so that they are in a line and there is about an equal amount of string on either side (see picture for guide).
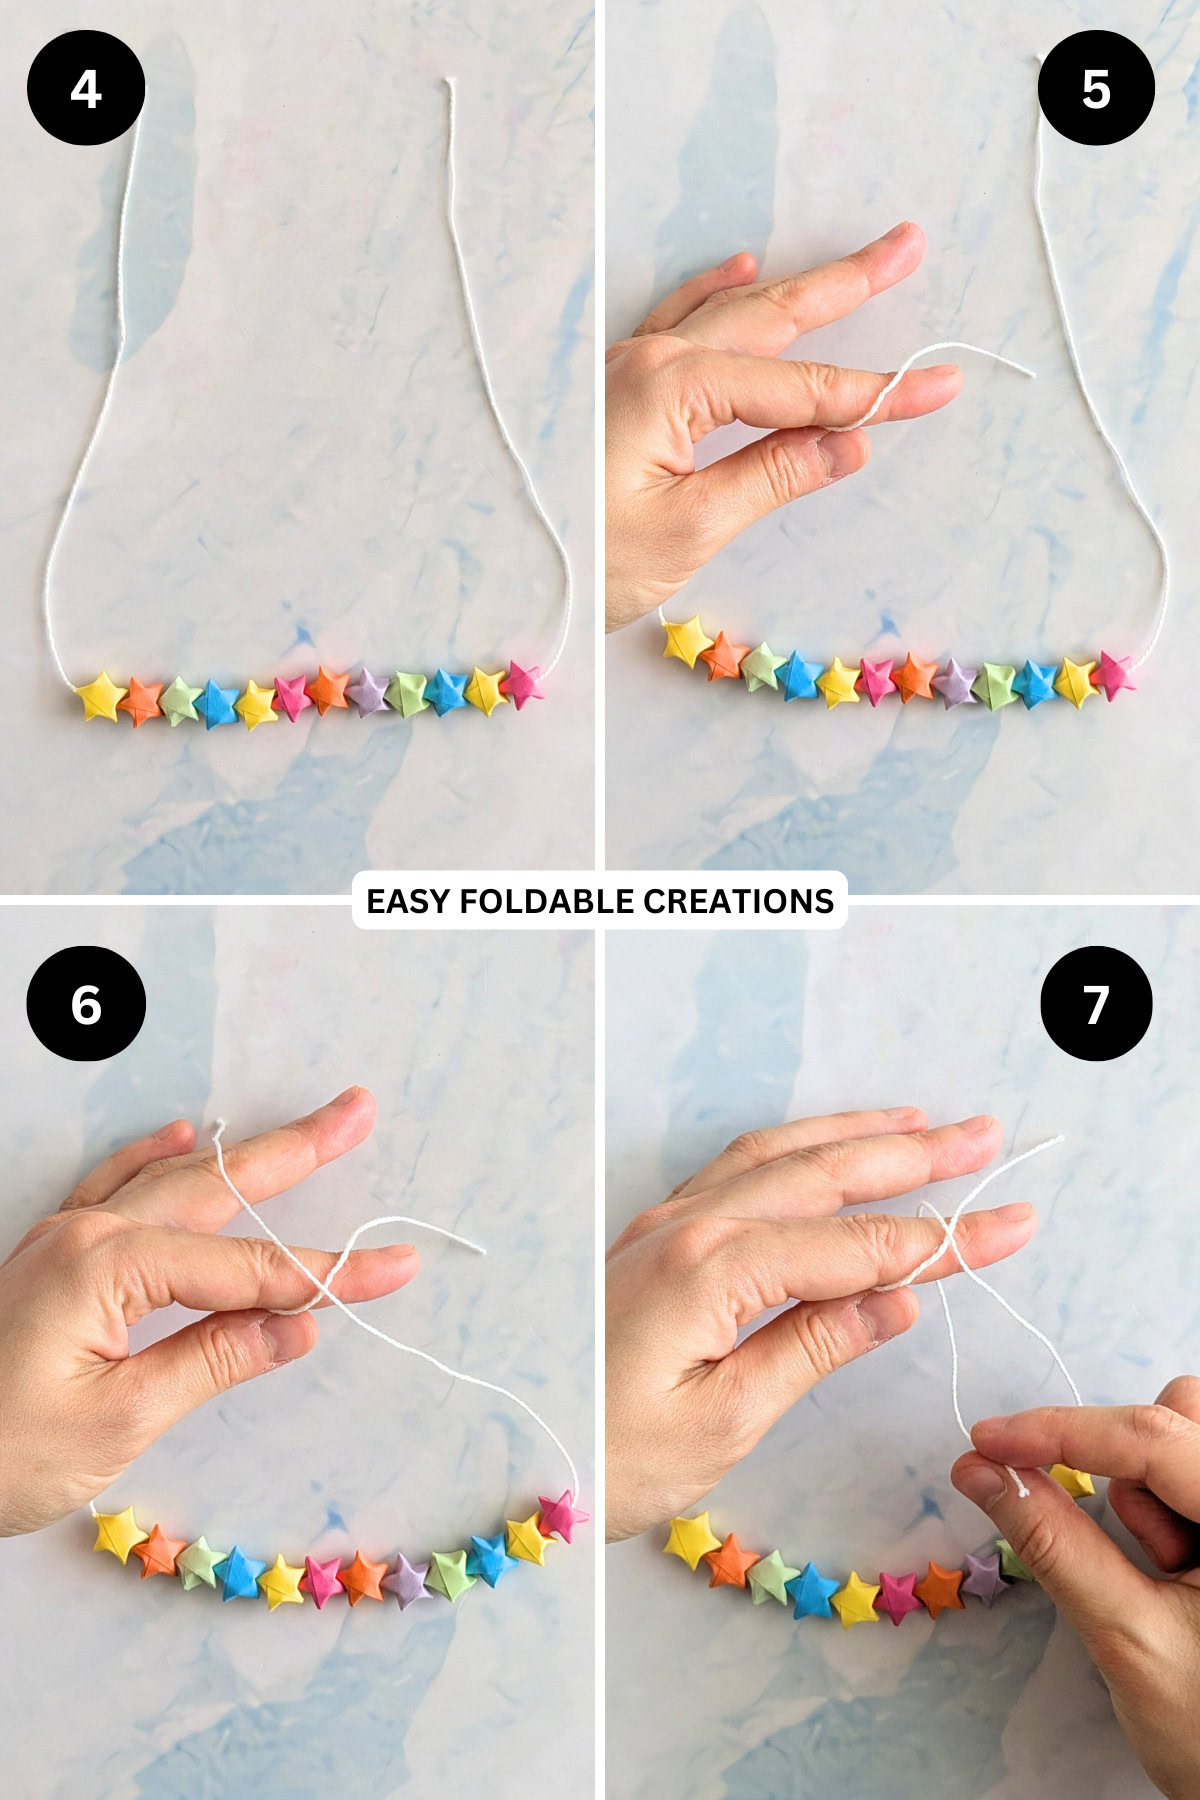
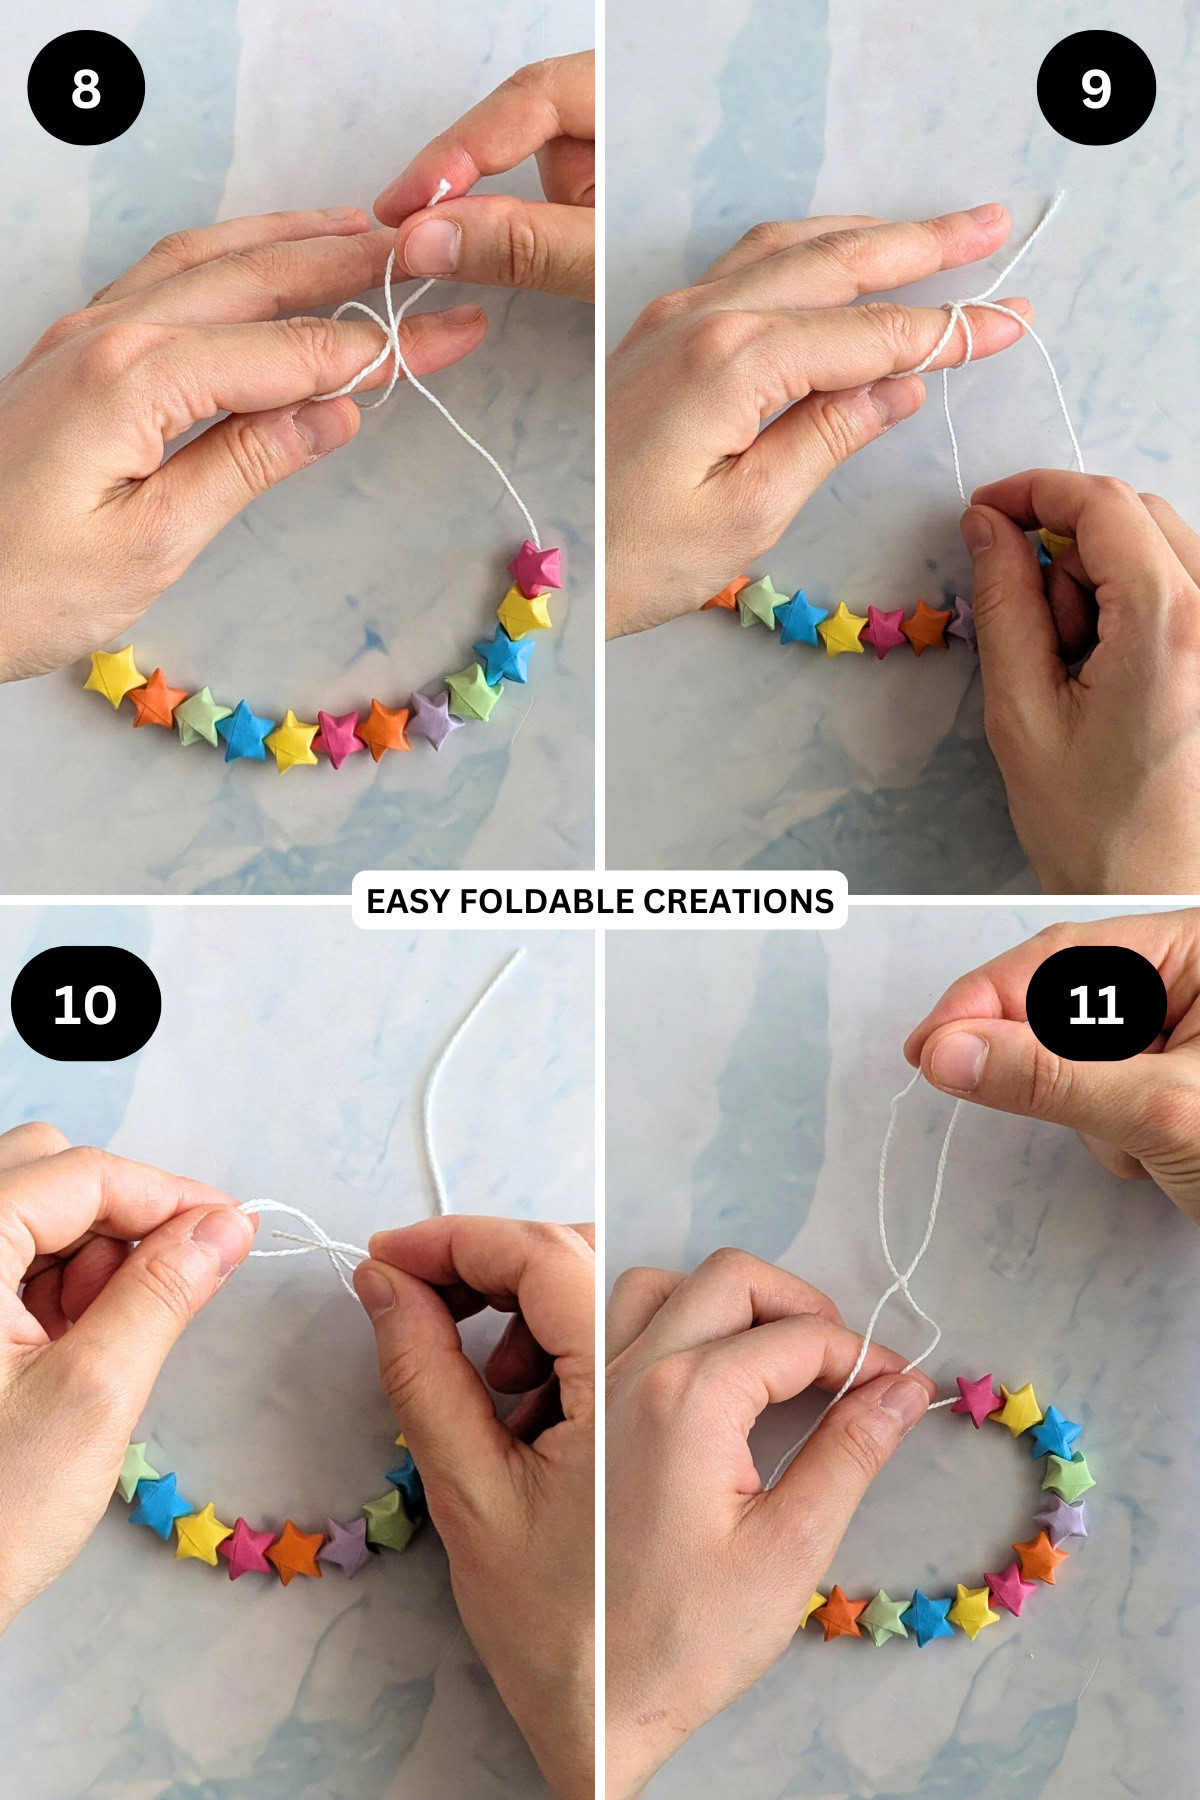
Step 5: Take the left side of the string and place it over your index finger as shown.
Step 6: Take the right side of the string and place it over the string that is on your index finger to form an "x."
Step 7: Wrap the left side of the "x" under your index finger.
✨ You're almost there! ✨
To unlock the final steps of the photo tutorial and complete your pattern, create a free account with Grow.me. below.
Make sure you tick the box to subscribe to our newsletter and stay up to date with the latest patterns, tips, and more!
Once you're signed up, you'll get instant access to finish your project with the photo tutorial and enjoy exclusive content in the future.
Already signed up? Hit the button below and select 'Switch to Log In' to pick up where you left off and finish your project!
Step 8: Taking that same part of the string you just wrapped under your index finger, take it and wrap it over the middle of the "x."
Step 9: Then wrap that same piece of string under your index finger once more.
Step 10: Carefully slip the loop of string off your index finger, and then insert the same piece of string into the loop to form a knot.
Step 11: Adjust and tighten the knot so that the string ends are about even in length.
Step 12: Thread your needle through one of the string ends.
Step 13: Like you did before, thread a star onto the piece of string.
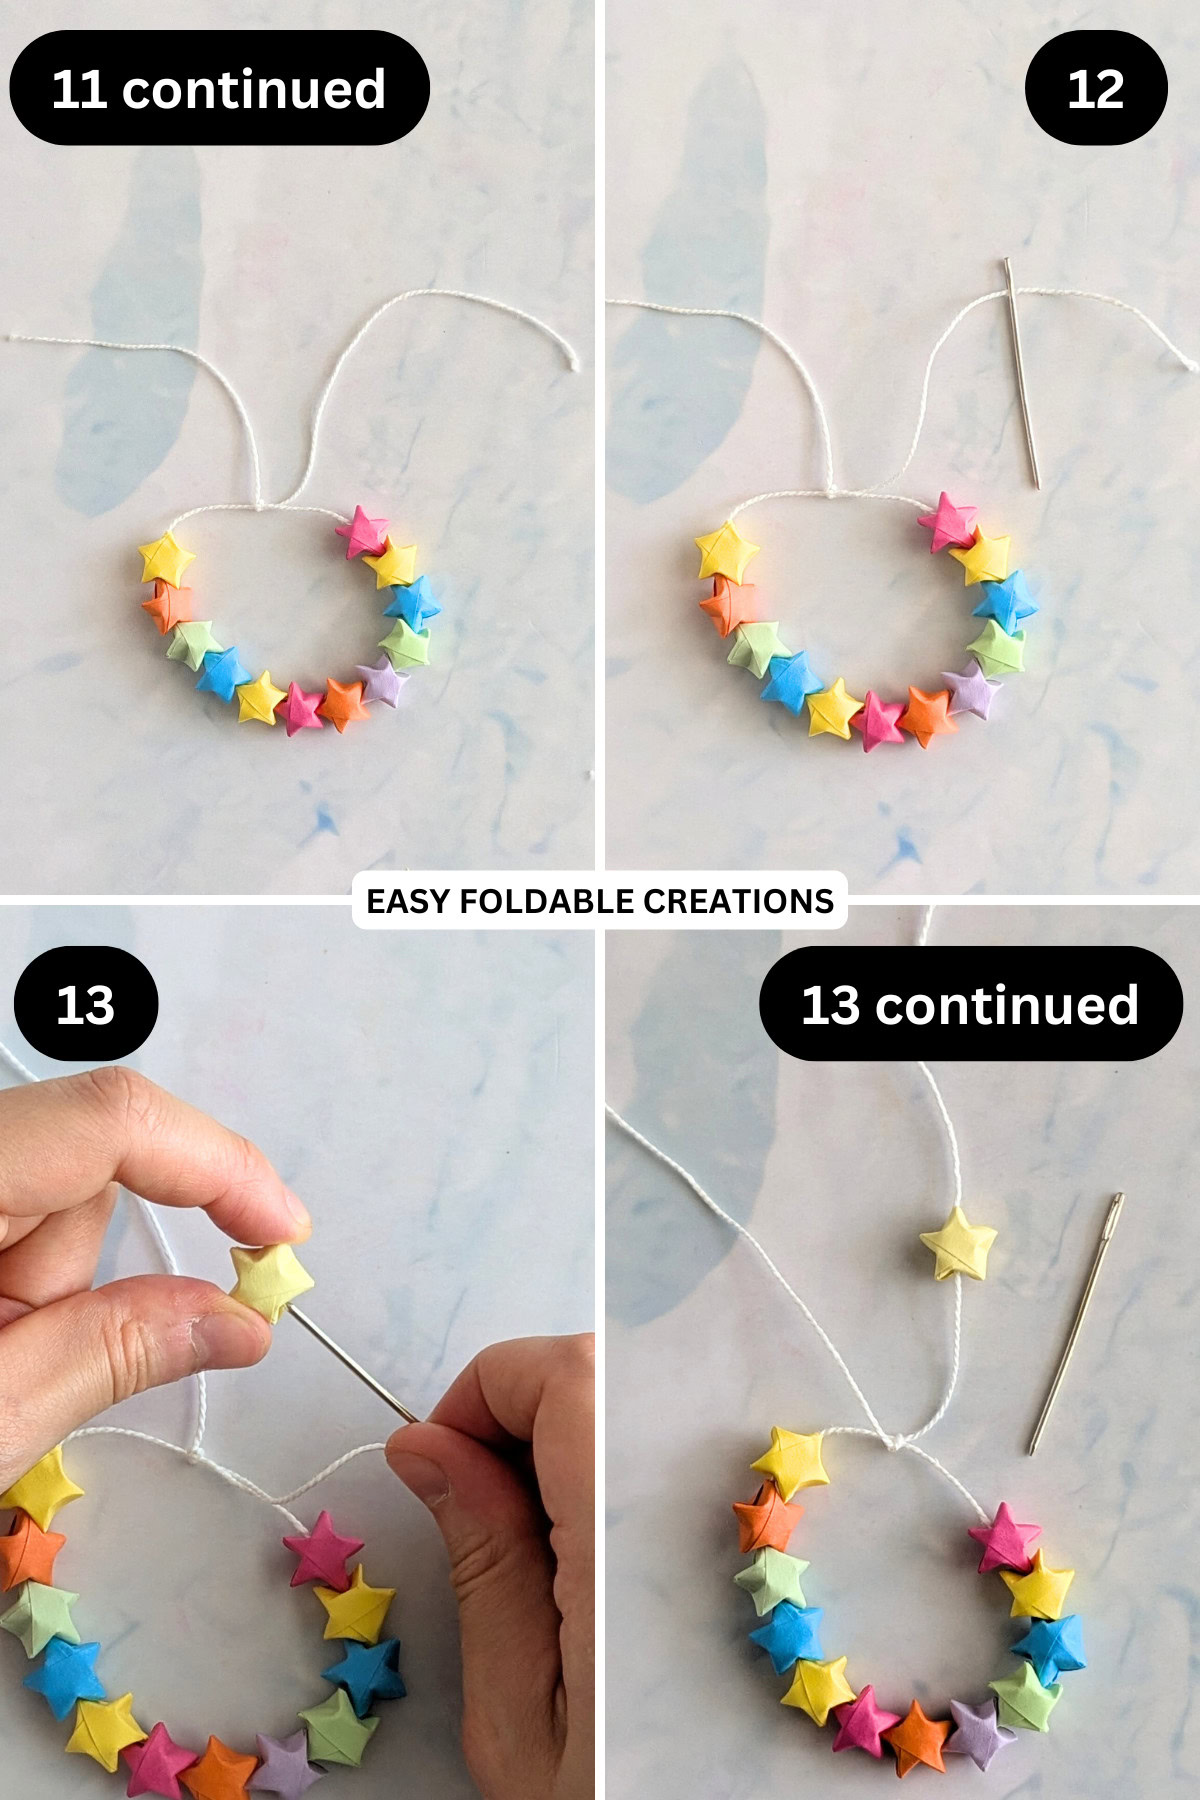
Step 14: Tie a knot at the end of the same string end.
Step 15: Place the star at the edge of the knot. If you find your star could slip over the knot, make another knot over the previous knot.
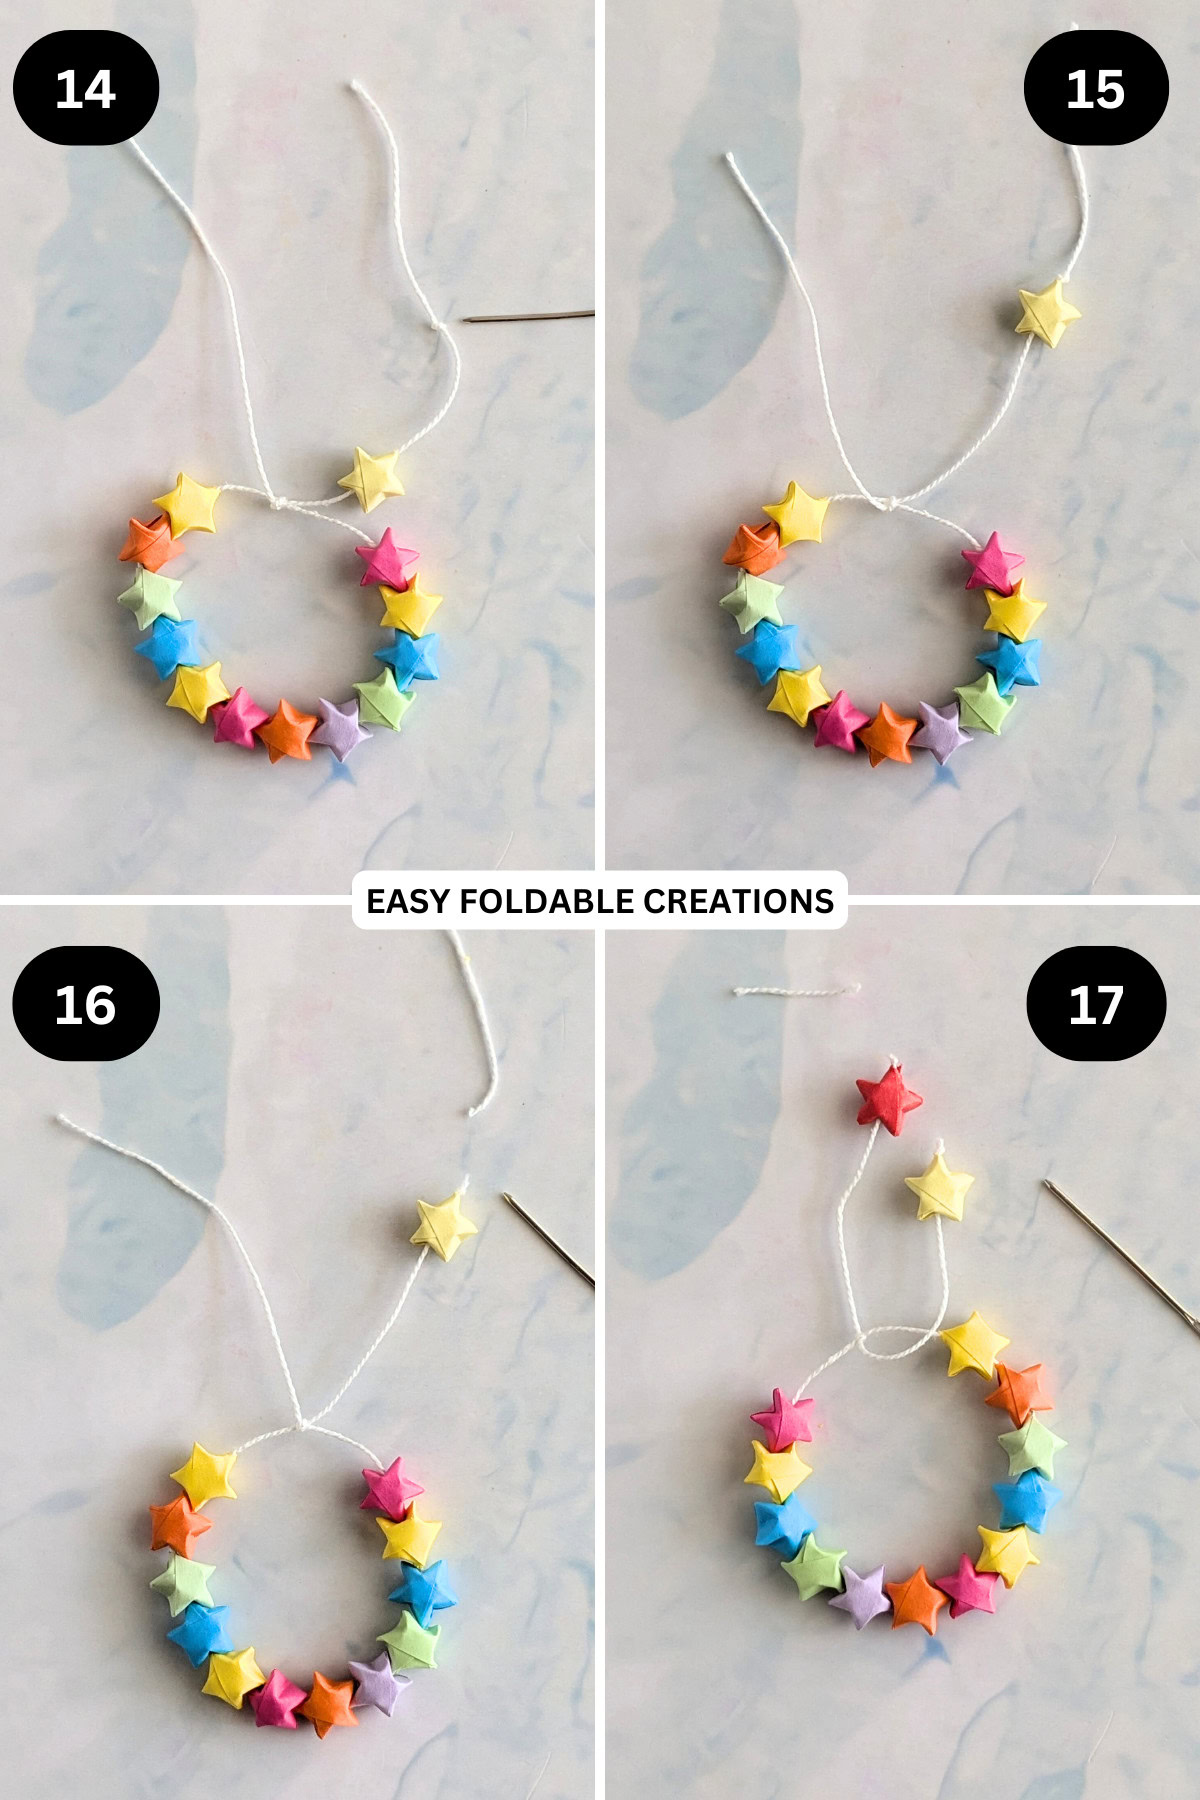
Step 16: Trim the remaining string.
Step 17: Repeat steps 12 to 16 for the other string end.
Step 18: Completed DIY star paper bracelet.
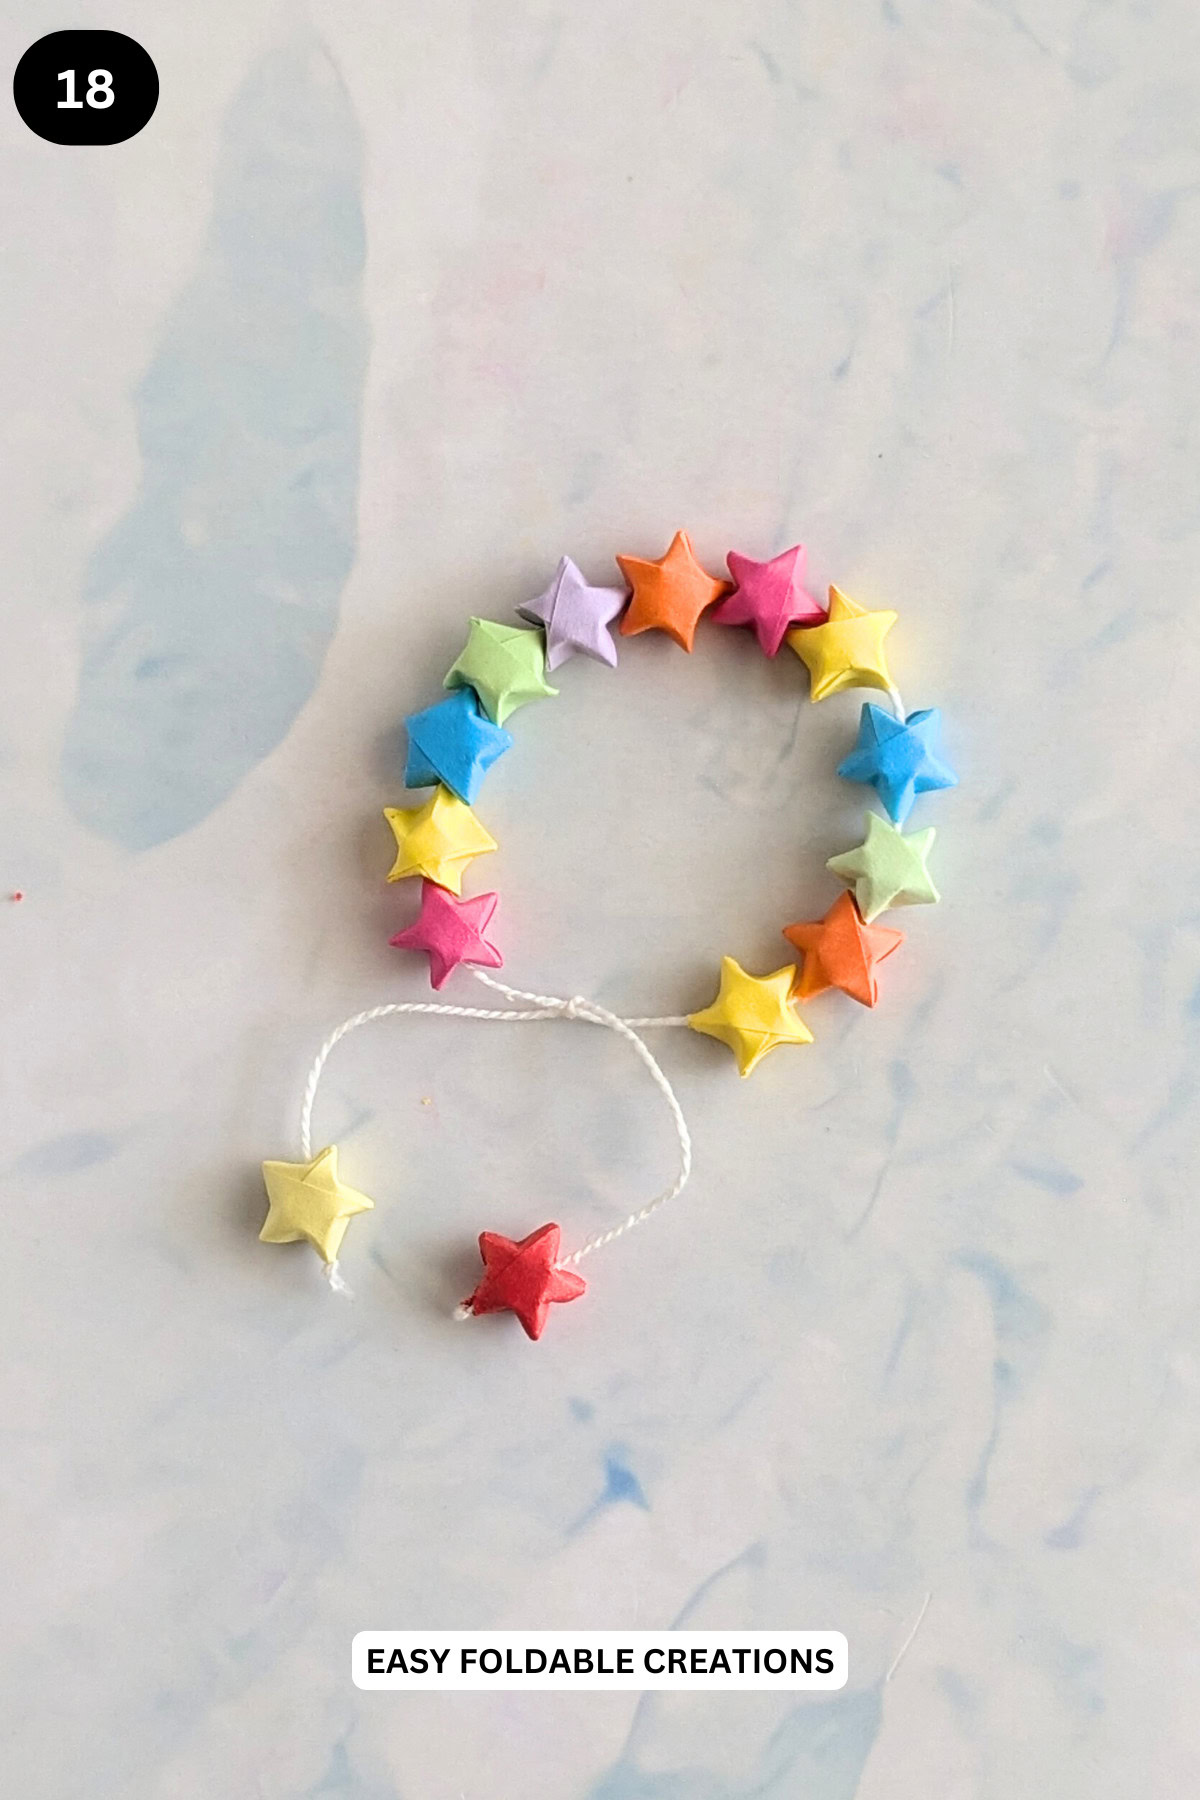
To wear your bracelet: Gently open out the bracelet by pulling on either side of the middle knot, place bracelet on your wrist. To tighten, gently pull on the two lucky stars that hang off the bracelet.
Tips For Success
- Be gentle with the needle: Take care when using the needle to avoid pricking your finger, and use a thimble if necessary for protection.
- Even spacing: When stringing the stars, keep them evenly spaced for a uniform look. Don't overcrowd them on the string.
- Customize the size: If you want a bigger bracelet, increase the number of stars. For a smaller bracelet, use fewer stars.
- You could alternate between star sizes to add more depth to your bracelet.

Color, Paper Ideas, and Variations
- Mix up the colors: You can create a multi-colored bracelet using different shades, from bold hues to pastel tones, depending on the occasion. Consider using holiday colors for Christmas, Valentine's Day, or Mother's Day for a festive touch.
- Add metallic elements: Gold, silver, or holographic paper will create an elegant and shiny bracelet that is perfect for formal events or evening wear.
- Play with patterns: Try using patterned paper for a more bohemian or artistic style. Floral or geometric patterns will give your bracelet a unique twist.
- Use different string types: Experiment with different types of thread or string. A sturdy cotton thread works great, but silk or metallic thread adds a touch of luxury.
- Add personalization: String in some small beads, tiny charms, or initials to make the bracelet even more personalized and meaningful as a gift.
FAQ
Yes! Simply add or remove stars to adjust the length of your bracelet.
For longer bracelets, you may also want to add more string to fit comfortably around your wrist.
Adjust the bracelet around your wrist before tying on the final stars to ensure that it fits.
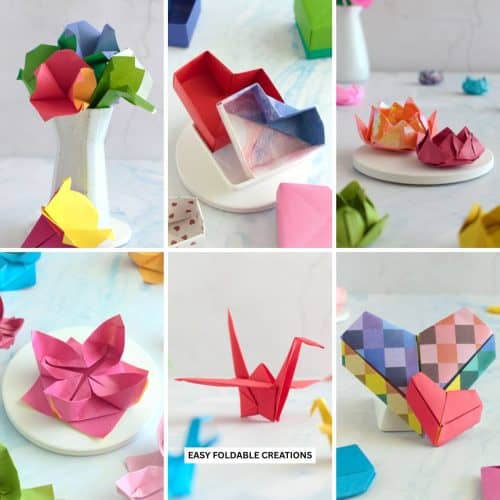
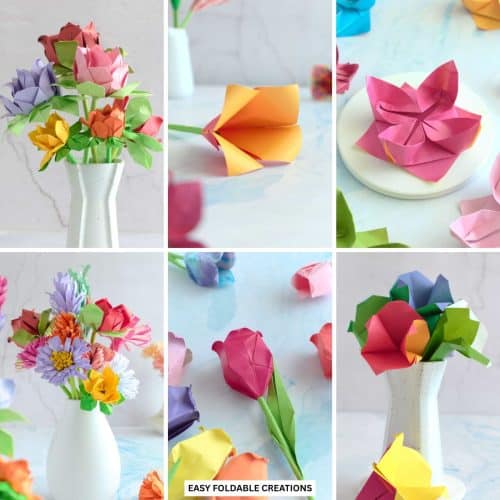
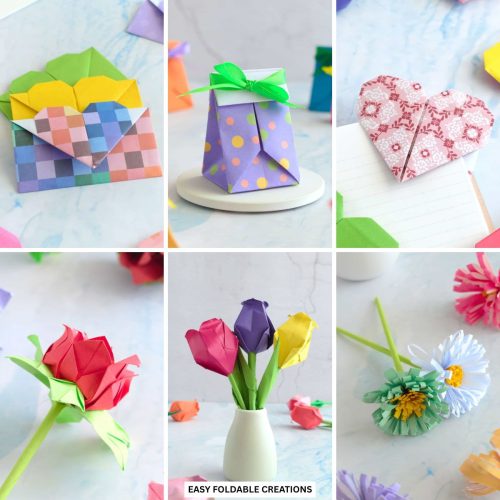
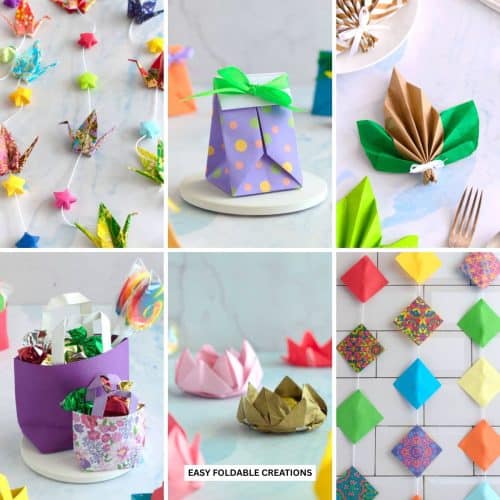
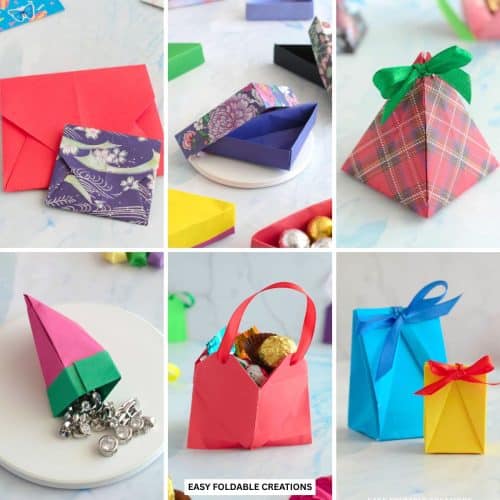
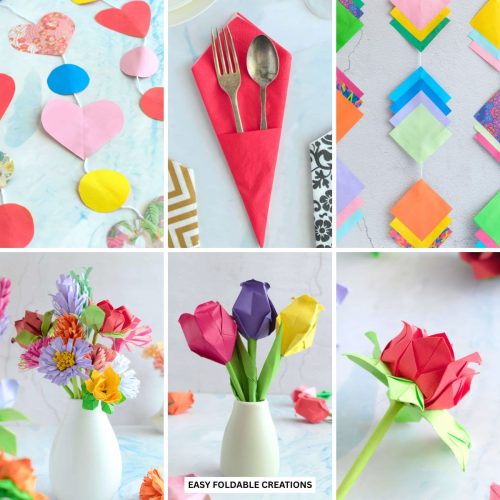
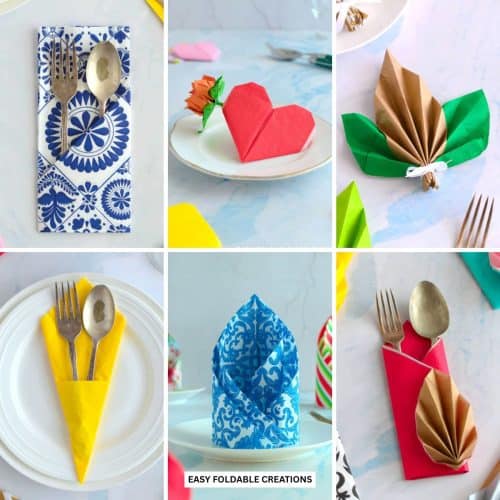
Other Paper Crafts You Might Like To Try:
Helpful Origami Tips
If you're curious to learn more about origami, you might like to look at our basic guides on how to make some common origami folds.
Start with the valley fold and mountain fold-these are the foundation of most origami models.
Once you're comfortable, you might like to try the petal fold for 3D shapes, and explore the bird base and square base for more complex designs.
The water bomb base is also great for creating inflatable or geometric models, like this inflatable origami rabbit.
Useful Paper Craft Terms
Want to learn a little more about paper crafts and origami?
We've made this helpful printable just for you. It explains common terms and helpful tips you might come across when you are folding origami or making a paper craft project.
You can download the useful paper craft terms printable PDF here.
Stay Connected
Made this pattern? Let us know how it went in the comments below!
Pin this post - Pin now to take your paper crafting skills to the next level.
Share on Instagram or Facebook - Capture the beauty of your finished paper craft project and share it on Instagram or Facebook! Tag us @easyfoldablecreations so we can see your work!

Other Patterns You Might Like To Try:
Looking for other easy patterns like this? Try these:
- Beautiful Wedding Gift Wrapping Ideas
- Creative Origami Ideas For Weddings
- DIY Paper Flowers for Wedding Decorations
- DIY Paper Wedding Favor Ideas Guests Will Love
- Easy Paper Crafts for Weddings
- DIY Wedding Favor Boxes and Bags
- DIY Paper Wedding Decorations for Your Big Day
- Wedding Napkin Folding Ideas For Elegant Tables


Comments
No Comments