
Looking for a unique way to wrap your gifts?
Try this fan gift wrapping idea that adds a fun and textured touch to your presents.
With just a few simple folds, you can turn ordinary wrapping paper into something extraordinary.
Perfect for birthdays, holidays, or any occasion that calls for a creative gift presentation!

Jump to:
When it comes to gift wrapping, it's always exciting to add something a little different, and this fan gift wrapping idea is just that!
Instead of using the traditional bow or ribbon, why not go for an accordion-style fan?
This easy-to-make decorative fan rests right on top of your gift, giving it a stylish, textured look that will surely catch the eye of anyone receiving it.
It's a great way to add a personal touch to presents for all kinds of occasions, whether it's a birthday, wedding, Christmas, or even a special thank-you gift.
The beauty of this wrapping idea is its versatility. You can use it with square or rectangular gifts, such as books, small boxes, or gift sets.
The fan can be made from any wrapping paper you choose, and you can even add a coordinating ribbon or decorative accents for that extra pop.
It's a quick and easy way to make your gift stand out without needing any special skills or expensive supplies.
This idea is perfect for anyone who wants to add a bit of creativity to their gift-giving, and it's a fun project that anyone can do, even if you're short on time.
Whether you're wrapping a birthday present for a friend, a Christmas gift for a loved one, or even a small gift for a coworker, this fan wrapping technique is sure to impress.

Why You'll Love This Pattern
- Simple yet eye-catching: This gift wrap adds an elegant, textured look without any complicated steps. The accordion fan gives your gift a distinctive charm that will stand out among the usual bows and ribbons.
- Quick and easy: You don't need to be an expert gift wrapper to pull this off. With just a few folds and basic materials, you can create a professional-looking wrapped gift in no time.
- Perfect for any occasion: Whether it's a birthday, holiday, wedding, or just because, this fan wrapping style is versatile enough for all kinds of celebrations.
- Personalize your wrapping: You can easily customize the fan by choosing different wrapping paper designs or adding extra embellishments like ribbons, buttons, or small ornaments.
- Eco-friendly option: By using wrapping paper you already have on hand, or even repurposing old paper, you're creating a more sustainable gift wrap that reduces waste.
- Fun for all skill levels: Whether you're a seasoned crafter or just starting, this project is accessible for anyone, making it a great way to get creative without feeling overwhelmed.
Exclusive Content Just For You
Not sure what you want to make next, but feeling a bit creative? Or maybe you've been searching for a pattern that sparks something new. We've got a few ideas waiting for you.
The Fold Collective, Easy Foldable Creations' community, provides you with a growing library of exclusive ad-free video tutorials, printable PDF patterns and more so you can improve your skills and enjoy crafting in your own time.
Skill Level
★☆☆☆☆ (Very Easy)
Materials Needed
- Wrapping paper of choice (you can match the gift or choose something decorative)
- Your gift (books, boxes, or any other rectangular/square gift)
- Ribbon (for finishing the look)
- Scissors
- Tape
Instructions
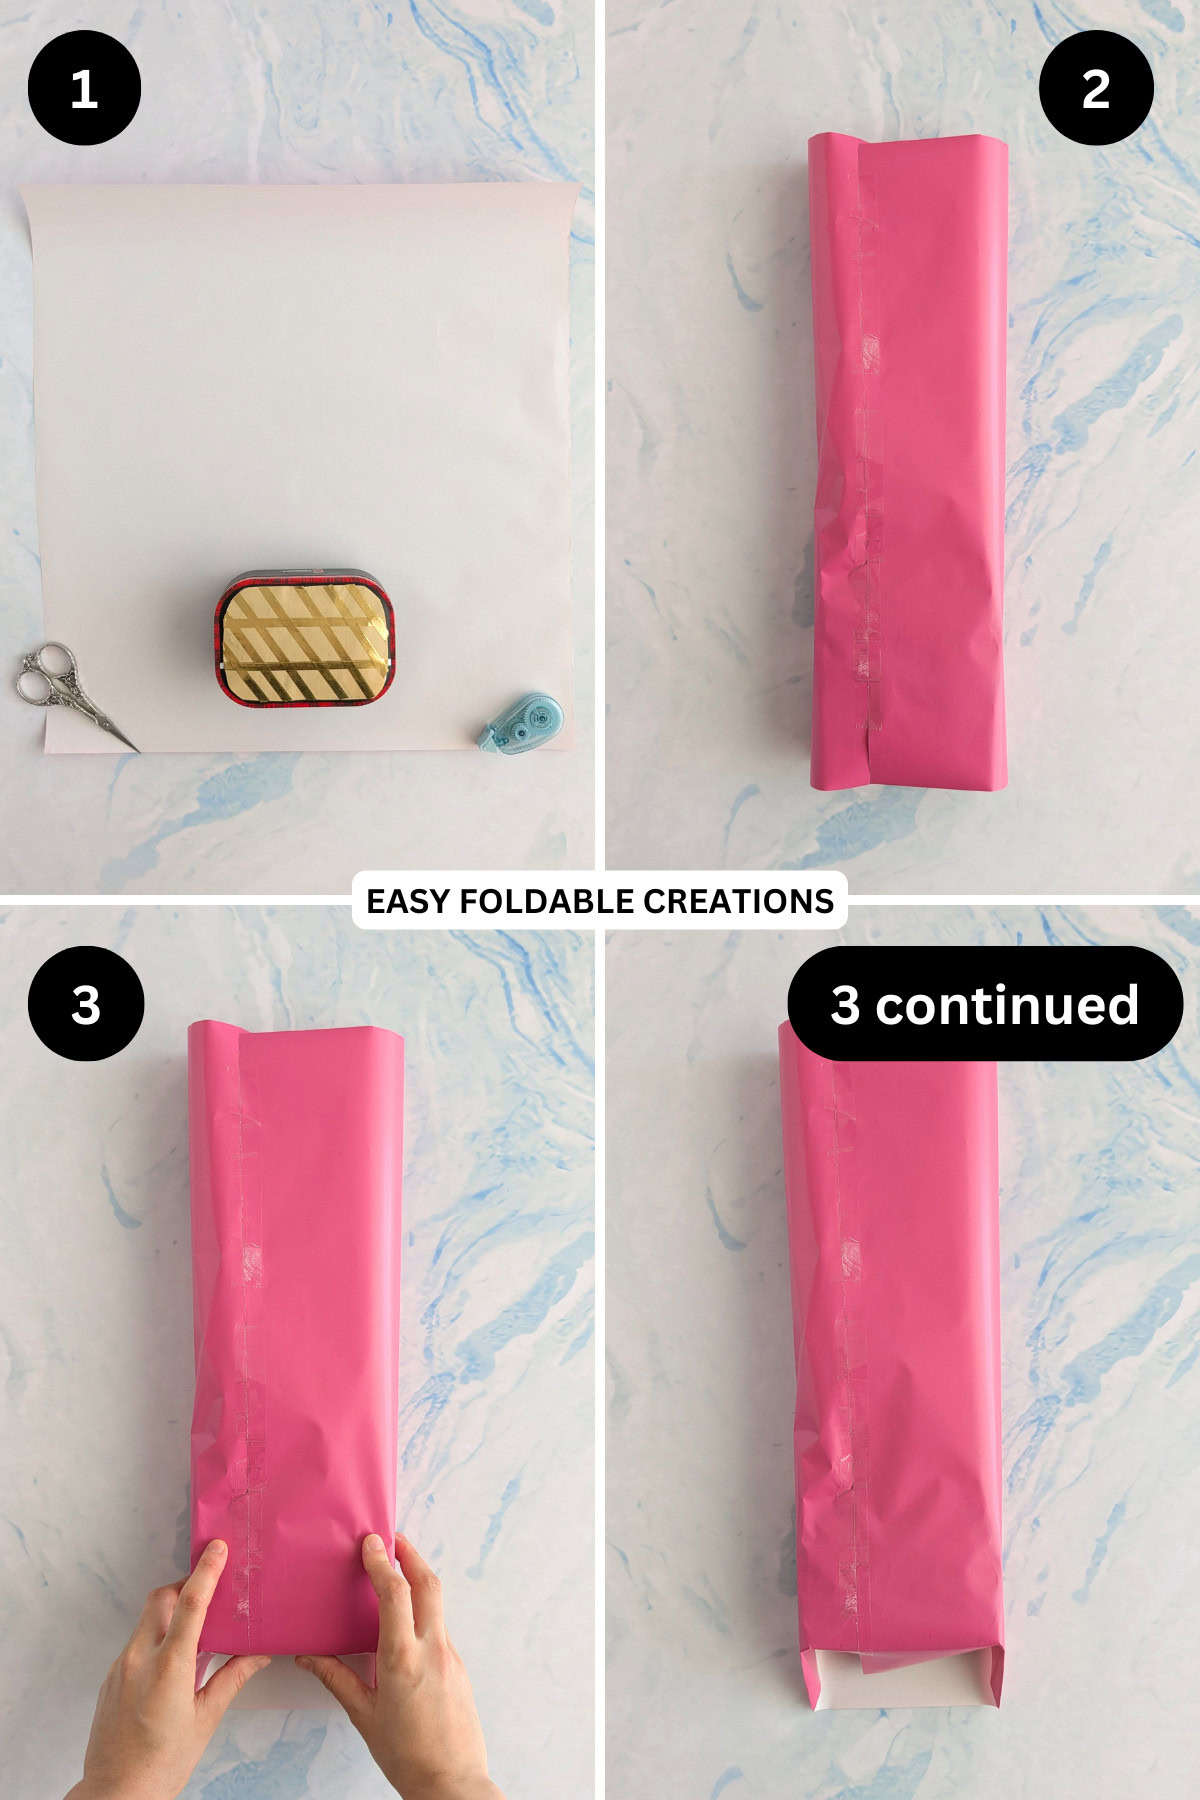
Step 1: Cut your wrapping paper to size. You want the bottom edge to have enough that it can fold up just about a quarter of the gift.
The sides of the gift should have enough to cover the gift (e.g. 1 times the width of the gift on either side). The top will need to be at least 1 ¾ times the length of the gift. The longer the top the more fuller your fan will look.
Step 2: Fold the left edge over to cover your gift. Then fold the right so it overlaps the left. Tape to hold it together, including the top section).
Note: To hide the tape, you could use double sided tape. For this tutorial we are using ordinary tape so that you can see where we have joined the paper together.
Step 3: Using your fingers, run them along the bottom edge of your gift. Then bring the paper down as shown and straighten out the bottom right and left sides of the paper as shown. Make sure they align with the sides of the gift.
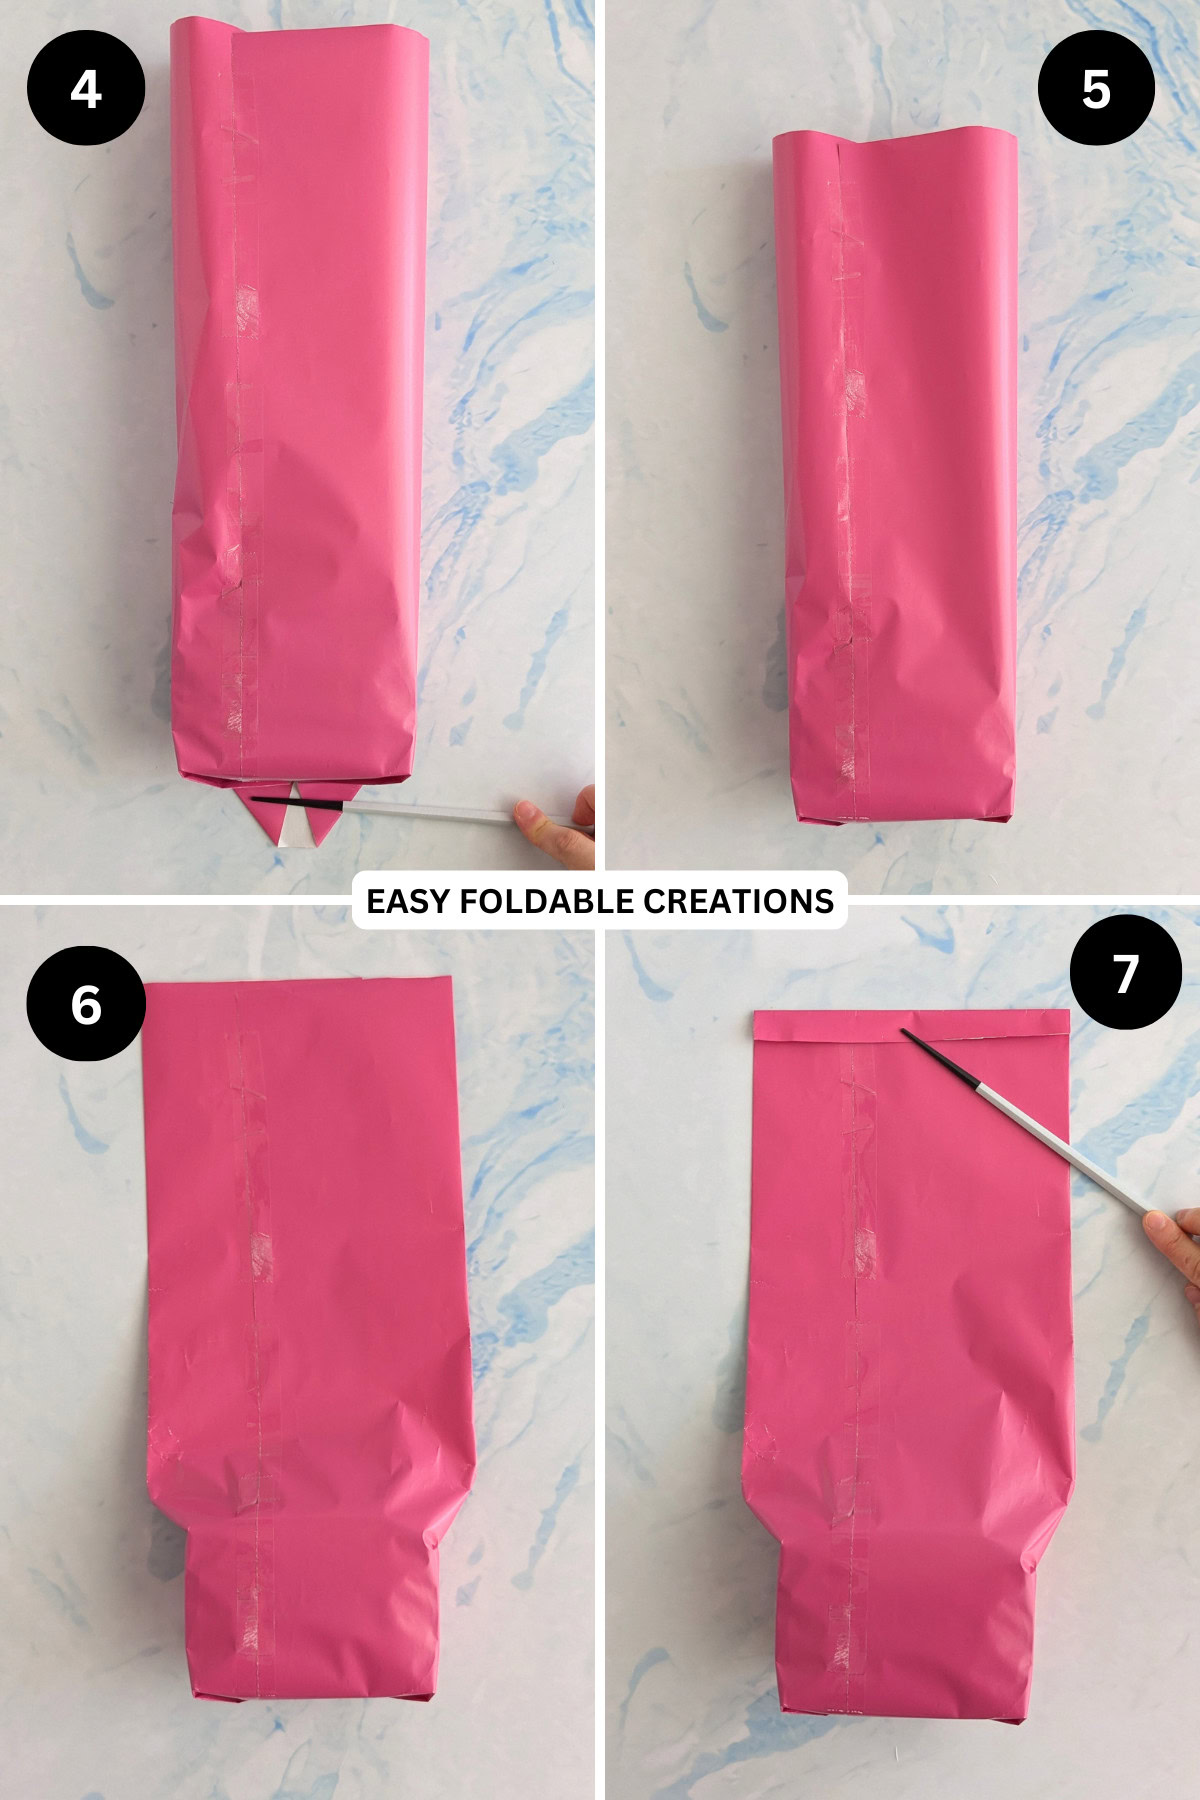
Step 4: Fold both the left and right sides of the bottom edge in.
Step 5: Fold the bottom edge up (note; if you think your bottom edge is a bit too long, you can trim it down slightly), and secure it with tape. You don't want the bottom edge to go over the top of the gift.
Step 6: Flatten the top section as shown. Work your way down from the top and carefully crease the edges until you reach the top of your gift.
Step 7: Fold the top edge down slightly. The width is up to you. The narrower you make this, the more fuller your fan will look.
We recommend about 0.40 inches (1 cm) as a guide, if you are folding a medium sized give.
Tip: if the top edge of your paper is not straight, trim it down so that it is before you fold.
✨ You're almost there! ✨
To unlock the final steps of the photo tutorial and complete your pattern, create a free account with Grow.me. below.
Make sure you tick the box to subscribe to our newsletter and stay up to date with the latest patterns, tips, and more!
Once you're signed up, you'll get instant access to finish your project with the photo tutorial and enjoy exclusive content in the future.
Already signed up? Hit the button below and select 'Switch to Log In' to pick up where you left off and finish your project!
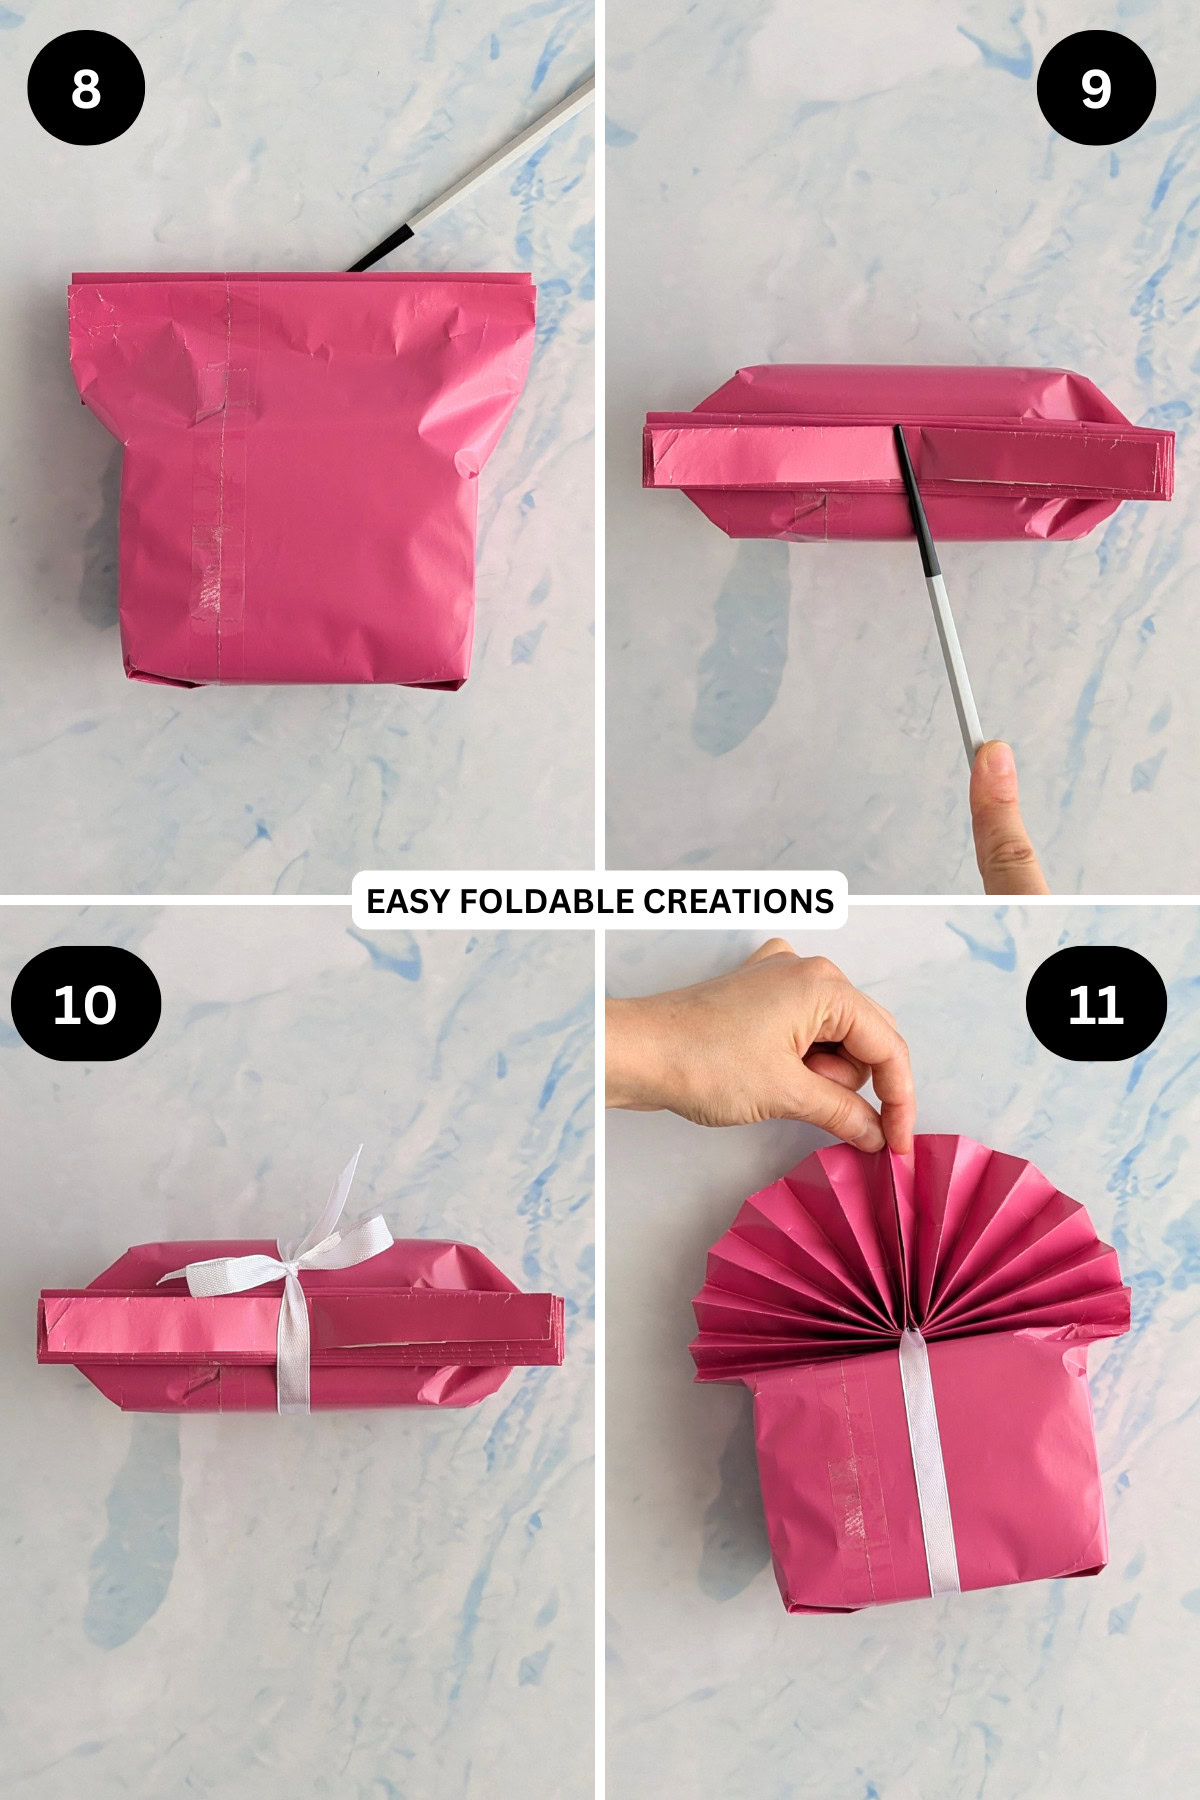
Step 8: Accordion fold the top section until you reach the top of your gift. Tip: To accordion fold, fold the paper back and forth in equal sections.
Keep flipping the paper in the opposite direction each time to create a zigzag shape. Make sure you end on the same side (the one you taped) facing up) and the accordion folds facing down as shown.
Step 9: Once you reach the top of your gift and can't accordion fold down anymore, make your gift stand and flatten the accordion folds on top as shown.
Step 10: Tie your ribbon around your gift as shown (keeping it in the middle). Make sure the bow you tie at the front of your gift (the opposite side to where you taped it).
Step 11: Take the left edge and right edge of the accordion folds and bring them together as shown. Crease in the middle where they meet.
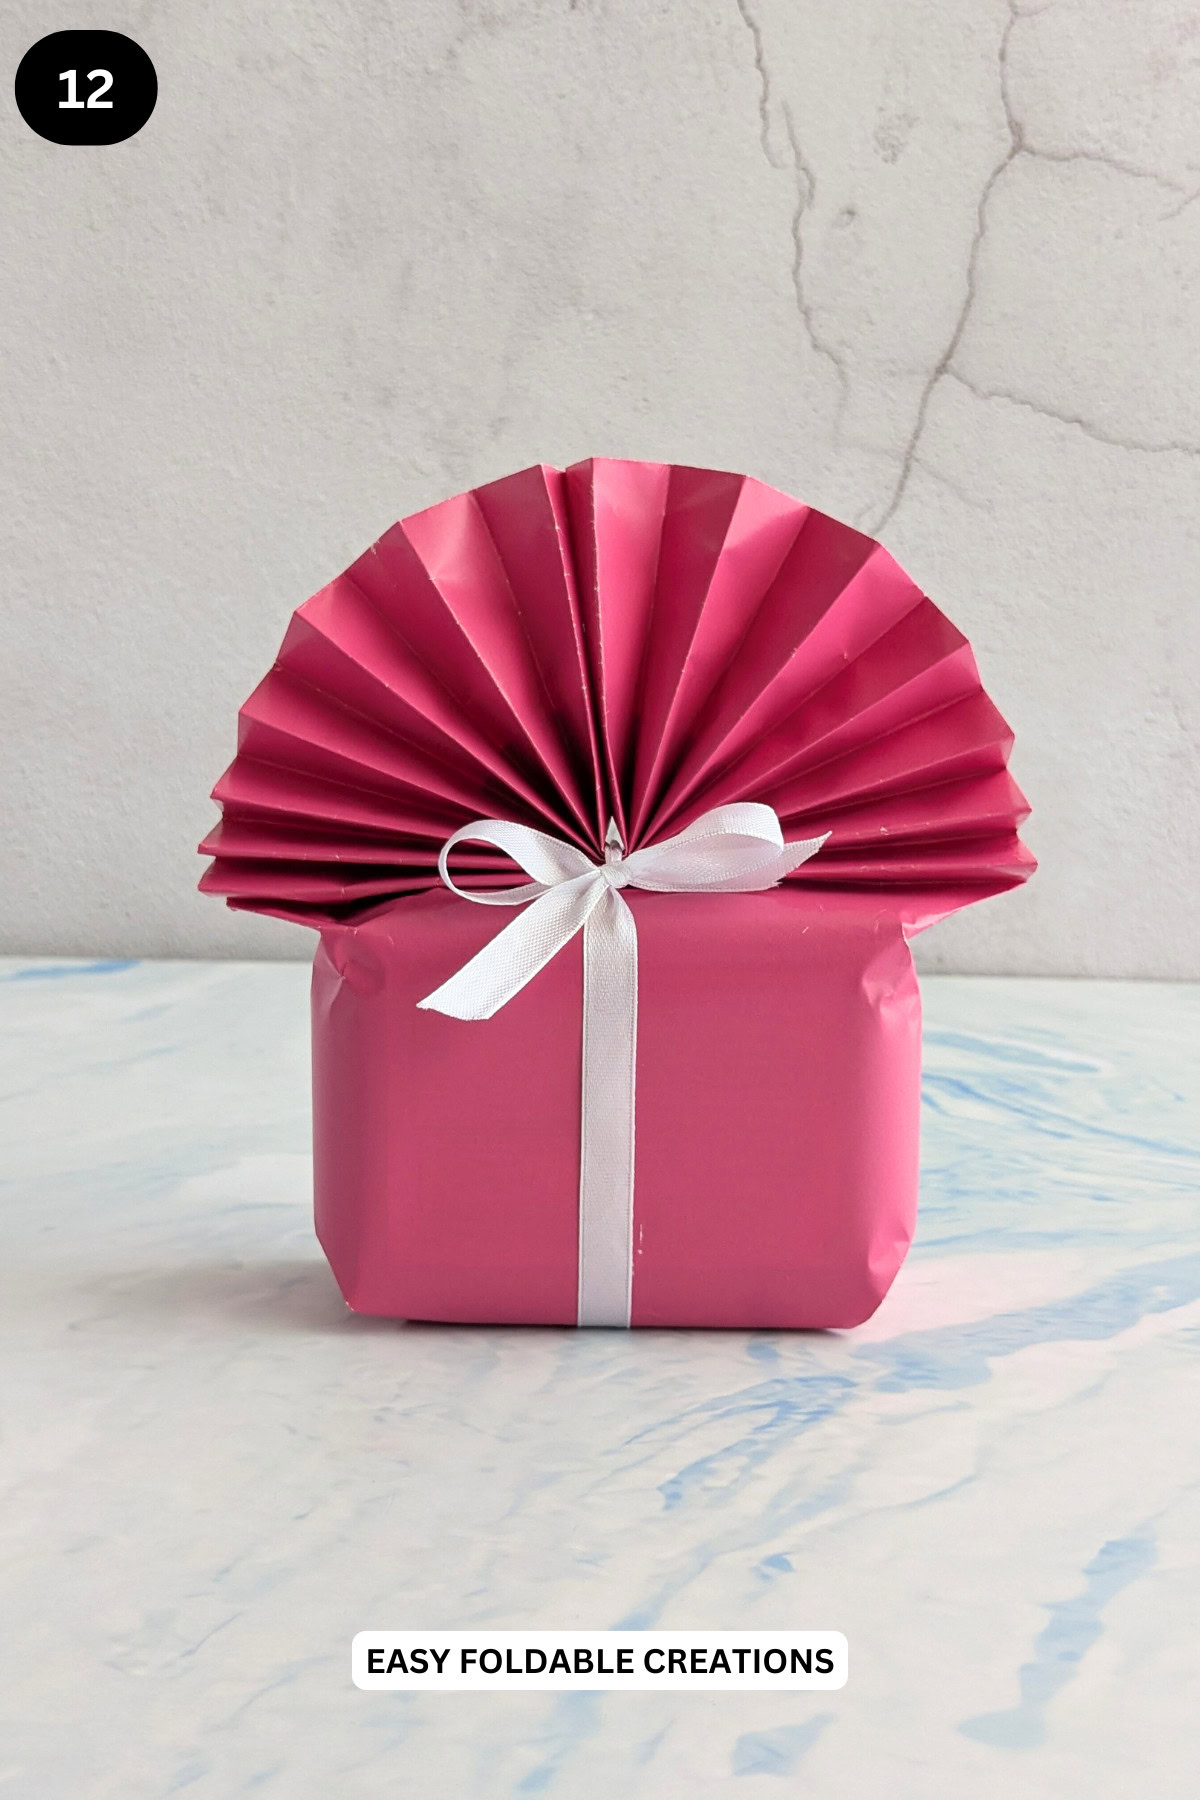
Step 12: Release the accordion folds. Apply some glue or double sided tape to the top of the accordion folds and then bring them together again. Completed fan gift wrapping.
Tips For Success
- Use double-sided tape for a cleaner look, especially around the edges of the fan.
- Keep the folds uniform for a neat, crisp look.
- Personalize the gift - add a tag or card to complete the package!
- Experiment with colors - try using a contrasting color for the fan and ribbon for a bold look.

Color, Paper Ideas, and Variations
- Bright patterns - Perfect for birthday presents or celebrations with bold, fun prints.
- Metallic paper - Ideal for holiday gifts like Christmas or New Year's.
- Themed paper - Match the wrapping paper to the occasion (e.g., floral for a wedding, stripes for a summer gift).
- Pastel tones - Soft and elegant for baby showers or Mother's Day gifts.
- Rustic or Kraft paper - Try a natural look for weddings or rustic-themed events.
FAQ
Yes! Simply adjust the size of the fan and use larger sheets of paper for bigger presents.
You can use craft paper, or even old newspapers if you're looking for a more eco-friendly option.
While it's not necessary, adding a ribbon helps to secure the fan and gives it a polished, finished look.
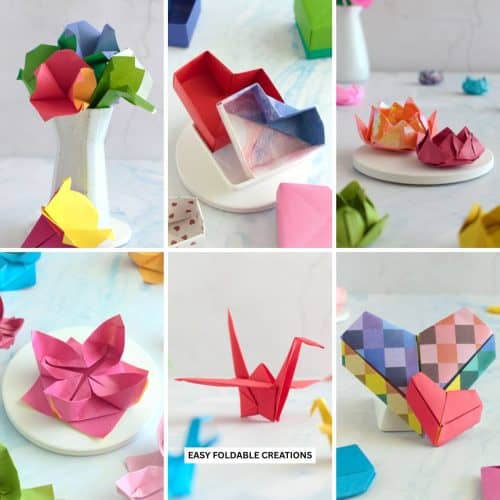
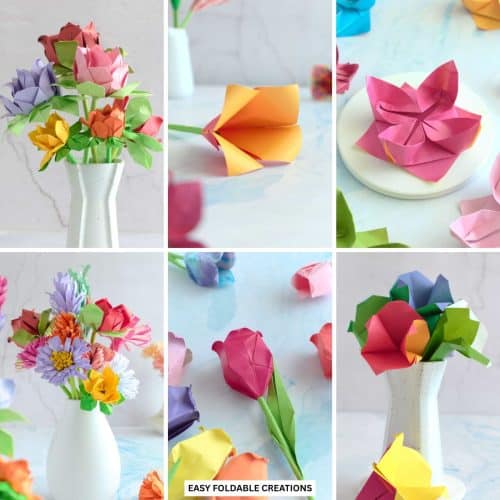
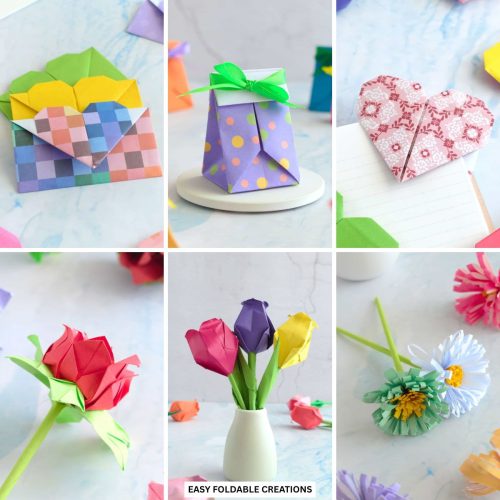
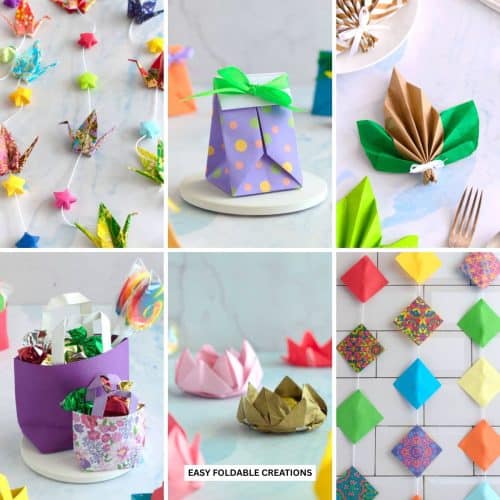
Other Paper Crafts You Might Like To Try:
Helpful Origami Tips
If you're curious to learn more about origami, you might like to look at our basic guides on how to make some common origami folds.
Start with the valley fold and mountain fold-these are the foundation of most origami models.
Once you're comfortable, you might like to try the petal fold for 3D shapes, and explore the bird base and square base for more complex designs.
The water bomb base is also great for creating inflatable or geometric models, like this inflatable origami rabbit.
Useful Paper Craft Terms
Want to learn a little more about paper crafts and origami?
We've made this helpful printable just for you. It explains common terms and helpful tips you might come across when you are folding origami or making a paper craft project.
You can download the useful paper craft terms printable PDF here.
Stay Connected
Made this pattern? Let us know how it went in the comments below!
Pin this post - Pin now to take your paper crafting skills to the next level.
Share on Instagram or Facebook - Capture the beauty of your finished paper craft project and share it on Instagram or Facebook! Tag us @easyfoldablecreations so we can see your work!

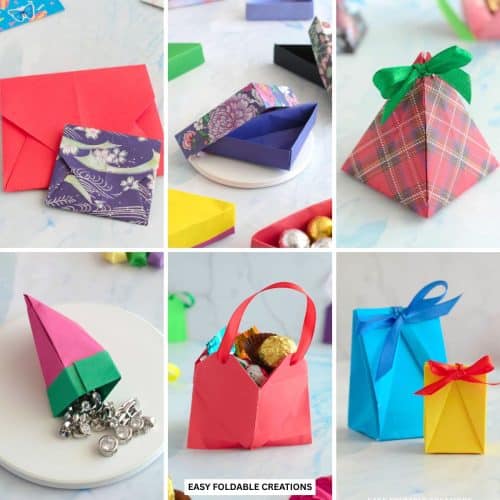
Other Patterns You Might Like To Try:
Looking for other easy patterns like this? Try these:
- Beautiful Wedding Gift Wrapping Ideas
- Creative Origami Ideas For Weddings
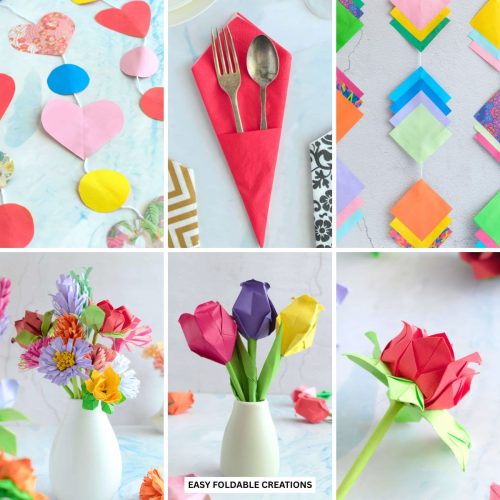
- DIY Paper Flowers for Wedding Decorations
- DIY Paper Wedding Favor Ideas Guests Will Love
- Easy Paper Crafts for Weddings
- DIY Wedding Favor Boxes and Bags
- DIY Paper Wedding Decorations for Your Big Day
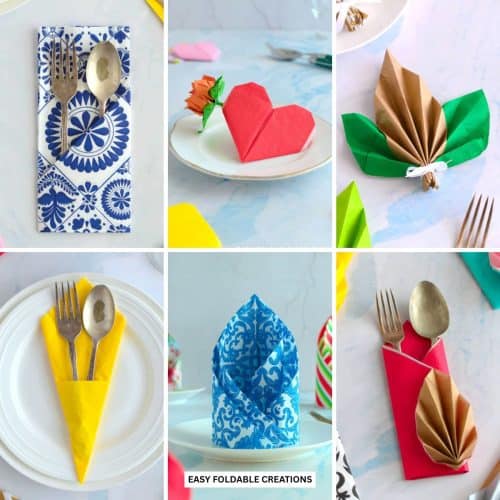
- Wedding Napkin Folding Ideas For Elegant Tables


Comments
No Comments