
Quick, fun, and ready to print, the DIY carrot box printable makes gift-giving easy and festive. Ideal for Easter treats, small surprises, or crafty party favors.
This adorable DIY carrot box is perfect for Easter baskets, spring celebrations, and party favors!
Use the free printable template, cut, fold, and glue-then tie it up with a ribbon for the perfect finishing touch.
Fill it with chocolates, candies, or small gifts its up to you!

Jump to:
- Why You'll Love This Pattern
- Exclusive Content Just For You
- Skill Level
- Materials Needed
- Easy Carrot Gift Box Printable Template
- Instructions
- Tips For Success
- Common Mistakes & How To Avoid Them
- Color, Paper Ideas, and Variations
- FAQ
- Other Paper Crafts You Might Like To Try:
- Helpful Origami Tips
- Useful Paper Craft Terms
- Stay Connected
- Other Patterns You Might Like To Try:
- Comments
If you're looking for a fun and festive way to package small treats, this DIY carrot box is just what you need!
This DIY carrot box printable is a downloadable paper template designed to be printed, cut, and assembled into a carrot-shaped gift box. It is commonly used for Easter treats, party favours, and seasonal crafts, and combines simple assembly with a decorative themed design.
Whether you're putting together Easter gift baskets, organizing a spring celebration, or simply want a cute way to share goodies, this easy-to-make box is both practical and charming.
You can print the template directly onto cardstock for durability or use regular paper and reinforce it by tracing the template onto thicker material.
The best part? The box is finished off with a hole punch and satin ribbon, giving it a carrot top and a polished, gift-ready look.
Each box, when printed on A4 paper, measures about 6 inches (15cm long) x 3 inches (7.5cm) wide, making it the perfect size for small chocolates, jelly beans, or tiny gifts.
You can make a bunch of them in no time-ideal for classroom gifts, party favors, or Easter egg hunts!
Add an extra special touch to these carrot boxes by making a matching butterfly gift tag to go with it.
If you love DIY gift packaging, this carrot box is a must-try. It's fun, festive, and adds a personal touch to your gifts.
Plus, it's a great crafting activity for kids-they can color, decorate, and help assemble their own carrot treat boxes!

You might also like to try making this Easy Bunny Gift Box.
Why You'll Love This Pattern
- Perfect for Easter & Spring - A festive way to package small gifts and treats.
- Super Easy to Make - Just print, cut, fold, and glue!
- Comes with a Free Printable - No measuring or guesswork needed.
- Adorable & Practical - Great for filling with candy, chocolates, or small toys.
- Fun for Kids & Adults - Let kids decorate their own carrot boxes for a personalized touch!
Exclusive Content Just For You
Not sure what you want to make next, but feeling a bit creative? Or maybe you've been searching for a pattern that sparks something new. We've got a few ideas waiting for you.
The Fold Collective, Easy Foldable Creations' community, provides you with a library of exclusive ad-free video tutorials, printable PDF patterns, helpful tips, and more so you can improve your skills and enjoy crafting in your own time.
Skill Level
★☆☆☆☆ (Very Easy)
Materials Needed
- Printable Carrot Box Template (provided)
- A4 Paper or Cardstock (cardstock recommended for sturdier boxes)
- Scissors
- Glue or Double-Sided Tape
- Hole Punch
- Satin Ribbon (for tying the carrot top)
Paper Size & Finished Box Dimensions
| Final Box Size | |
| Made With A4 Paper | 6 inches (15 cm) x 3 inches (7.5 cm) |
For a sturdier box, print directly onto cardstock or trace onto thicker paper before cutting.
Easy Carrot Gift Box Printable Template
Here you will find the printable PDF for the carrot gift box template.
Instructions
Step 1: Print out your carrot box template.
Step 2: Cut out the template. If you haven't printed your template onto card stock or colored paper, cut out the template and then trace it onto your paper. Then cut out what you traced.
Step 3: Score or fold along the dotted lines.
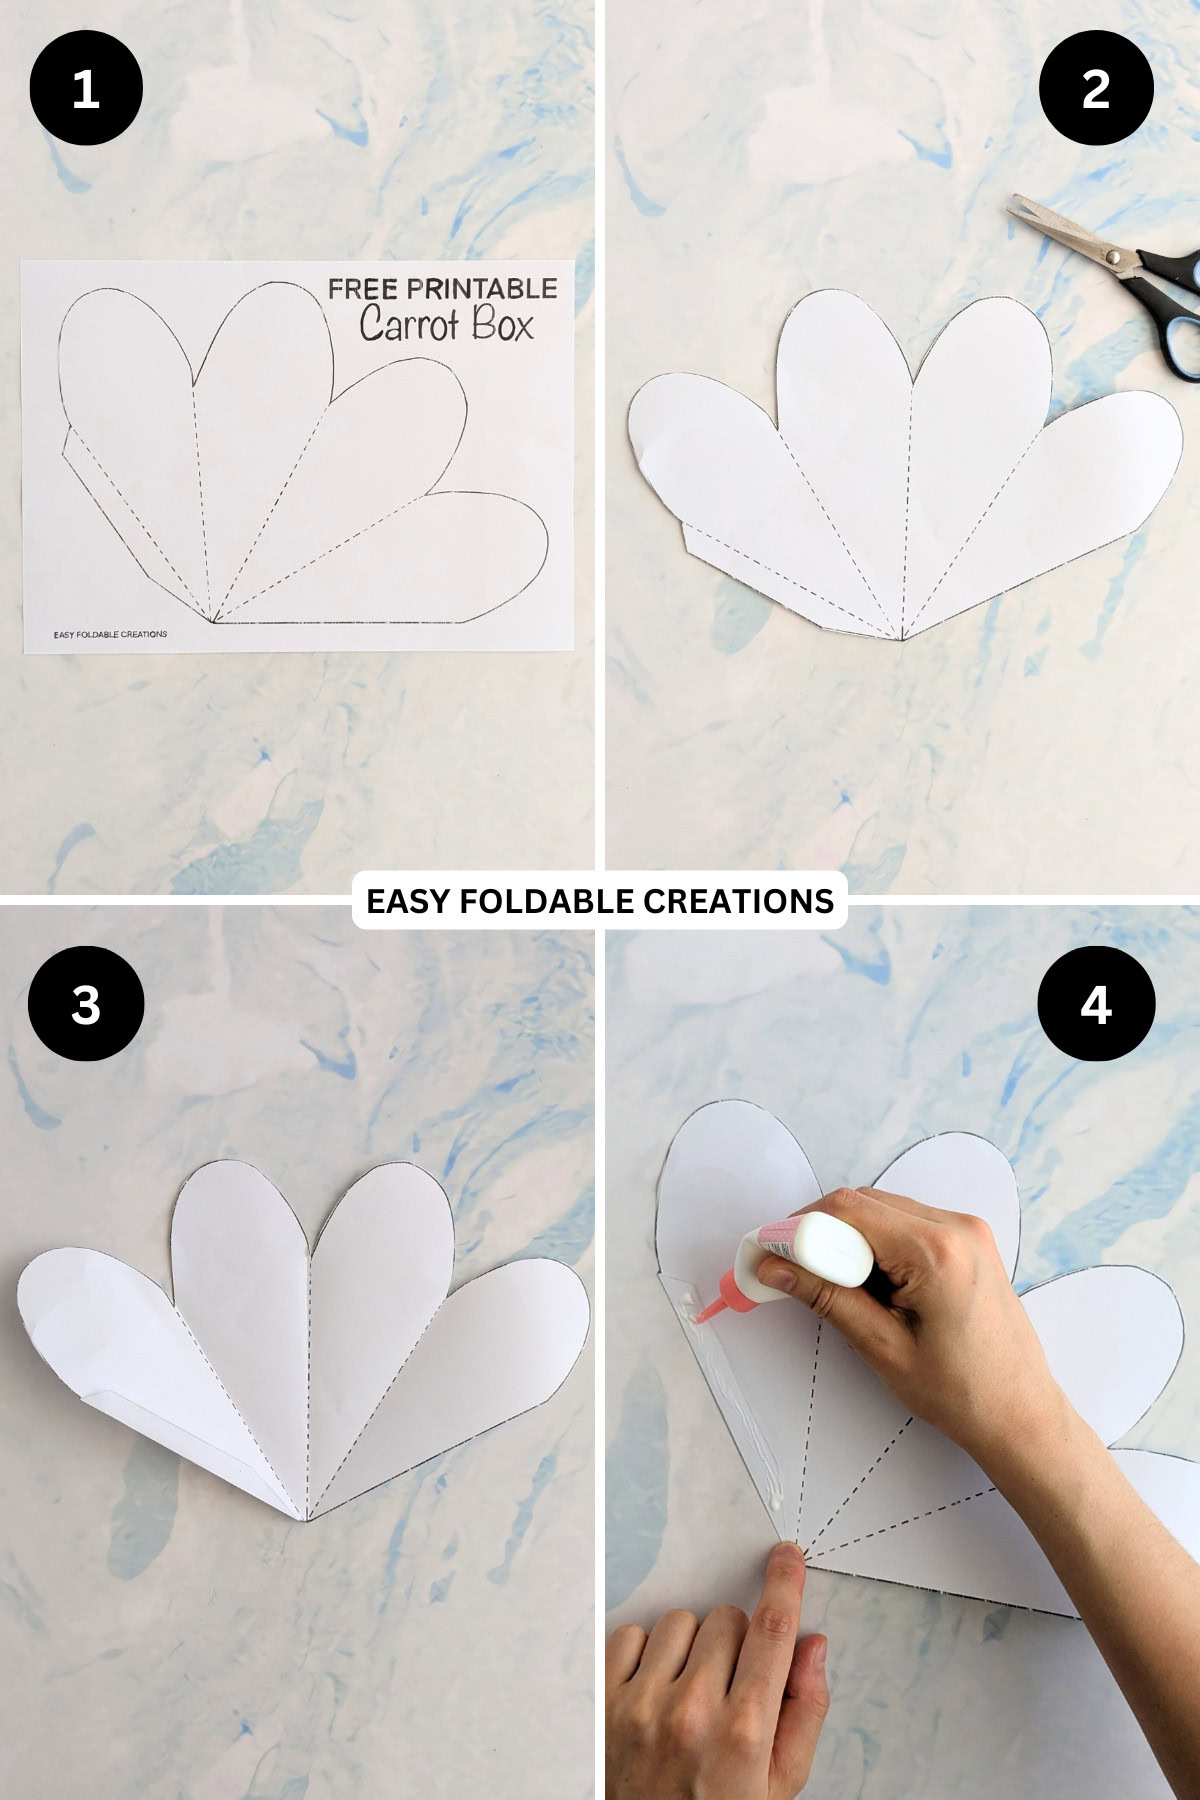
Step 4: Apply some glue to the flap shown.
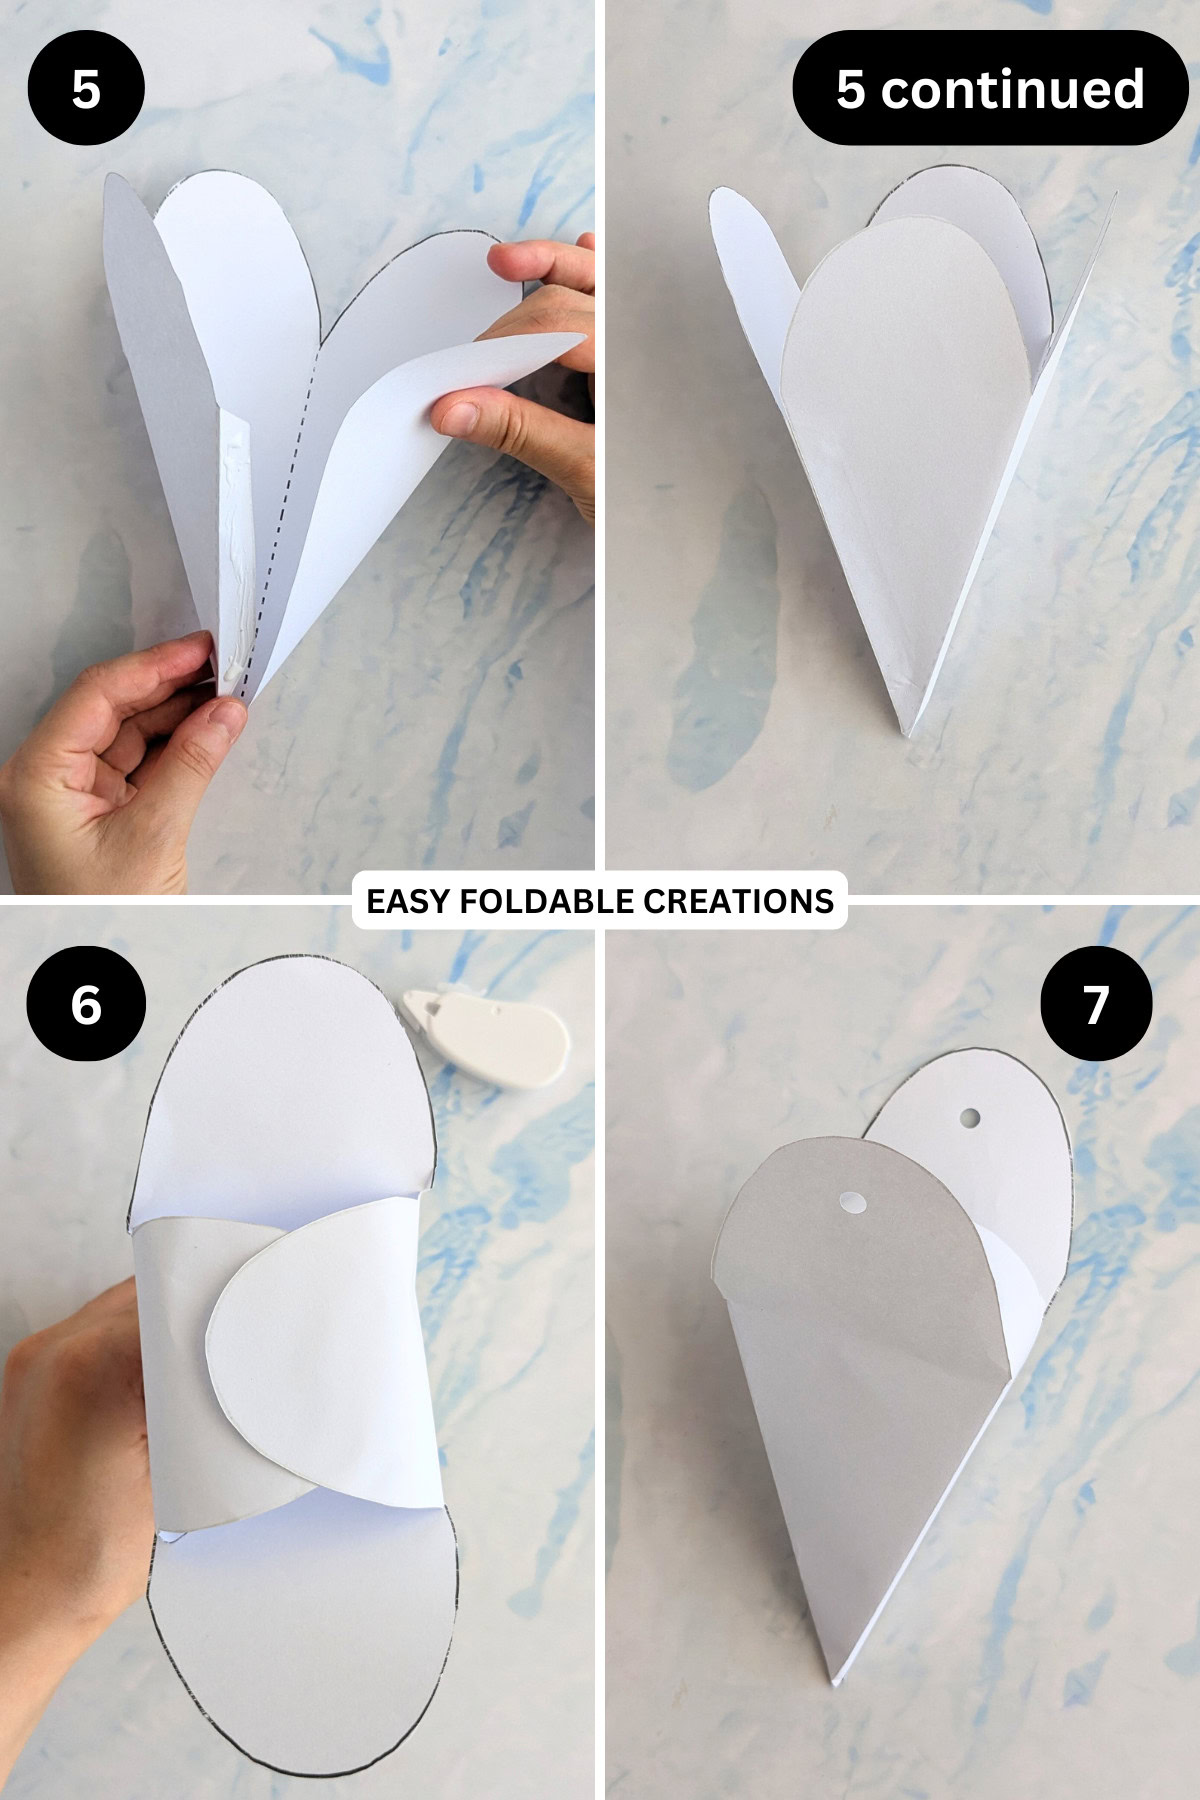
Step 5: Assemble your carrot box.
Step 6: Place what you want inside your box and then apply some double sided tape or glue to one of the top flaps. Then take the flap that is opposite and glue it together.
Step 7: In the remaining two flaps, use a hole punch and punch a hole on both of the flaps.
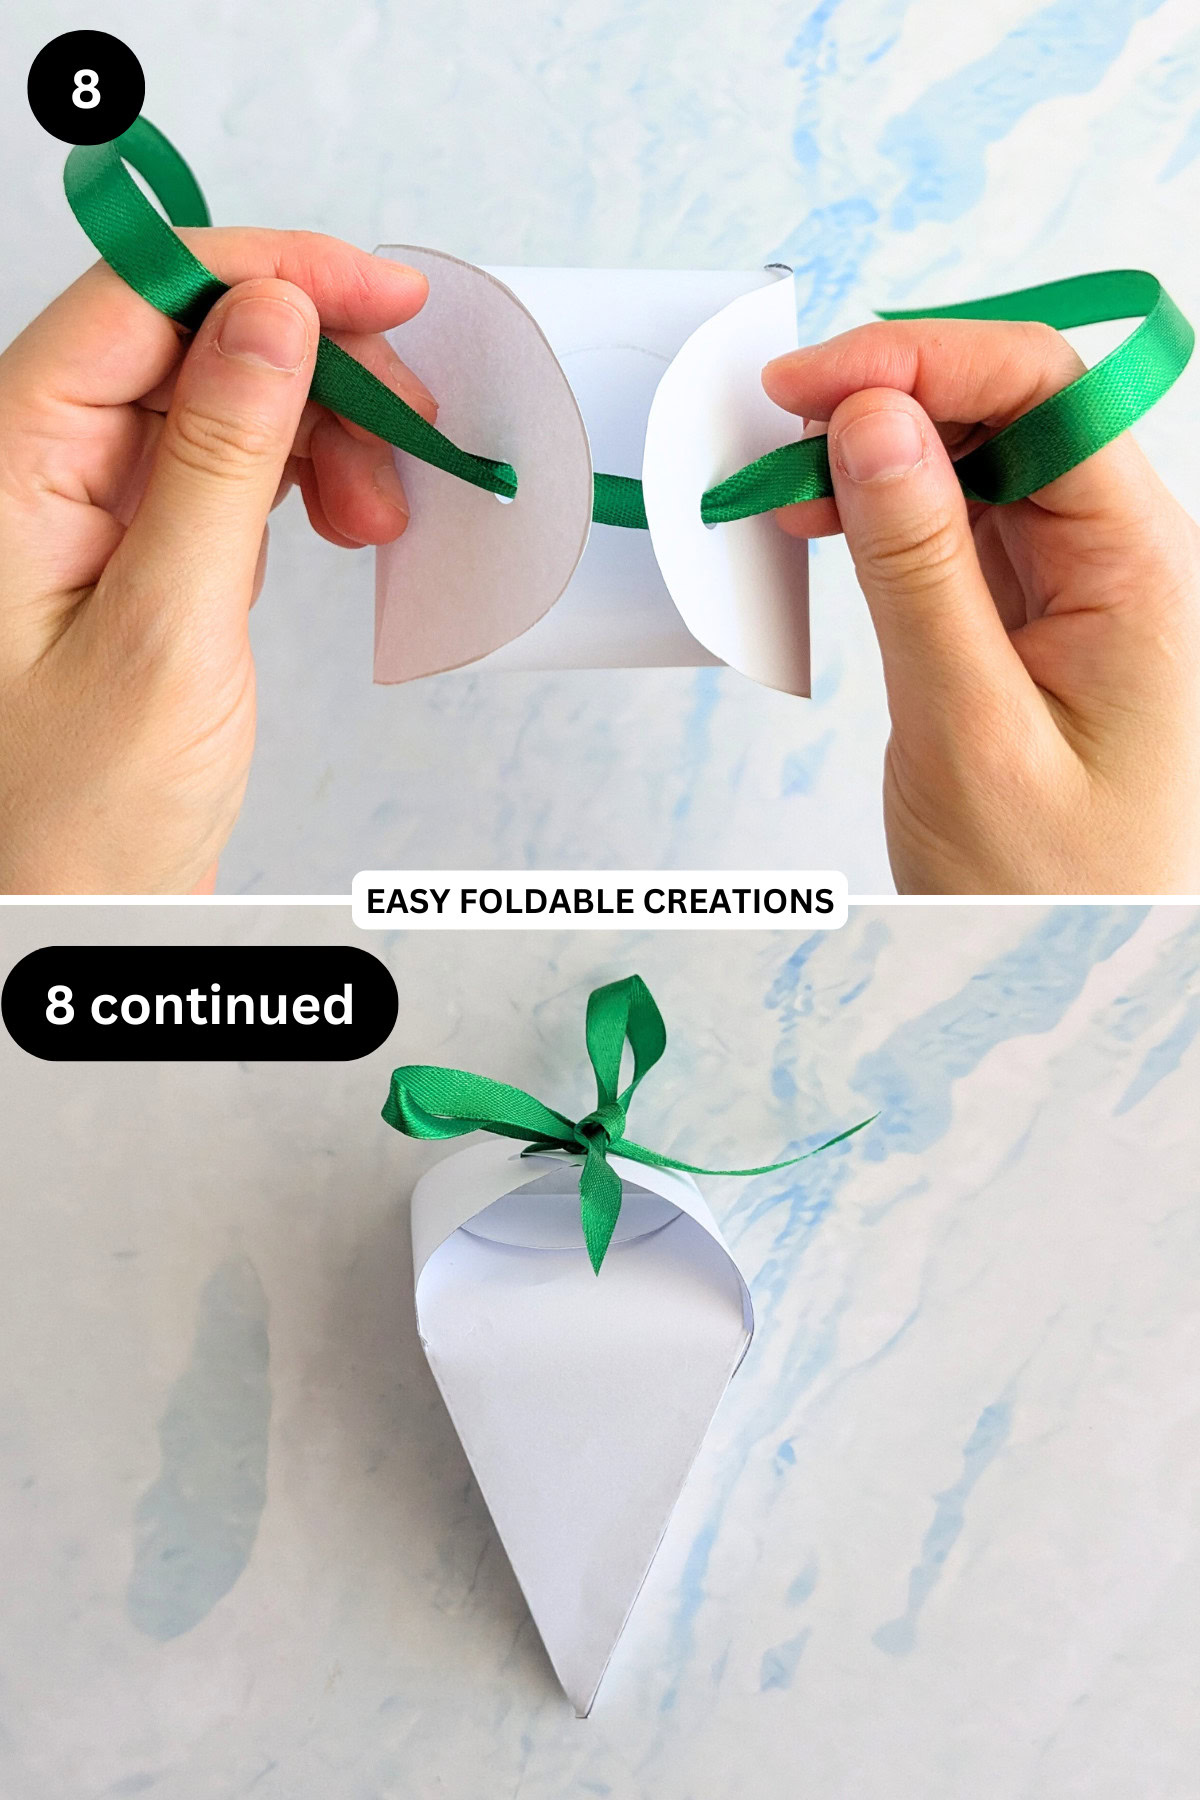
Step 8: Thread some ribbon through the holes and tie it to close your box. Completed carrot box.
Tips For Success
- Use cardstock for a stronger, more durable box.
- Let kids decorate the box before assembling-stickers, glitter, or hand-drawn designs make it extra special!

Common Mistakes & How To Avoid Them
- Edges not aligning properly? Make sure to score and fold all lines carefully before gluing.
- Box won't hold its shape? Use a thicker paper type like cardstock for more stability.
- Glue showing through? Use double-sided tape for a neater finish.
- Ribbon slipping out? Double-knot the ribbon or use a wider satin ribbon for a secure closure.
Color, Paper Ideas, and Variations
- Classic Easter Look - Print on orange cardstock and use green ribbon for a traditional carrot design.
- Try light orange and mint green for a softer, more playful look.
- Let kids decorate their carrot boxes with markers, stickers, or glitter.
- Farm & Garden Party Favors - Use kraft paper for a rustic, farmhouse-inspired carrot box.
- Alternative Uses - Fill with confetti, small notes, or handmade jewelry for other occasions.
FAQ
Yes! Simply adjust the print size to make smaller or larger versions.
A glue stick works well, but double-sided tape gives a cleaner finish. If using liquid glue, apply sparingly and let it dry before assembling.
Yes, but the box will be more delicate. Cardstock is recommended for a sturdy, long-lasting gift box.
You can trace the template onto paper or cardstock and cut it out manually.
Absolutely! Any type of ribbon works, but satin gives a smooth, elegant finish.
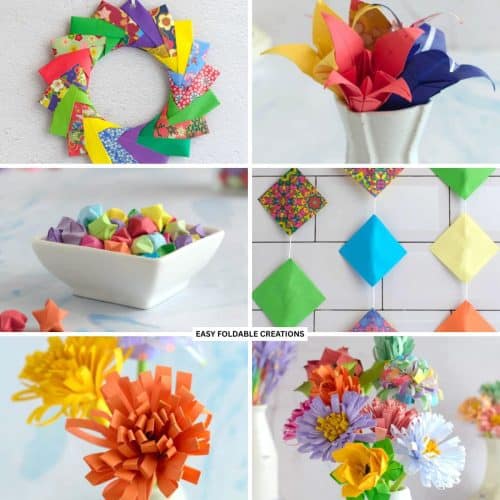
Other Paper Crafts You Might Like To Try:
Helpful Origami Tips
If you're curious to learn more about origami, you might like to look at our basic guides on how to make some common origami folds.
Start with the valley fold and mountain fold-these are the foundation of most origami models.
Once you're comfortable, you might like to try the petal fold for 3D shapes, and explore the bird base and square base for more complex designs.
The water bomb base is also great for creating inflatable or geometric models, like this inflatable origami rabbit.
Useful Paper Craft Terms
Want to learn a little more about paper crafts and origami?
We've made this helpful printable just for you. It explains common terms and helpful tips you might come across when you are folding origami or making a paper craft project.
You can download the useful paper craft terms printable PDF here.
Stay Connected
Made this pattern? Let us know how it went in the comments below!
Pin this post - Pin now to take your paper crafting skills to the next level.
Share on Instagram or Facebook - Capture the beauty of your finished paper craft project and share it on Instagram or Facebook! Tag us @easyfoldablecreations so we can see your work!

Other Patterns You Might Like To Try:
Looking for other easy patterns like this? Try these:
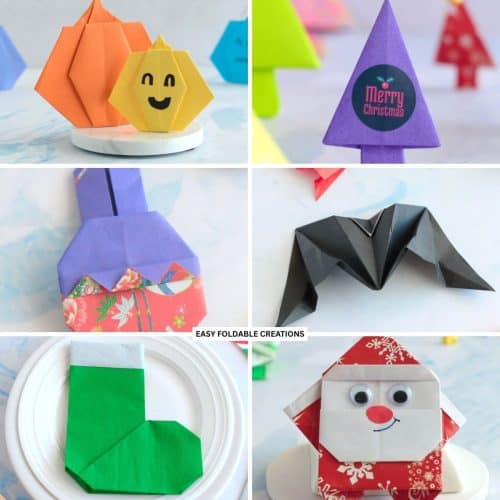
- Minimalist Seasonal Paper Decoration Ideas
- DIY Paper Decor Ideas For Every Season
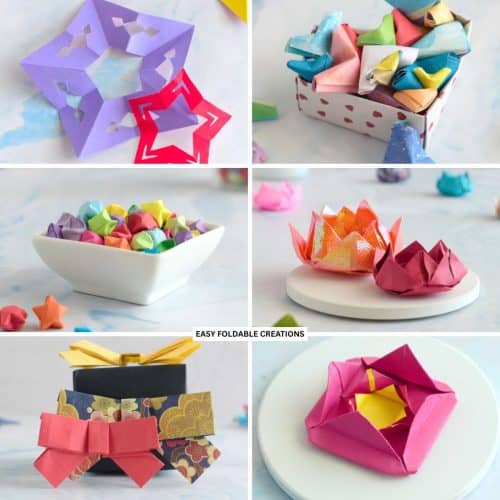
- Wedding Confetti Alternatives That Are Venue Friendly
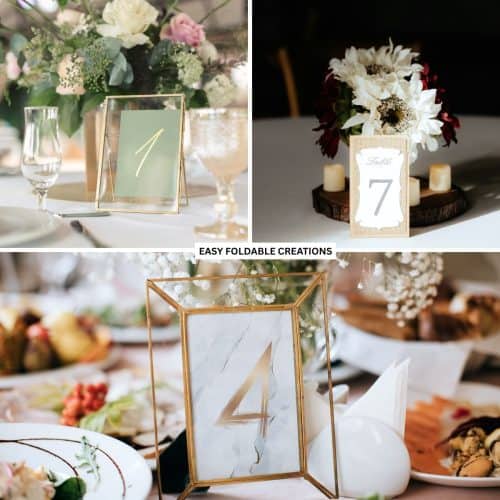
- DIY Wedding Table Number Ideas Using Paper
- DIY Paper Wedding Place Card Ideas You Can Make Yourself
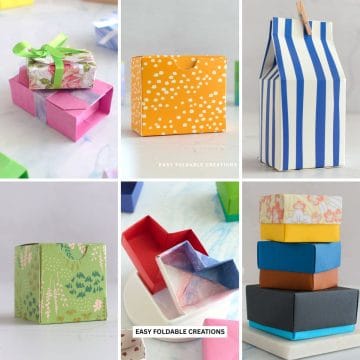
- Gift Wrapping Topper Ideas
- Last Minute Gift Wrapping Ideas That Still Look Beautiful and Thoughtful
- Gift Wrapping Ideas For Oddly Shaped Gifts


Comments
No Comments