

Looking for a simple way to add a special touch to your table setting?
This diagonal pocket napkin fold is perfect for adding a touch of elegance while keeping things practical.
Ideal for holding cutlery, menus, or small decorative accents, this fold works beautifully for Christmas, Thanksgiving, Easter, weddings, and more.
With just a few folds, you can transform an ordinary napkin into a stylish table accent that impresses your guests.

Table of Contents
- Why You'll Love This Pattern
- More Crafting Ideas Inside The Fold Collective
- Skill Level
- Materials Needed
- Video Tutorial
- Instructions
- Tips For Success
- Common Mistakes & How To Avoid Them
- Color, Paper Ideas, and Variations
- FAQ
- Other Paper Crafts You Might Like To Try:
- Helpful Origami Tips
- Useful Paper Craft Terms
- Stay Connected
- Other Patterns You Might Like To Try:
- Comments
Looking for more paper crafts to try? You'll find exclusive tutorials and printables inside The Fold Collective.
A well-set table isn't just about plates and glasses-it's about the little details that make the setting feel special.
Napkin folding is one of the easiest ways to add charm to your table, and this diagonal pocket napkin fold is a perfect example.
A diagonal pocket napkin fold is a table-setting technique that creates an angled pocket within a folded napkin for holding cutlery or decorative items. It is commonly used for formal dining, weddings, and special occasions, offering both function and presentation.
It's perfect for neatly tucking in cutlery, menu cards, fresh herbs, or even a small decorative item, making it as practical as it is beautiful.
Best of all, it's quick and easy to fold, even if you're preparing for a large gathering.
Whether you're hosting a festive Christmas dinner, an elegant wedding reception, a cozy Thanksgiving meal, or a casual birthday celebration, this fold fits right in.
You can use classic white napkins for a minimalist look, bold red for a romantic Valentine's Day dinner, or pastel shades for an Easter brunch.
There are so many ways to customize it to match your event's theme!
If you love easy, elegant napkin folds that add a refined yet effortless touch to your table, this is the one to try.
Let's get started!

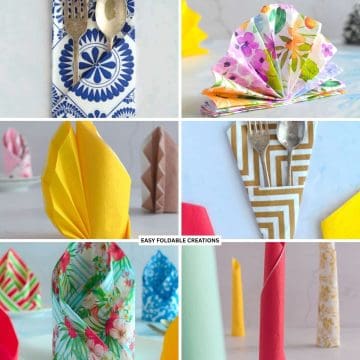
Other easy to make napkin folds you might like to make include this simple pocket napkin fold, standing napkin fan, diamond shaped napkin fold with pouch, or bunny napkin fold!
Why You'll Love This Pattern
- Elegant yet simple - Looks sophisticated but is incredibly easy to make.
- Keeps your table tidy - Neatly holds cutlery, name cards, or decorative elements.
- Perfect for any occasion - A great napkin folding idea for weddings, Christmas, Easter, birthdays, anniversaries, and more!
- Works with any napkin - Great for both paper and fabric napkins.
- Quick to fold - Ideal for large events where you need to prepare multiple settings.
Looking for more paper crafts to try? You'll find exclusive tutorials and printables inside The Fold Collective.
More Crafting Ideas Inside The Fold Collective
Looking for your next paper craft? The Fold Collective gives you access to exclusive ad-free video tutorials, printable PDFs, helpful resources, and more.
Explore The Fold Collective today!
Skill Level
★☆☆☆☆ (Very Easy)
Materials Needed
- Standard Square Paper Napkins.
- Recommended size: 6.5 inches x 6.5 inches (16.5 cm x 16.5 cm)
Napkin Type
- Use sturdy yet foldable paper napkins.
- A medium-weight napkin (around 60-80 GSM) works best for this project, as it holds folds well but is still easy to handle. Thin napkins may lose their shape, while thicker ones may be harder to crease neatly.
Video Tutorial
Want to see this project folded step by step? A full video tutorial for this design is available inside The Fold Collective, so you can follow along in real time and pause or replay each step as needed.
The Collective also includes a growing library of exclusive video tutorials and printable PDFs, giving you even more projects to explore.
Prefer The Photo Tutorial?
No problem. The complete step-by-step photo tutorial is waiting just below.
Instructions
Step 1: Start with the color you want your napkin fold to be facing up. You want to start with your napkin folded into quarters as it typically comes in the packet. Have the open end facing towards the left. The folded edge should be on the right.
Step 2: Fold the top left corner (top 2 layers only) down to meet the bottom right corner.
Step 3: Flip your paper over from left to right.
Step 4: Fold the left edge to the right so that it sits just past the middle of the napkin.

✨ You're almost there! ✨
To unlock the final steps of the photo tutorial and complete your pattern, create a free account with Grow.me. below.
Make sure you tick the box to subscribe to our newsletter and stay up to date with the latest patterns, tips, and more!
Once you're signed up, you'll get instant access to finish your project with the photo tutorial and enjoy exclusive content in the future.
Already signed up? Hit the button below and select 'Switch to Log In' to pick up where you left off and finish your project!
Step 5: Fold the right edge to the left so that it just overlaps the left folded flap as shown.
Step 6: Flip your napkin over from left to right.
Step 7: Completed napkin fold.
Tip: In step 2, If you fold the bottom left corner up to meet the top right corner, instead, you will get your diagonal pouch going the opposite way.

Looking for more paper crafts to try? You'll find exclusive tutorials and printables inside The Fold Collective.
Tips For Success
- Use stiffer napkins - They hold their shape better and create sharper folds.
- Match your table decor - Choose colors that complement your theme.
- Pre-fold for convenience - Prepare napkins ahead of time to save time on the day of your event.
- Keep it crisp - Run a flat hand over each fold to keep edges neat and sharp.

Common Mistakes & How To Avoid Them
Napkin won't stay folded? Use a napkin with a bit of structure or press down on each fold for better creases.
Color, Paper Ideas, and Variations
- Classic Elegance: White or ivory napkins for a refined look.
- Holiday Themes: Red and green for Christmas, soft pastels for Easter, autumn shades for Thanksgiving.
- Romantic Touch: Deep red, blush pink, or champagne gold for weddings and Valentine's Day.
- Personalized Settings: Write guests' names on small cards and tuck them into the pocket.
- Fun & Playful: Bold colors or patterned napkins for birthday parties and themed events.
FAQ
Yes! Just make sure to iron them beforehand for crisp folds.
You can fold them up to two days before your event. Store them in a dry place to keep them crisp.
Cutlery, name cards, sprigs of rosemary, mini chocolates, or themed decorations.
Helpful Origami Tips
If you're curious to learn more about origami, you might like to look at our basic guides on how to make some common origami folds.
Start with the valley fold and mountain fold-these are the foundation of most origami models.
Once you're comfortable, you might like to try the petal fold for 3D shapes, and explore the bird base and square base for more complex designs.
The water bomb base is also great for creating inflatable or geometric models, like this inflatable origami rabbit.
Useful Paper Craft Terms
Want to learn a little more about paper crafts and origami?
We've made this helpful printable just for you. It explains common terms and helpful tips you might come across when you are folding origami or making a paper craft project.
You can download the useful paper craft terms printable PDF here.
Stay Connected
Made this pattern? Let us know how it went in the comments below!
Pin this post - Pin now to take your paper crafting skills to the next level.
Share on Instagram or Facebook - Capture the beauty of your finished paper craft project and share it on Instagram or Facebook! Tag us @easyfoldablecreations so we can see your work!

Other Patterns You Might Like To Try:
Looking for other easy patterns like this? Try these:
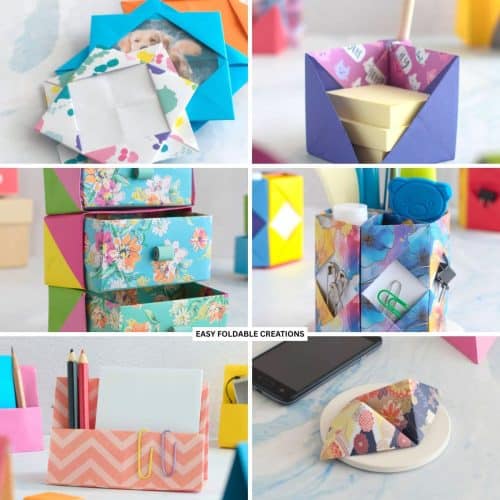
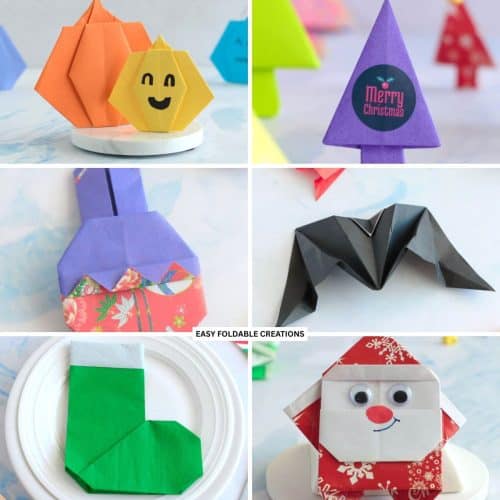
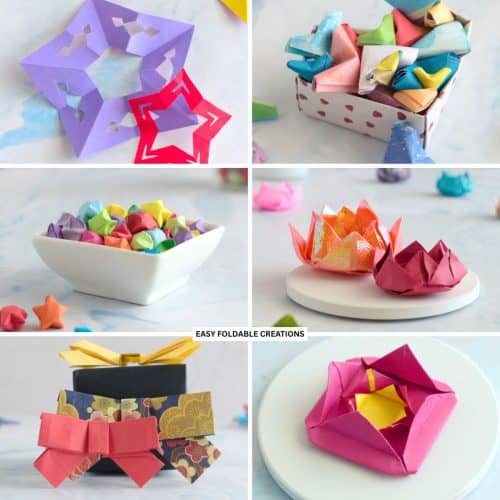
- Easy Paper Craft Ideas For Desk and Home Decoration
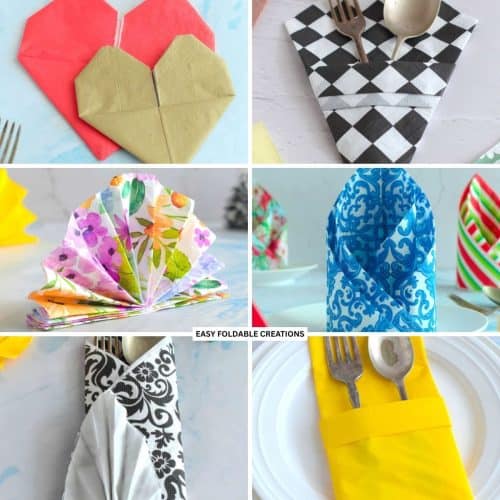
- Paper Napkin Folding Ideas For Every Table Styling
- Quick Seasonal Paper Decor Ideas For Easy Home Updates
- Minimalist Seasonal Paper Decoration Ideas
- DIY Paper Decor Ideas For Every Season
- Wedding Confetti Alternatives That Are Venue Friendly
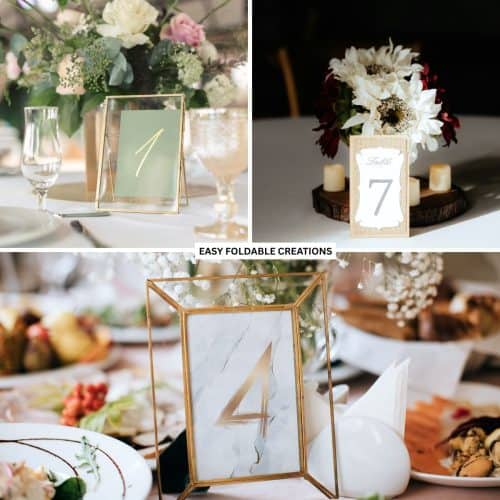
- DIY Wedding Table Number Ideas Using Paper
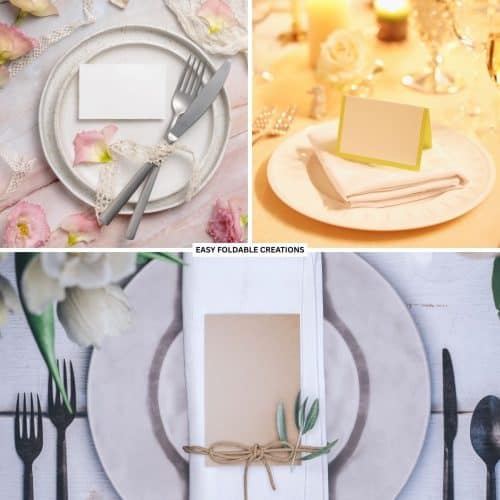
- DIY Paper Wedding Place Card Ideas You Can Make Yourself


Comments
No Comments