
Want a cheerful, family-friendly craft?
This DIY paper egg is perfect for table centerpieces, garlands, kids' activities, and seasonal decorating - and it comes with a free printable with three different egg sizes - small, medium, and large!
So, what are you waiting for? Learn how to make a paper egg today!

Jump to:
- Why You'll Love This Pattern
- Exclusive Content Just For You
- Skill Level
- Materials Needed
- Easy Egg Printable Template
- Instructions
- Tips For Success
- Color, Paper Ideas, and Variations
- FAQ
- Other Paper Crafts You Might Like To Try:
- Helpful Origami Tips
- Useful Paper Craft Terms
- Stay Connected
- Other Patterns You Might Like To Try:
- Comments
When Spring rolls in, it's the perfect excuse to bring color, creativity, and handmade charm into your home.
A paper egg is a simple craft project that creates an egg-shaped paper model using folding, cutting, and glue. It is commonly used for Easter crafts, seasonal decorations, and beginner paper activities.
Whether you're planning a seasonal craft display, entertaining little ones, or just looking for a fun, low-mess activity, learning how to make a paper egg is a simple and satisfying way to get crafty.
This DIY paper egg project uses a free printable template (available in three sizes) and just a few basic supplies - scissors, glue, and your favorite paper.
The end result is a beautiful 3D egg shape you can use for decorating tables, stringing into garlands, or displaying in a bowl or basket.
While these make lovely paper Easter egg decorations if you're celebrating, they're just as great for general spring decor or year-round craft fun.
Best of all, this project is completely customizable.
Choose soft pastels for a subtle seasonal vibe, go bold with colorful prints, or even upcycle old book pages or wrapping paper.
It's a relaxing, creative way to make something beautiful with your hands - whether you're five or fifty.
Use them as DIY Easter eggs, party accents, handmade gifts, or charming centerpieces.
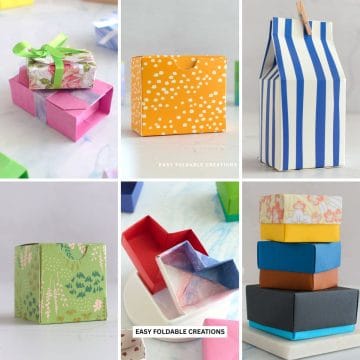
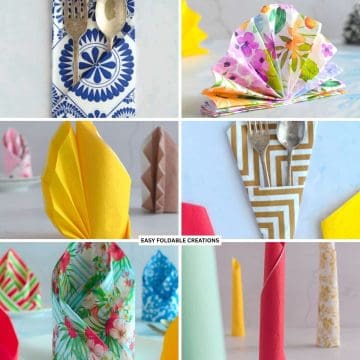
If you are using them to decorate your table for Easter, you might like to pair them with these easy bunny napkin folds and bunny shaped gift boxes (filled with chocolates of course!)
However you style them, these paper eggs are guaranteed to brighten up your space.

Why You'll Love This Pattern
- These paper eggs are so easy to make - perfect for kids and adults alike.
- You can make these paper eggs in just minutes.
- Customize the colors of the eggs with your choice of paper. Use the same colored paper, patterend paper, or a mix of both!
- Great for Spring crafts, birthday decorations, and even Easter!
Exclusive Content Just For You
Not sure what you want to make next, but feeling a bit creative? Or maybe you've been searching for a pattern that sparks something new. We've got a few ideas waiting for you.
The Fold Collective, Easy Foldable Creations' community, provides you with a library of exclusive ad-free video tutorials, printable PDF patterns, helpful tips, and more so you can improve your skills and enjoy crafting in your own time.
Skill Level
★☆☆☆☆ (Very Easy)
Materials Needed
- Paper (plain, patterned, or textured - see ideas below)
- Scissors
- Glue stick or craft glue
- Free printable egg template (3 sizes included)
- Optional: string, ribbon, glitter, markers, or stickers for decorating
| Number of cut out pieces you need | Final Egg Size | |
| Small Egg | 10 pieces | 3 inches x 2 inches (8 cm x 6 cm) |
| Medium Egg | 10 pieces | 4 inches x 3 inches (9.5 cm x 7 cm) |
| Large Egg | 10 pieces | 5.5 inches x 4 inches (14 cm x 11 cm) |
Note: In the printable there are 3 different sized eggs - small, medium, and large. Pick which size you would like and cut out your paper using that size.
E.g. If you want to make a small paper egg, cut out the "small egg" in the printable. Then use that small egg template to cut out your 10 pieces of colored / patterned paper.
Easy Egg Printable Template
Here you will find the printable PDF for the egg. It includes the template for small, medium, and large eggs.
Instructions
Step 1: Print out the printable template.
Step 2: Choose which egg size you would like to make. For this tutorial, we will be making medium sized paper eggs.
However, the process of making any size is the same. Once you have chosen which size egg you want to make, cut out the template for that size.
Cut along the black line. The red line is a guide for when you fold it in half in the later steps.
Step 3: Using your cut out egg shape, trace it out on your chose colored/patterned paper. Then cut it out.
You will need 10 pieces in total. Note: If you want your egg to look fuller, you can cut out more pieces, e.g. 12 or 14 (we find that an even number of pieces looks nicer).
Step 4: Fold all the pieces in half as shown, making sure the color you want showing in your final egg is on the inside.

Step 5: Take one of the pieces and apply glue to one of the sides as shown. If you are using craft glue, try not to put it too close to the curved edge as it can spill over.
Step 6: Take another piece and place it on top of the glued side, matching the edges.
Step 7: Repeat steps 5 and 6 until you have used all your pieces. Allow the glue to dry.
Step 8: Apply glue to the front side of your eggs as shown. Then, open out your egg and glue the front side to the back (in our egg both the front and back sides are pink). Allow glue to dry.
Note: If you want to use this egg as an ornament, before you glue both the front and back together glue some string on the side of the egg (flat edge).

Step 9: Open out your egg and adjust the sides as you like. Completed egg.

Tips For Success
- Use a bone folder or ruler edge for sharp, clean folds
- For a hanging egg, insert string or ribbon before gluing the final sides
- Use contrasting paper colors or prints for extra dimension

Color, Paper Ideas, and Variations
- Pastels and florals - Soft, seasonal tones and delicate prints are perfect for spring
- Bold colors and patterns - Stripes, dots, or bright solids give a fun, playful feel
- Metallics and specialty papers - Foil, glitter paper, or vellum add a more polished, decorative touch.
- Vintage and rustic styles - Use old book pages, sheet music, newspaper, or kraft paper for a handmade, earthy look
- Layered effects - Alternate colors or textures for a striped or patchwork-style egg
- Upcycled paper - Scrap wrapping paper, paper bags, or leftover craft paper make a great eco-friendly option
FAQ
Yes! It's easy to work with and folds well. Thicker paper gives more structure.
Definitely - it's safe, simple, and perfect for all ages (with a little cutting help for younger ones).
Not at all! These eggs work beautifully for spring decor, parties, or year-round crafting - though they do make a lovely DIY Easter egg if you're celebrating.
Other Paper Crafts You Might Like To Try:
Helpful Origami Tips
If you're curious to learn more about origami, you might like to look at our basic guides on how to make some common origami folds.
Start with the valley fold and mountain fold-these are the foundation of most origami models.
Once you're comfortable, you might like to try the petal fold for 3D shapes, and explore the bird base and square base for more complex designs.
The water bomb base is also great for creating inflatable or geometric models, like this inflatable origami rabbit.
Useful Paper Craft Terms
Want to learn a little more about paper crafts and origami?
We've made this helpful printable just for you. It explains common terms and helpful tips you might come across when you are folding origami or making a paper craft project.
You can download the useful paper craft terms printable PDF here.
Stay Connected
Made this pattern? Let us know how it went in the comments below!
Pin this post - Pin now to take your paper crafting skills to the next level.
Share on Instagram or Facebook - Capture the beauty of your finished paper craft project and share it on Instagram or Facebook! Tag us @easyfoldablecreations so we can see your work!

Other Patterns You Might Like To Try:
Looking for other easy patterns like this? Try these:
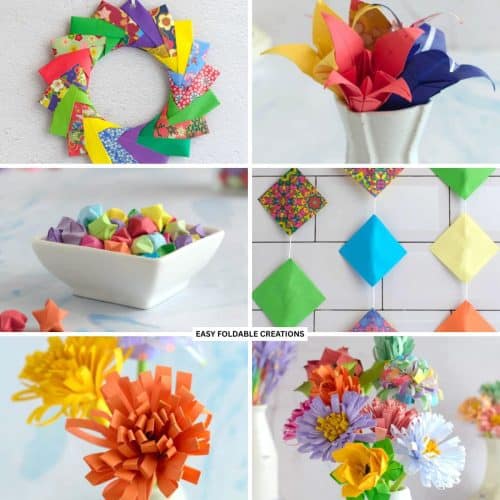
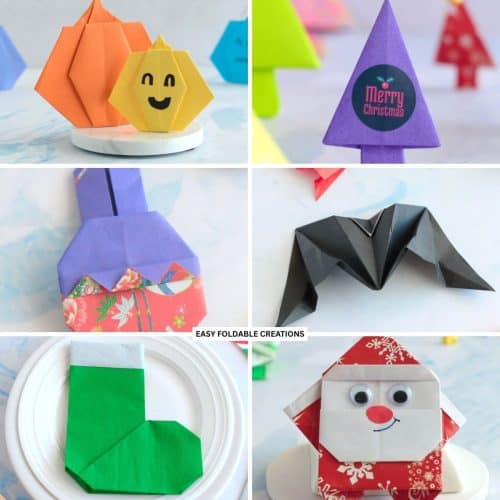
- Minimalist Seasonal Paper Decoration Ideas
- DIY Paper Decor Ideas For Every Season
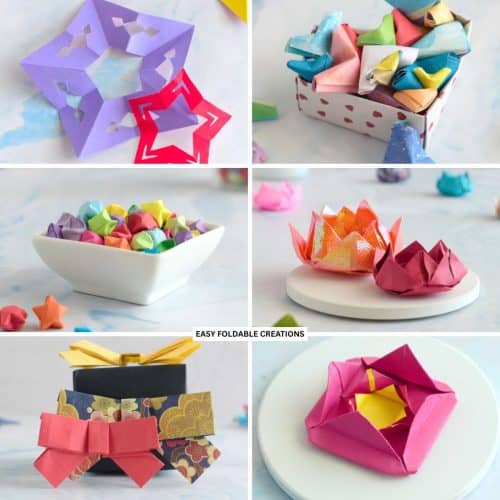
- Wedding Confetti Alternatives That Are Venue Friendly
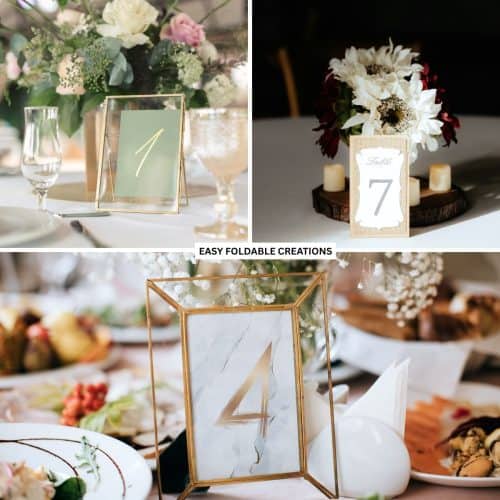
- DIY Wedding Table Number Ideas Using Paper
- DIY Paper Wedding Place Card Ideas You Can Make Yourself
- Gift Wrapping Topper Ideas
- Last Minute Gift Wrapping Ideas That Still Look Beautiful and Thoughtful
- Gift Wrapping Ideas For Oddly Shaped Gifts


Comments
No Comments