
Need a fresh and fun way to decorate for your next celebration?
Try this DIY square paper garland!
It's a quick, budget-friendly craft that adds a modern touch to birthdays, holidays, or any festive event.

Jump to:
- Why You'll Love This Pattern
- Exclusive Content Just For You
- Skill Level
- Materials Needed
- Instructions
- Tips For Success
- Common Mistakes & How To Avoid Them
- Color, Paper Ideas, and Variations
- FAQ
- Other Paper Crafts You Might Like To Try:
- Helpful Origami Tips
- Useful Paper Craft Terms
- Stay Connected
- Other Patterns You Might Like To Try:
- Comments
Want to add a modern, geometric twist to your party or home décor?
A DIY square paper garland is a simple yet striking way to decorate for almost any occasion, from birthdays to weddings, baby showers, or even cozy family celebrations.
It is commonly used for parties, seasonal decorating, classrooms, and event styling, offering a simple way to add color and texture to a space.
The sharp, clean lines of square paper cutouts add a fun and contemporary vibe to your decorations, making them ideal for events that need a little extra flair.
What's fantastic about this project is how easily customizable it is. You can choose the colors, sizes, and even the type of paper depending on your event's theme.
Whether you're making a bold statement with bright, contrasting colors or going for a more subtle and chic look with pastels or neutrals, this garland is versatile and can be adapted for any celebration.
It's a quick, enjoyable craft project that doesn't require much in terms of materials, making it an accessible DIY for everyone, from beginners to seasoned crafters.
The best part?
It looks amazing when hung on walls, across mantels, or even draped along doorways.
This garland also makes a fun activity to do with family and friends.
It's great for birthdays, holidays, or just to add a pop of color to a regular day.
You can hang it in a straight line or let the squares dangle freely for a cute effect. You might even like to make a matching set with these heart paper garlands too!
No matter how you decide to use it, a square paper garland is an easy way to add a special touch to your décor without breaking the bank!

Why You'll Love This Pattern
- Quick and easy: This garland is simple to make and doesn't require much time or effort. It's perfect for a last-minute decoration or when you need to make multiple garlands.
- Versatile design: You can mix and match different colors, textures, and sizes to suit any occasion. From minimalist to bold, this project can adapt to your unique style.
- Great for any occasion: Whether it's for a birthday, holiday celebration, or home décor, a square paper garland is a great way to spruce up your space and add that celebratory vibe.
- Budget-friendly: Using just a few sheets of paper, you can create a stunning decoration without spending a lot of money.
- Perfect for groups or solo crafting: This project is simple enough for kids to do with minimal supervision, yet rewarding enough for adults to enjoy.
Exclusive Content Just For You
Not sure what you want to make next, but feeling a bit creative? Or maybe you've been searching for a pattern that sparks something new. We've got a few ideas waiting for you.
The Fold Collective, Easy Foldable Creations' community, provides you with a library of exclusive ad-free video tutorials, printable PDF patterns, helpful tips, and more so you can improve your skills and enjoy crafting in your own time.
Skill Level
★☆☆☆☆ (Very Easy)
Materials Needed
- Colored paper or cardstock
- Scissors
- String, twine, or ribbon (to hang your garland)
- Craft glue
- Ruler (optional, for precise measurements)
The amount of paper and string you use will depend on how long you want your garland to be.
You can mix and match the size of the squares you use. As a guide, you might like to use squares that are about 3 inches (7 cm) in size.
Paper Type & GSM:
Best Paper Type: You can use lightweight cardstock, regular construction paper, or patterned scrapbook paper. Choose based on the look you're going for-lightweight paper works great for a soft, airy garland, while cardstock will create a more structured and bold look.
GSM: A GSM of around 120-160 works perfectly. If you go too thick, the garland may be hard to bend or hang, so aim for something lightweight but sturdy.
Instructions
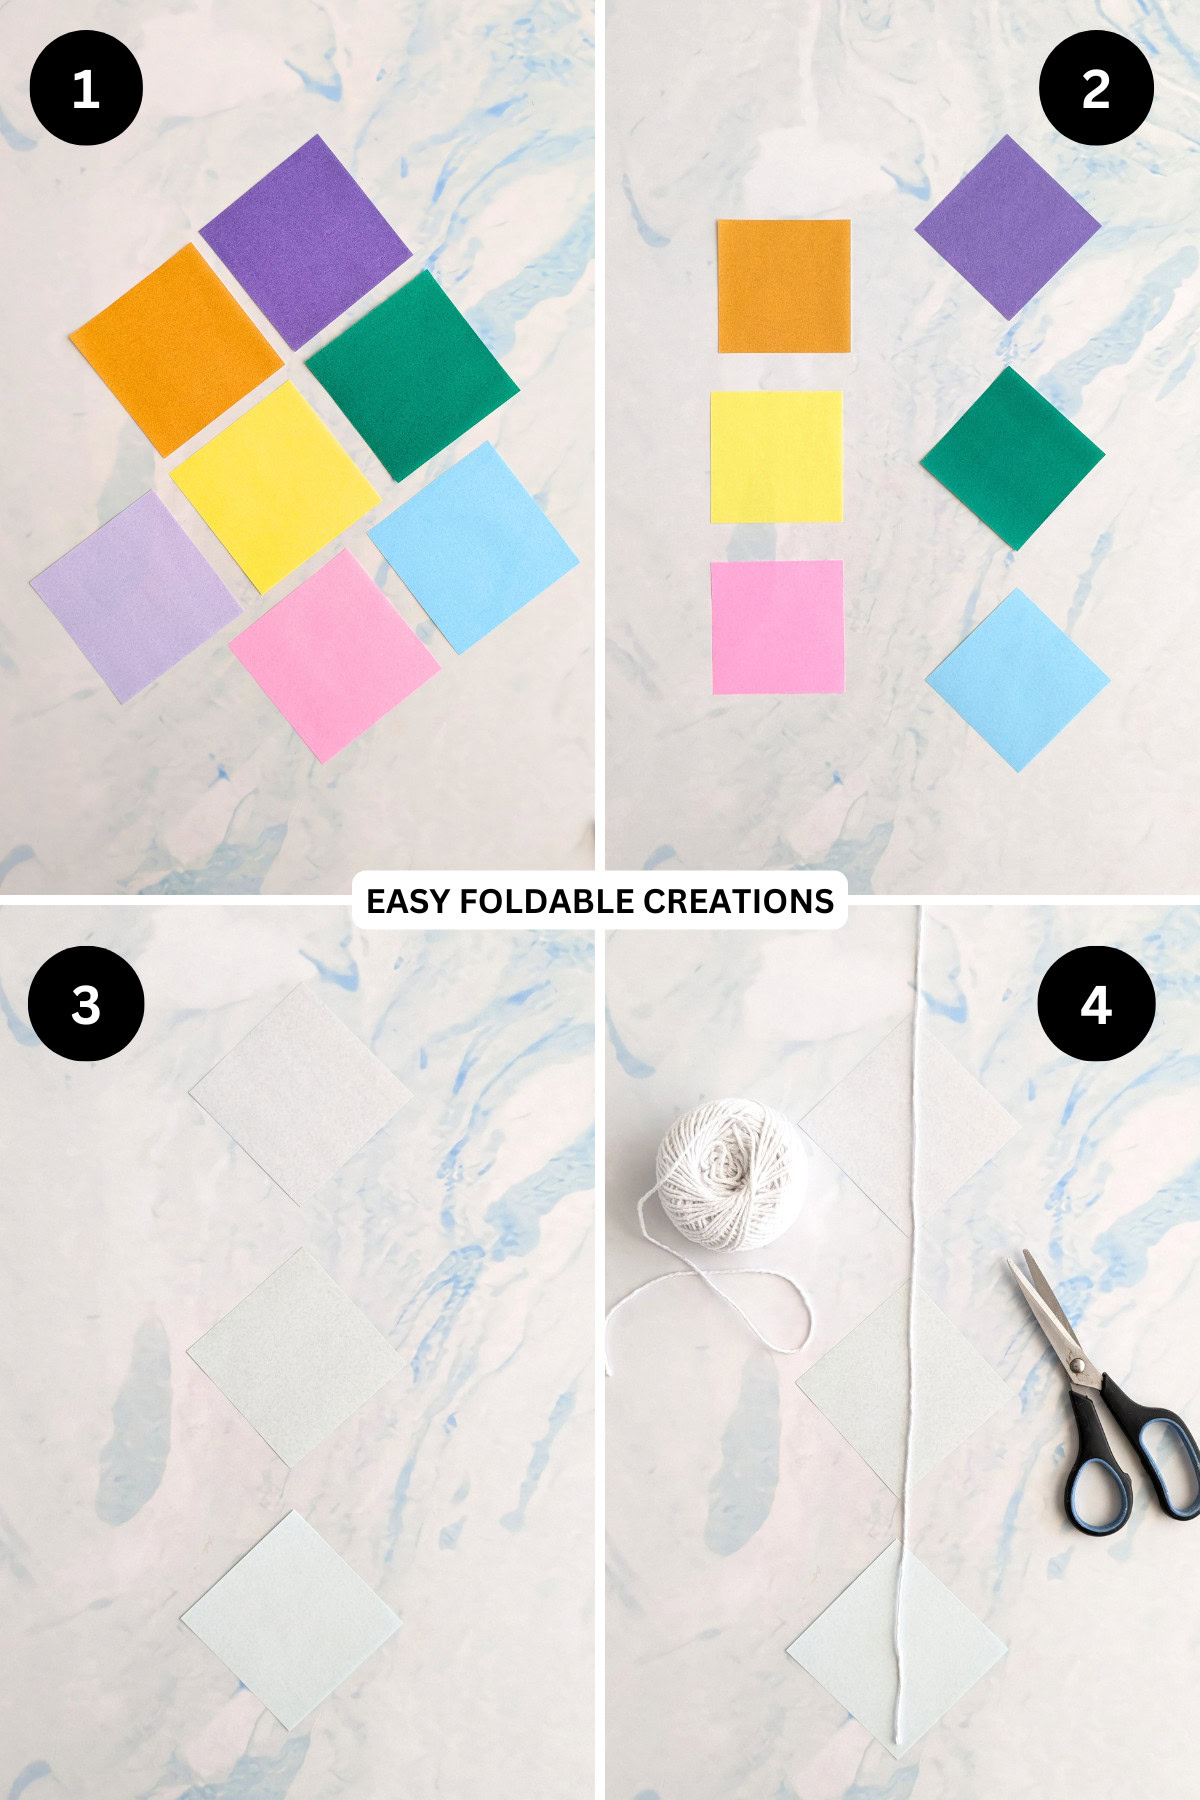
Step 1
Cut your colored paper into squares. The size and amount of the squares is up to you. To start, you might like to cut your paper into 3 inches (7cm) squares.
You can also experiment with different square sizes for your garland. Alternate between small squares and big squares. The longer the garland, the more squares you will need.
Step 2
Arrange your squares in a line with a bit of space between them. You can arrange the squares so that each square sits like a diamond shape or sits like a normal square (see picture for example).
Step 3
Make sure that the side you want on the outside of your garland is facing down. The side facing up will be where you glue your string.
For this example, we will be arranging our squares so that each one looks like a diamond shape.
Step 4
Cut your string to the length of the line of squares.
Note: If you want to hang your garland straight down, leave a minimum of 11 inches (30 cm) of string on one end. This will be used to tie your garland up.
However, if you want to hang your garland across something, like a mantle or doorway, leave a minimum of 11 inches (30 cm) of string on BOTH ends.
This way you can tie your garland up on both ends.
✨ You're almost there! ✨
To unlock the final steps of the photo tutorial and complete your pattern, create a free account with Grow.me. below.
Make sure you tick the box to subscribe to our newsletter and stay up to date with the latest patterns, tips, and more!
Once you're signed up, you'll get instant access to finish your project with the photo tutorial and enjoy exclusive content in the future.
Already signed up? Hit the button below and select 'Switch to Log In' to pick up where you left off and finish your project!
Step 5
Glue the string along the middle of the back of the squares, leaving a small gap between the squares. Allow to dry.
Step 6
Completed DIY square paper garland.

Tips For Success
- If you want a longer garland, use more squares and string.
- Mixing colors or using paper with patterns like polka dots or stripes can add interest and make your garland pop.
- Vary the sizes: Experiment with varying square sizes for a more dynamic and playful garland.
- Keep it balanced: When stringing your squares, make sure to keep the weight of the paper balanced along the string so the garland hangs evenly.

Common Mistakes & How To Avoid Them
- Uneven cuts: Make sure your paper squares are cut evenly so that your garland hangs in a balanced way.
- Not enough spacing: If you overcrowd the squares on the string, the garland might look too dense or heavy. Leave enough space for them to move freely.
- Make sure your glue or tape is strong enough to hold the paper squares. Use a glue gun for a more secure bond.
Color, Paper Ideas, and Variations
- Game Day Colors: For a fun game-day garland, use your team's colors to create a festive atmosphere for friends and family. A mix of bright reds, blues, or team-specific colors will make it an instant hit.
- Celebration Themes: Use metallic or glittery paper to give your garland a more celebratory feel for holidays like New Year's or Christmas. Red, green, and gold create a festive vibe for any holiday gathering.
- Minimalist Style: For a more modern look, opt for neutrals such as black, white, and grey. These colors work well for sleek, sophisticated décor, especially in monochromatic settings.
- Rainbow Garland: Use all the colors of the rainbow for a fun, cheerful look, or make a gradient effect from one color to the next.
- Themed Garlands: For a bridal shower, baby shower, or wedding, soft pastels or florals are perfect. Similarly, for a holiday garland, stick to traditional red, green, or even Christmas-themed patterns like snowflakes or stars.
- Halloween Decorations: You could use green, purples, and orange to make a Halloween themed paper garland.
FAQ
Yes!
While squares are traditional for this garland, you can experiment with triangles, circles, or even hearts for a different shape.
If you're using it for an outdoor event or want to store it for future use, consider using cardstock or laminating the paper squares to make them more durable.
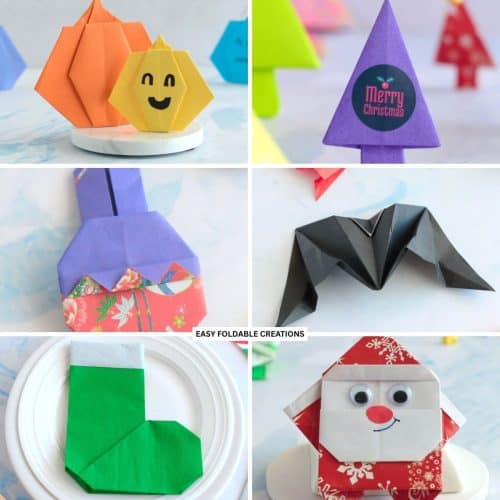
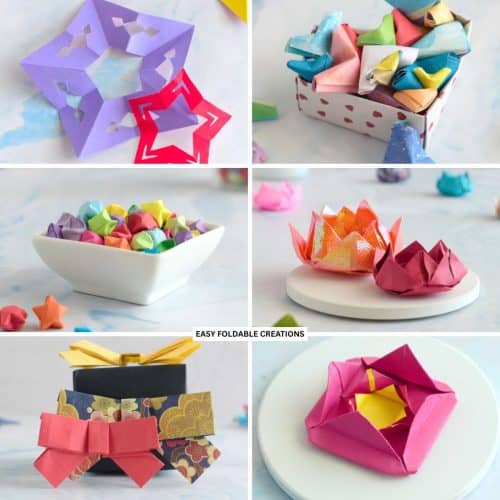
Other Paper Crafts You Might Like To Try:
Helpful Origami Tips
If you're curious to learn more about origami, you might like to look at our basic guides on how to make some common origami folds.
Start with the valley fold and mountain fold-these are the foundation of most origami models.
Once you're comfortable, you might like to try the petal fold for 3D shapes, and explore the bird base and square base for more complex designs.
The water bomb base is also great for creating inflatable or geometric models, like this inflatable origami rabbit.
Useful Paper Craft Terms
Want to learn a little more about paper crafts and origami?
We've made this helpful printable just for you. It explains common terms and helpful tips you might come across when you are folding origami or making a paper craft project.
You can download the useful paper craft terms printable PDF here.
Stay Connected
Made this pattern? Let us know how it went in the comments below!
Pin this post - Pin now to take your paper crafting skills to the next level.
Share on Instagram or Facebook - Capture the beauty of your finished paper craft project and share it on Instagram or Facebook! Tag us @easyfoldablecreations so we can see your work!

Other Patterns You Might Like To Try:
Looking for other easy patterns like this? Try these:
- DIY Paper Decor Ideas For Every Season
- Wedding Confetti Alternatives That Are Venue Friendly
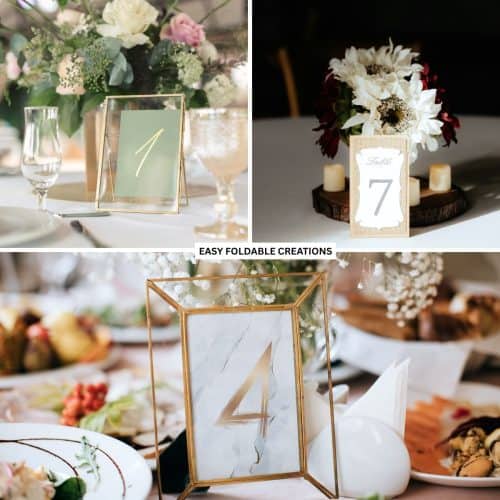
- DIY Wedding Table Number Ideas Using Paper
- DIY Paper Wedding Place Card Ideas You Can Make Yourself
- Gift Wrapping Topper Ideas
- Last Minute Gift Wrapping Ideas That Still Look Beautiful and Thoughtful
- Gift Wrapping Ideas For Oddly Shaped Gifts
- DIY Gift Box Ideas


Comments
No Comments