
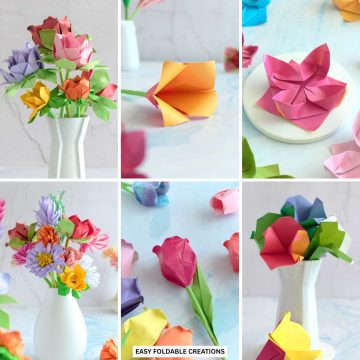
Brighten up your day with these easy daisy paper flowers!
Using just colored paper and glue, these charming blooms are beginner-friendly and perfect for Mother's Day, spring crafts, or cheerful home décor.
Whether as a single flower or part of a bouquet, they'll bring a touch of nature to any celebration or gift.

Jump to:
These daisy paper flowers bring a fresh, cheerful feel to spring events, baby showers, or garden-themed parties. They're perfect for paper flower bouquets, centerpieces, or brightening up any festive setting.
Daisies symbolize purity, cheerfulness, and simplicity, making them one of the most beloved paper flowers to craft.
These easy daisy paper flowers are not only delightful to create but also versatile in their use.
Whether you're celebrating Mother's Day, Valentine's Day, Easter, or simply looking for a charming way to brighten someone's day, this project has you covered.
Making these paper daisies is simple and quick, which is ideal for beginners and experienced crafters alike.
All you need is some colored paper for the petals and the center, green paper for the stem, and glue or double-sided tape to bring your creation to life.
Mix and match your daisies with other paper flowers, such as roses or tulips, to create stunning bouquets that suit any occasion.
From cheerful yellows and whites to bold, unconventional hues, these diy paper flower daisies can be customized to match your aesthetic.
They're perfect as part of a table centerpiece, a spring-inspired wreath, or a heartfelt handmade gift.
Gather your materials and get ready to add a burst of sunshine to your crafting time!

Why You'll Love This Pattern
- Beginner-Friendly: Simple steps make this a perfect project for crafters of all skill levels, including kids.
- Quick and Fun: With minimal materials and effort, you can create daisies in just minutes.
- Customizable: Choose from endless color combinations and paper styles to suit any theme or event.
- Versatile Uses: Ideal for home décor, gifts, party decorations, or even as a thoughtful addition to a handmade card.
- Year-Round Appeal: While perfect for spring and Easter, these flowers also work for birthdays, anniversaries, and other special occasions.
- Eco-Friendly Option: Use recycled paper to create sustainable yet beautiful blooms.
- Great for gifting: A perfect way to show your appreciation or love by giving a bouquet of these daisy paper flowers as a gift - for Valentine's Day, as a teachers gift, or Mother's Day.
Exclusive Content Just For You
Not sure what you want to make next, but feeling a bit creative? Or maybe you've been searching for a pattern that sparks something new. We've got a few ideas waiting for you.
The Fold Collective, Easy Foldable Creations' community, provides you with a growing library of exclusive ad-free video tutorials, printable PDF patterns and more so you can improve your skills and enjoy crafting in your own time.
Skill Level
★☆☆☆☆ (Very Easy)
Materials Needed
- Colored Paper (For the flower)
- Yellow Colored Paper (For the pistil (inner part of the flower))
- Green Paper (For the Stem)
- Craft Stick or Bamboo Skewer
- Scissors
- Glue or Double Sided Tape
| Flower Head (Colored Paper) | Pistil (Inner Part of the Flower) | Stem (Green Paper) | |
| Small Flower | A5 Paper | 4 inches x 2.5 inches (10 cm x 7 cm) | 5 inches x 3 inches (12 cm x 7.5 cm) |
| Medium Flower | A4 Paper | 4.5 inches x 3 inches (12 cm x 8 cm) | 6 inches x 4 inches (15.5 cm x 10.5 cm) |
| Large Flower | A3 Paper | 6 inches x 4 inches (15 cm x 10 cm) | 8 inches x 6 inches (20 cm x 15.5 cm) |
Instructions
For The Flower Petals
Using your colored paper
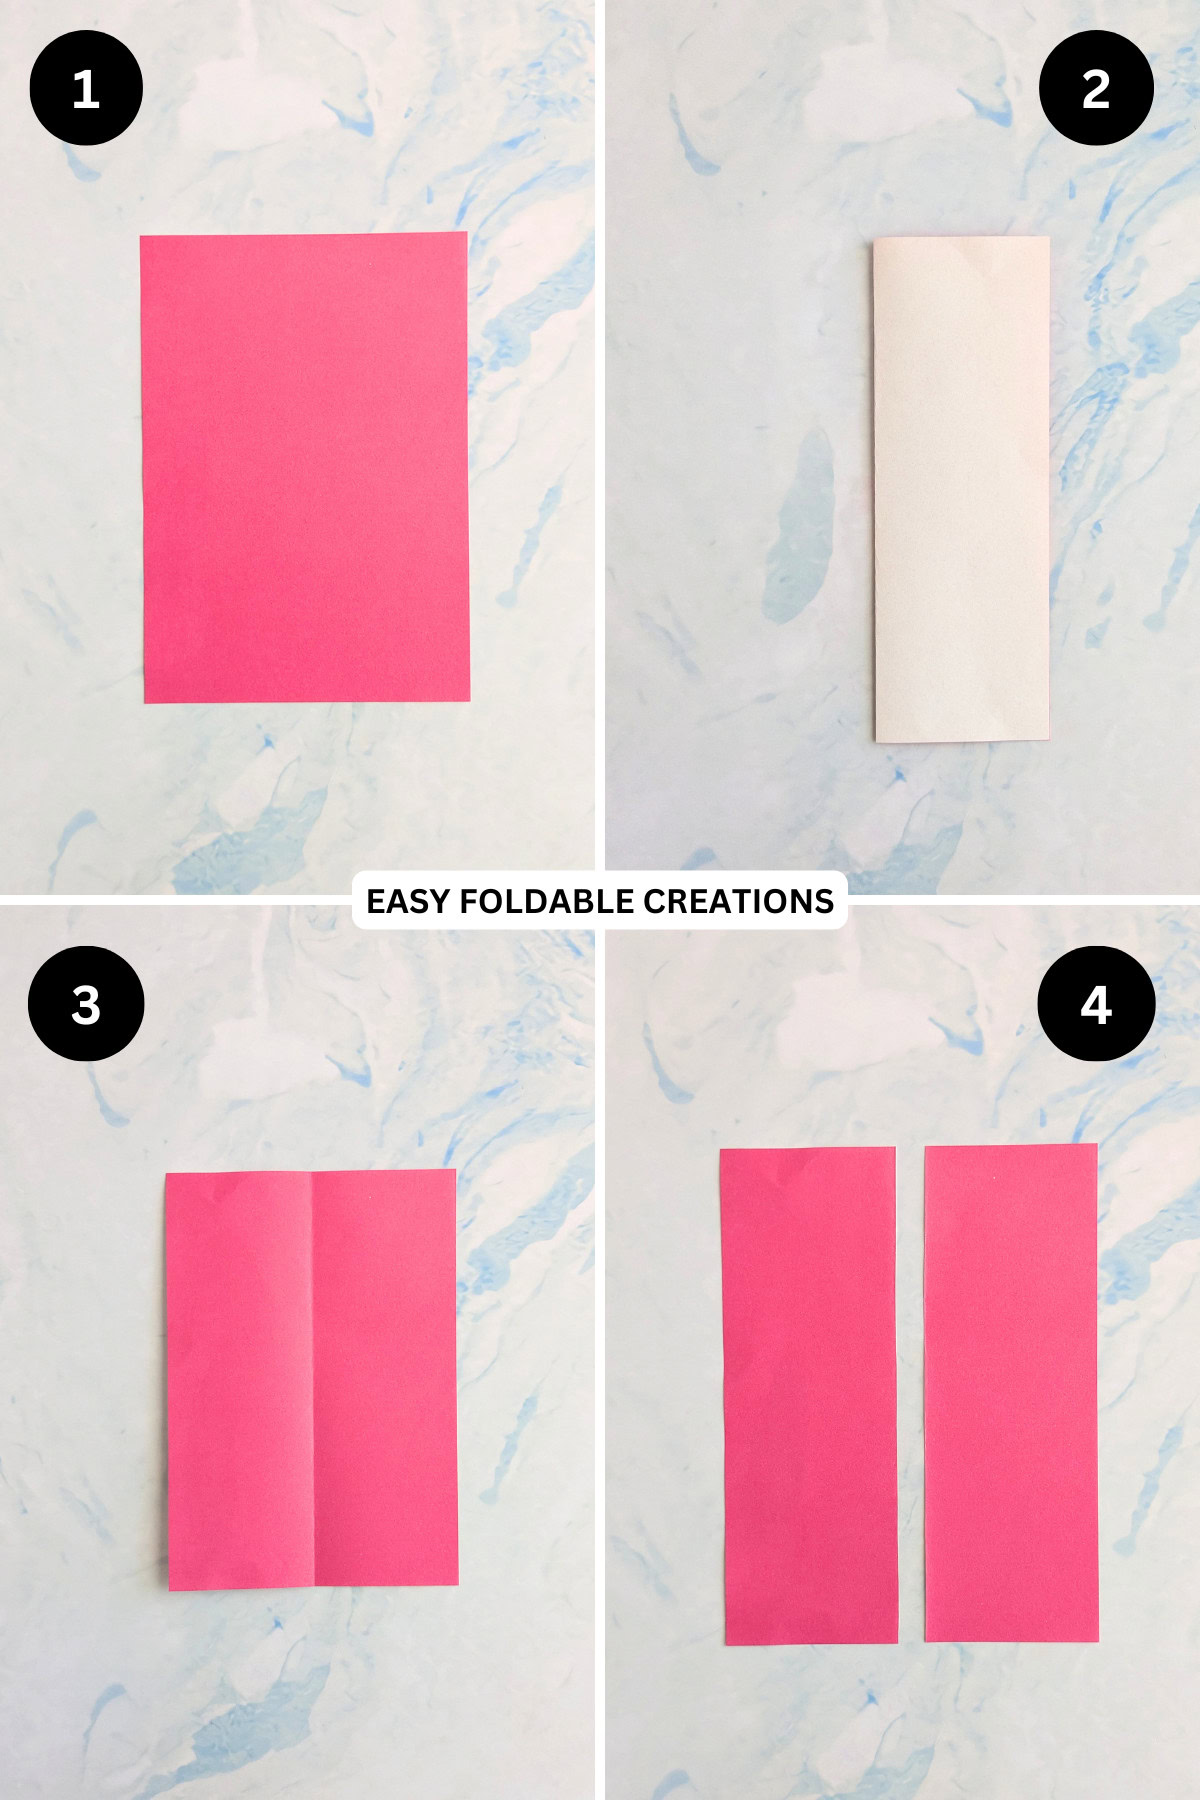
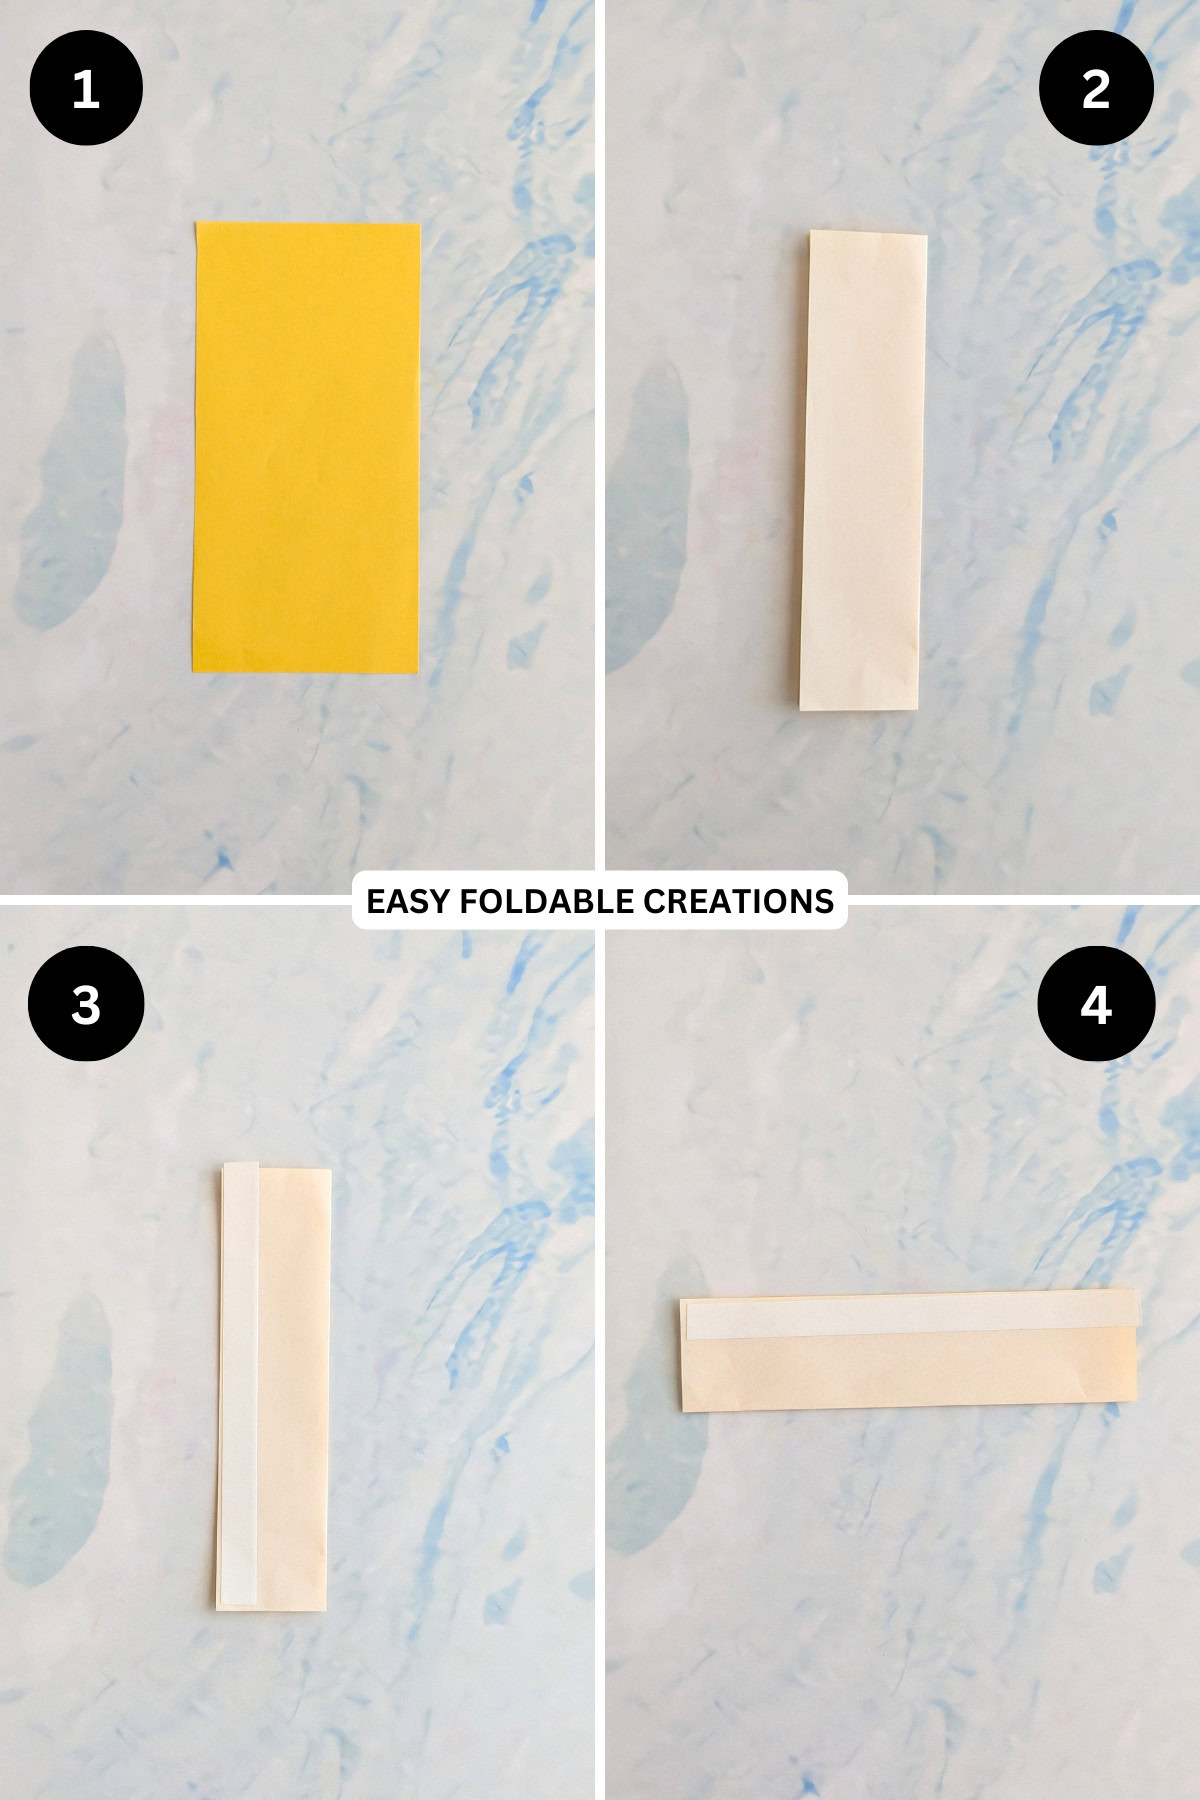
Step 1: Start with the color you want your flower petals to be facing up. Arrange your paper to sit vertically.
Step 2: Fold the left edge of the paper to meet the right edge.
Step 3: Unfold previous step.
Step 4: Cut along the middle crease line you just made. You will end up with two long rectangles. Set one of the rectangles aside. You will only need one of the rectangles to make your flower head.
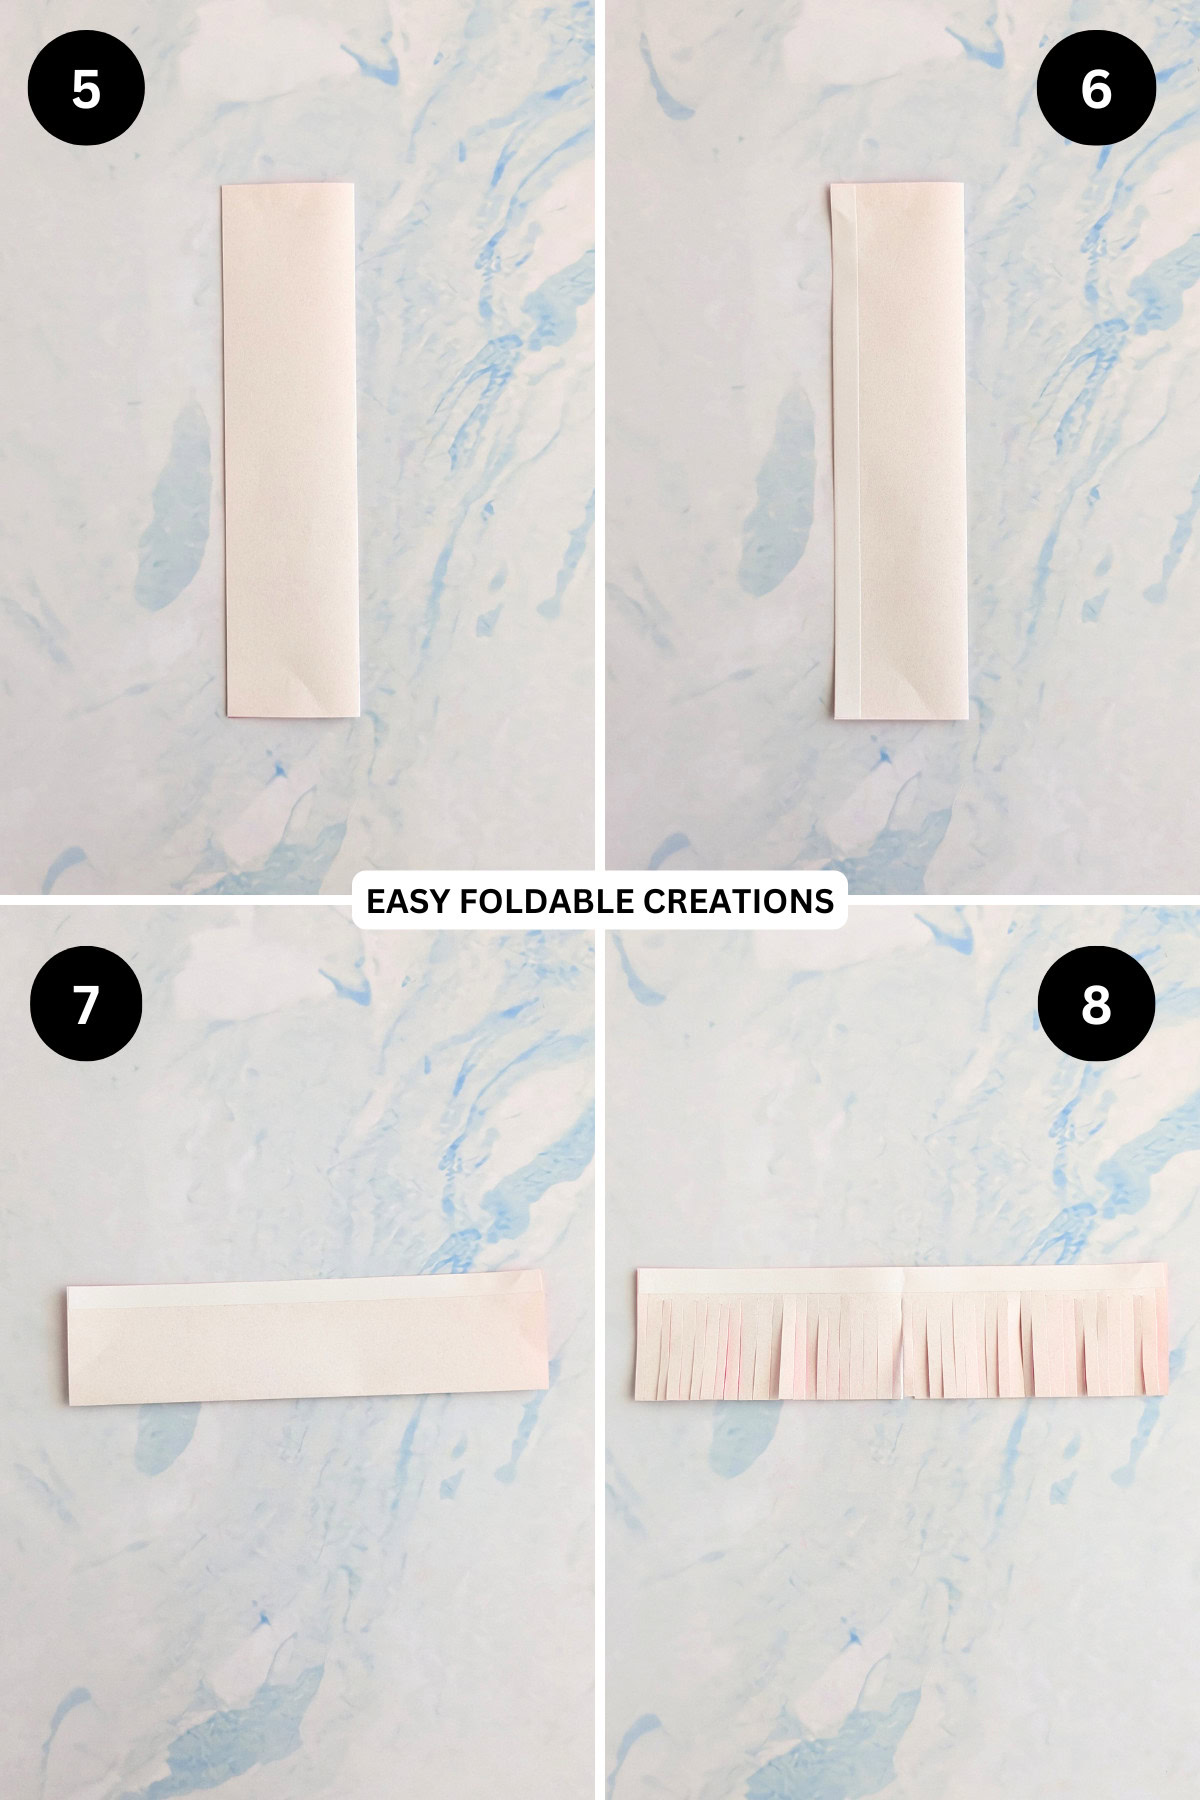
Step 5: Working on one of the rectangles: Arrange it to sit vertically (with the colored side still facing up), then fold the right edge to meet the left edge.
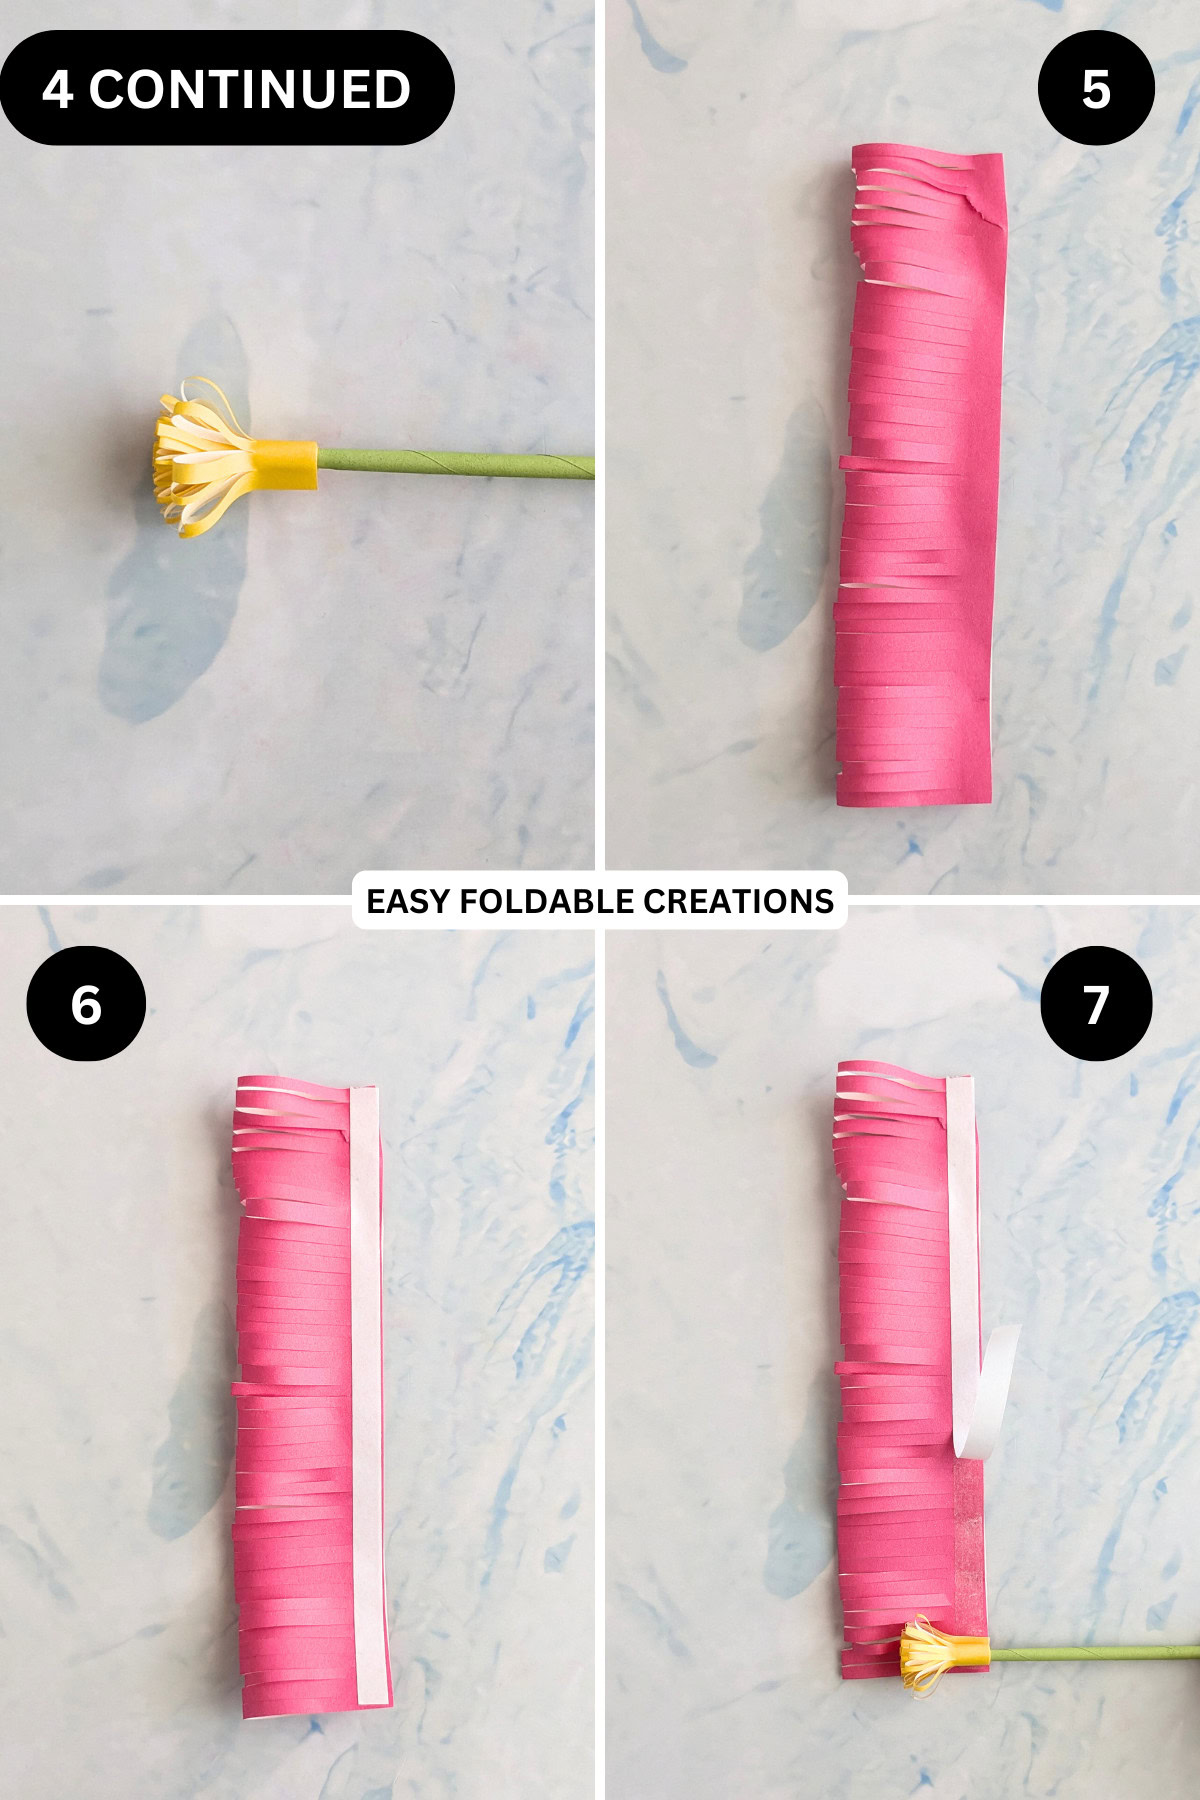
Step 6: If using double sided tape, apply it along the open edge of the paper. If not, skip this step.
Step 7: Rotate your paper 90 degrees so that the open edges are away from you.
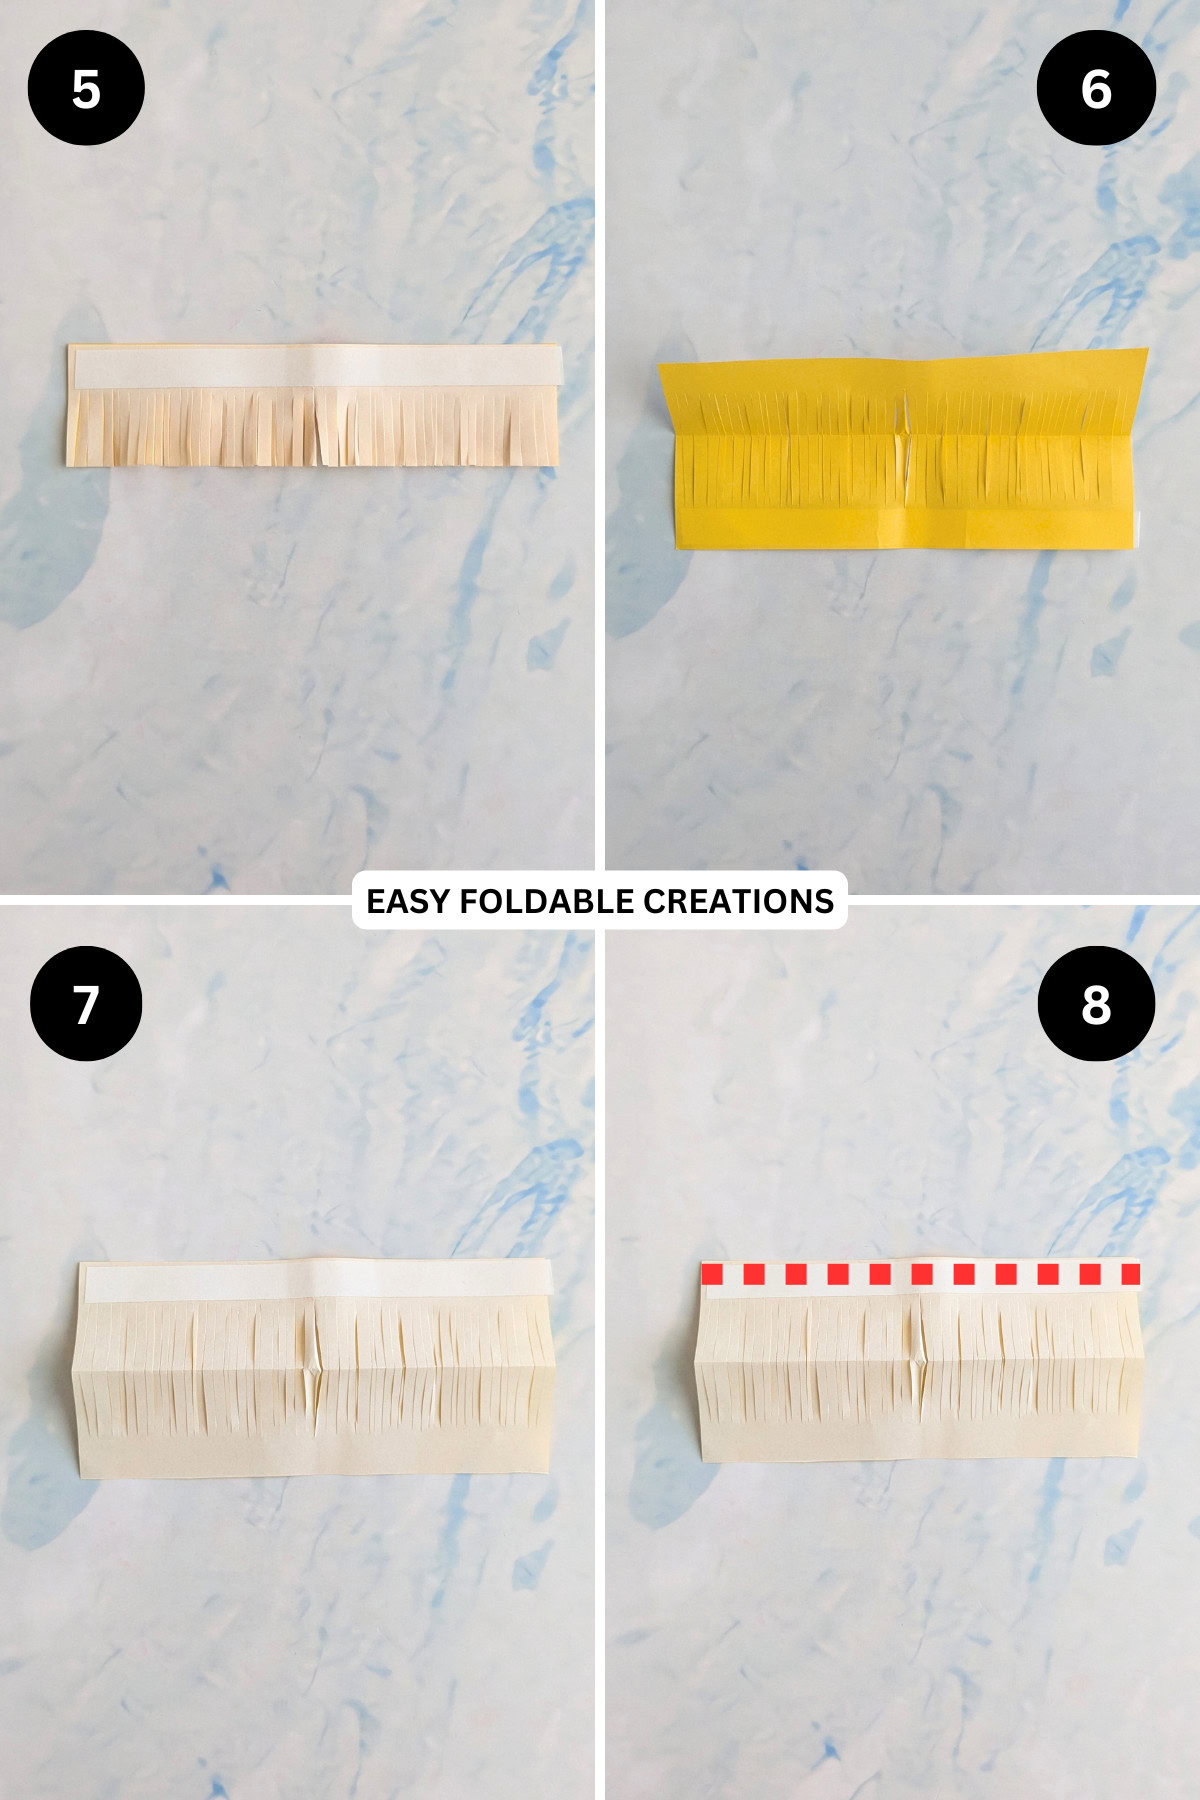
Step 8: Cut small slits into the paper along the folded edge. Make sure you leave a gap of about 0.40 inches (1 cm) from the open edge. If you have applied double sided tape, you could use the edge of the tape as a guide.
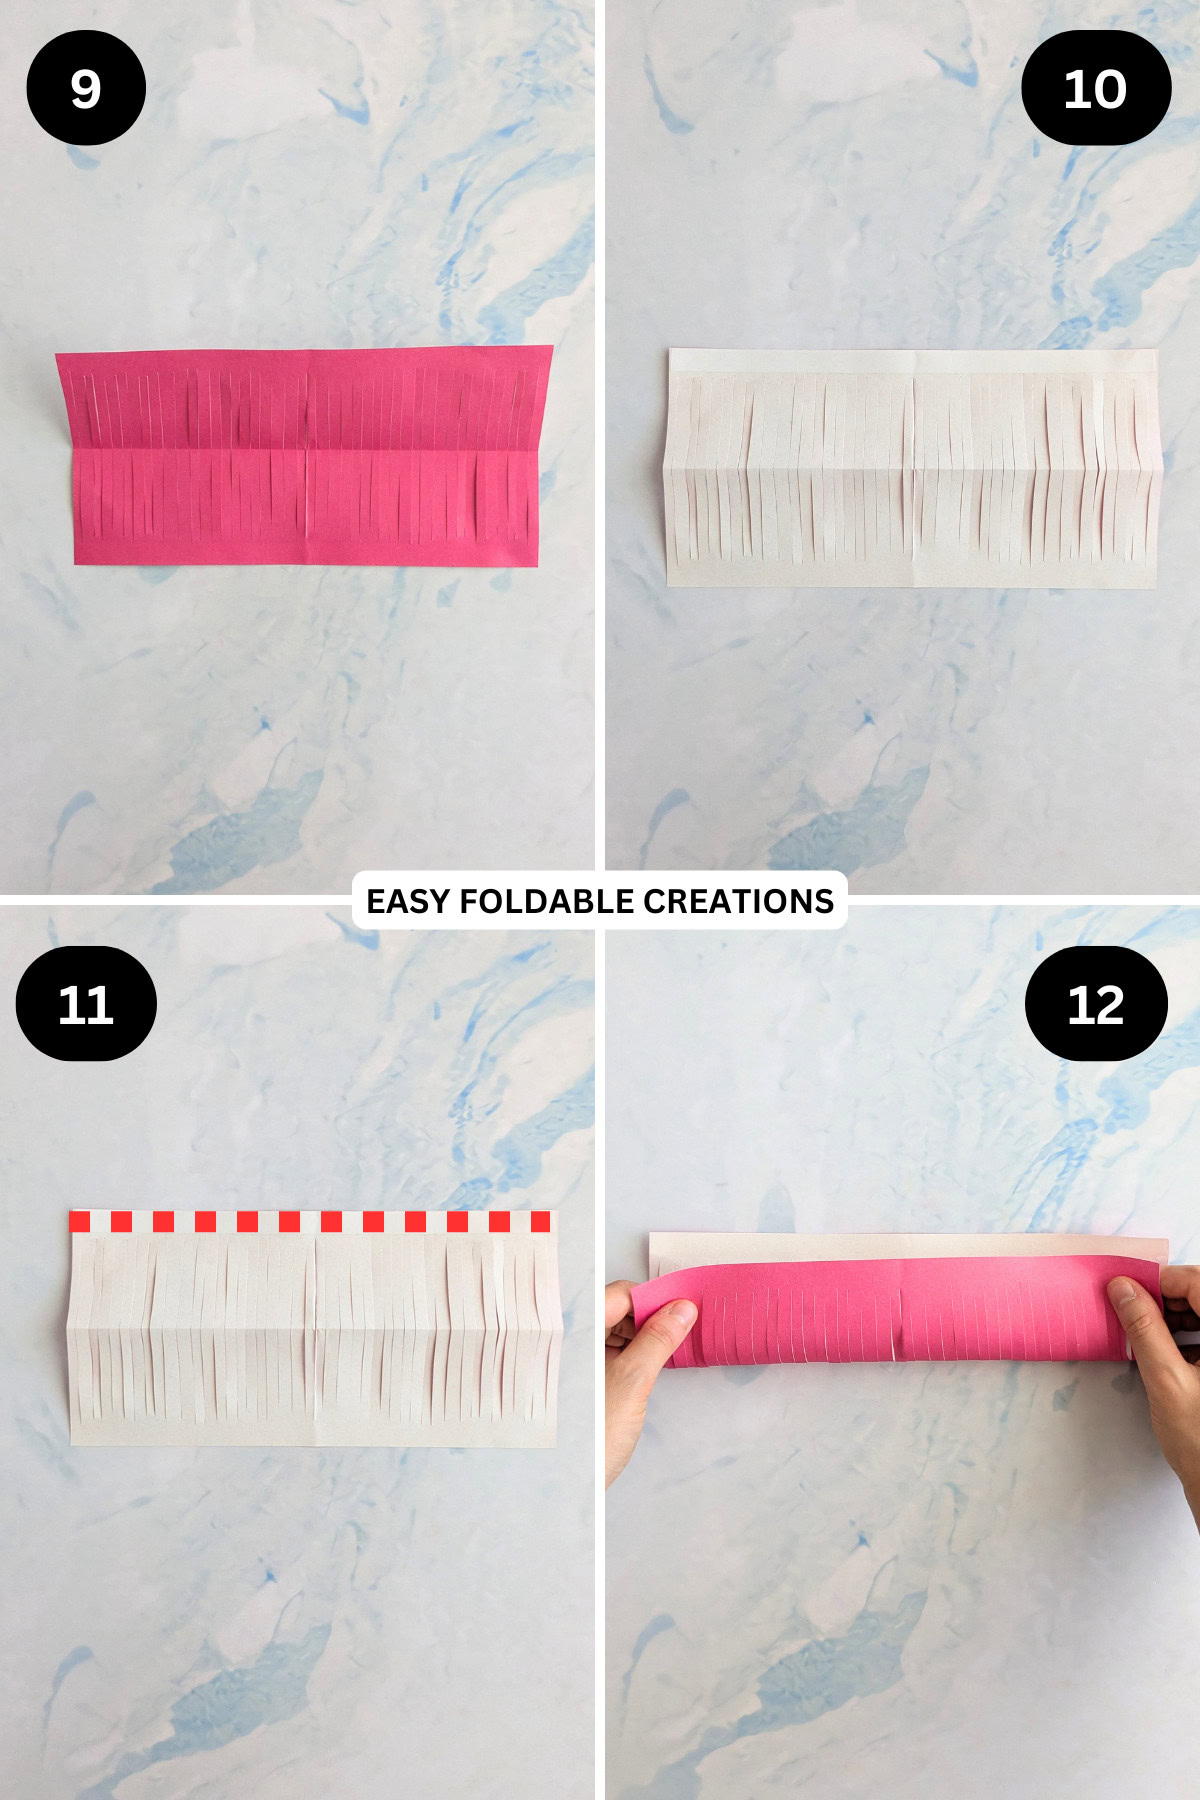
Step 9: Unfold the paper.
Step 10: Flip your paper over from top to bottom.
Step 11: If you are using glue, apply some glue to the top edge of the paper. If you already have double sided tape on your paper, skip this step.
Step 12: Fold the bottom edge to meet the top edge, attaching it with either glue or double-sided tape.
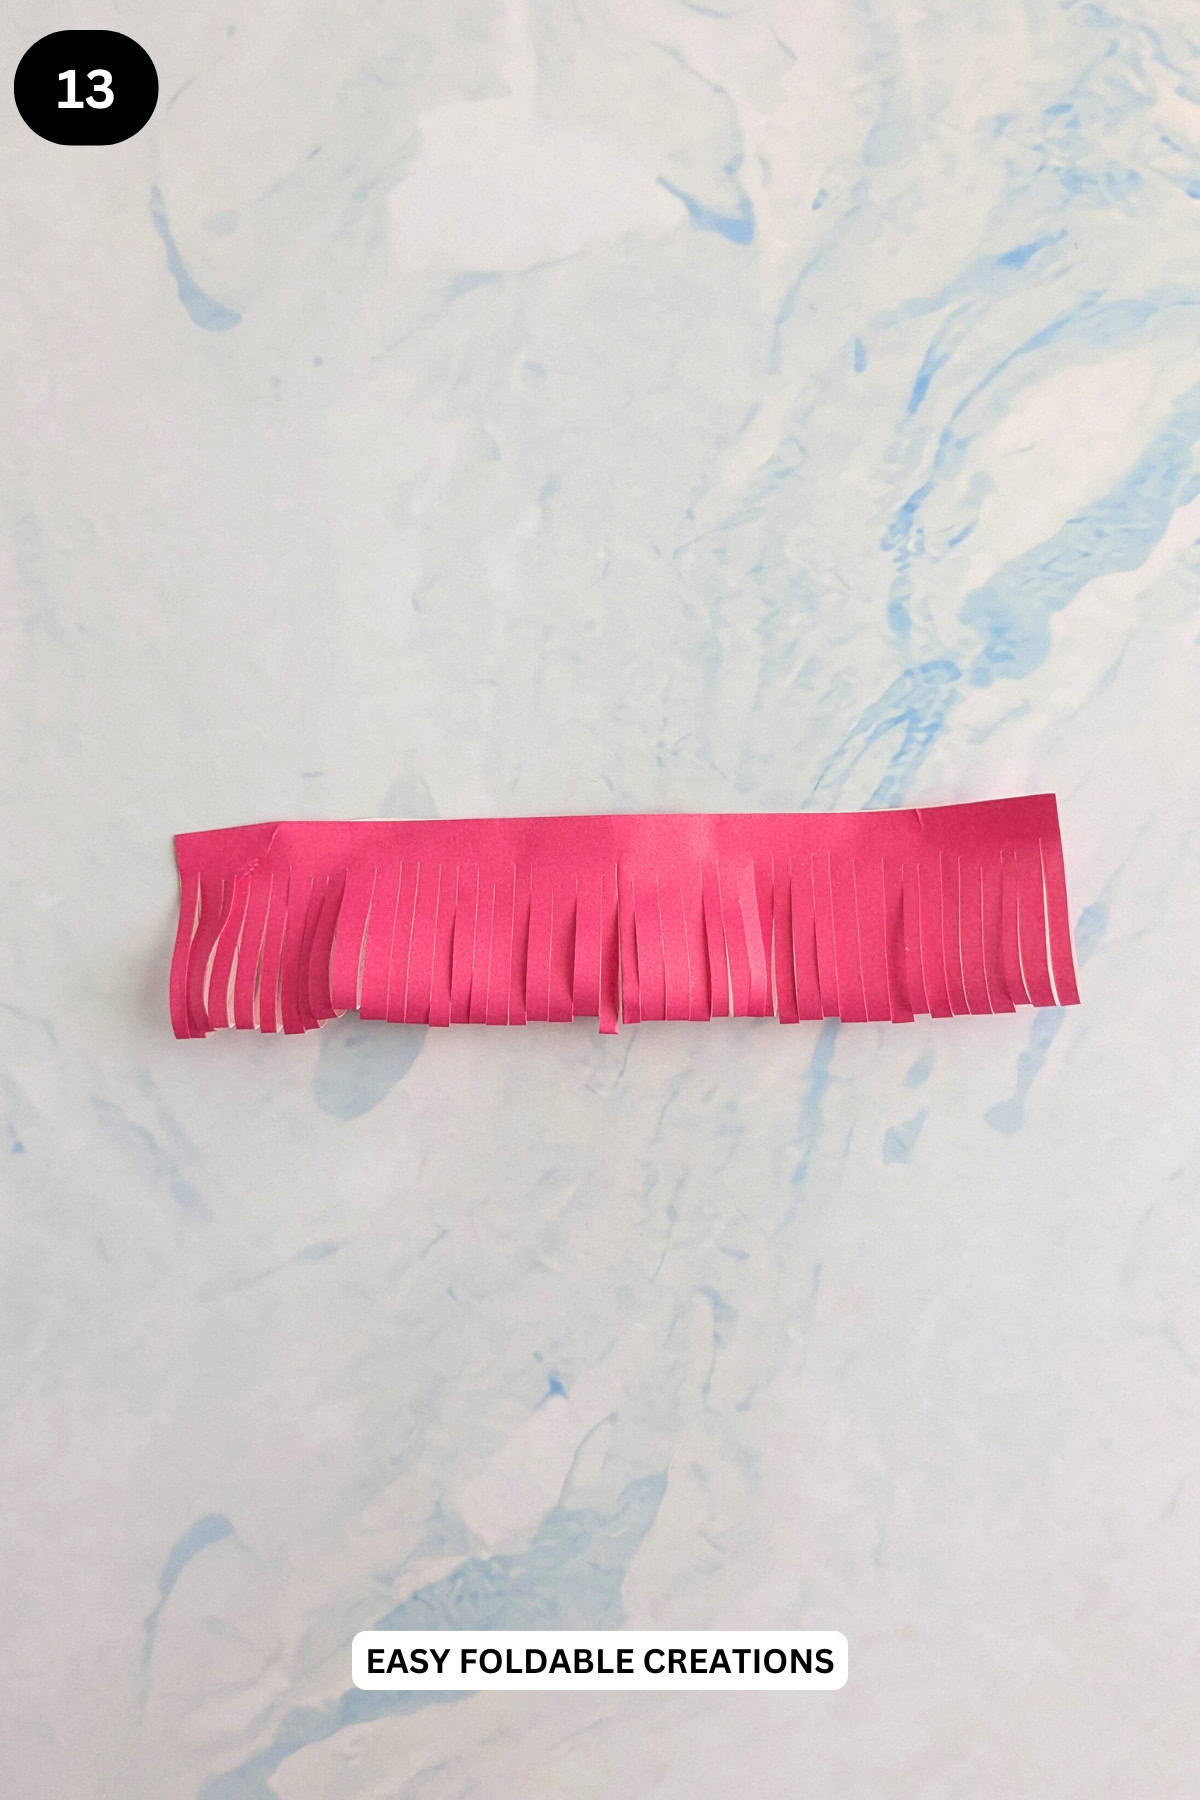
Step 13: Completed flower petals. Set aside. We will shape the flower head when we attach it to the stem.
For the Pistil (Inner Part of the Flower)
Using your yellow paper
Making the pistil uses similar steps as making the flower head.
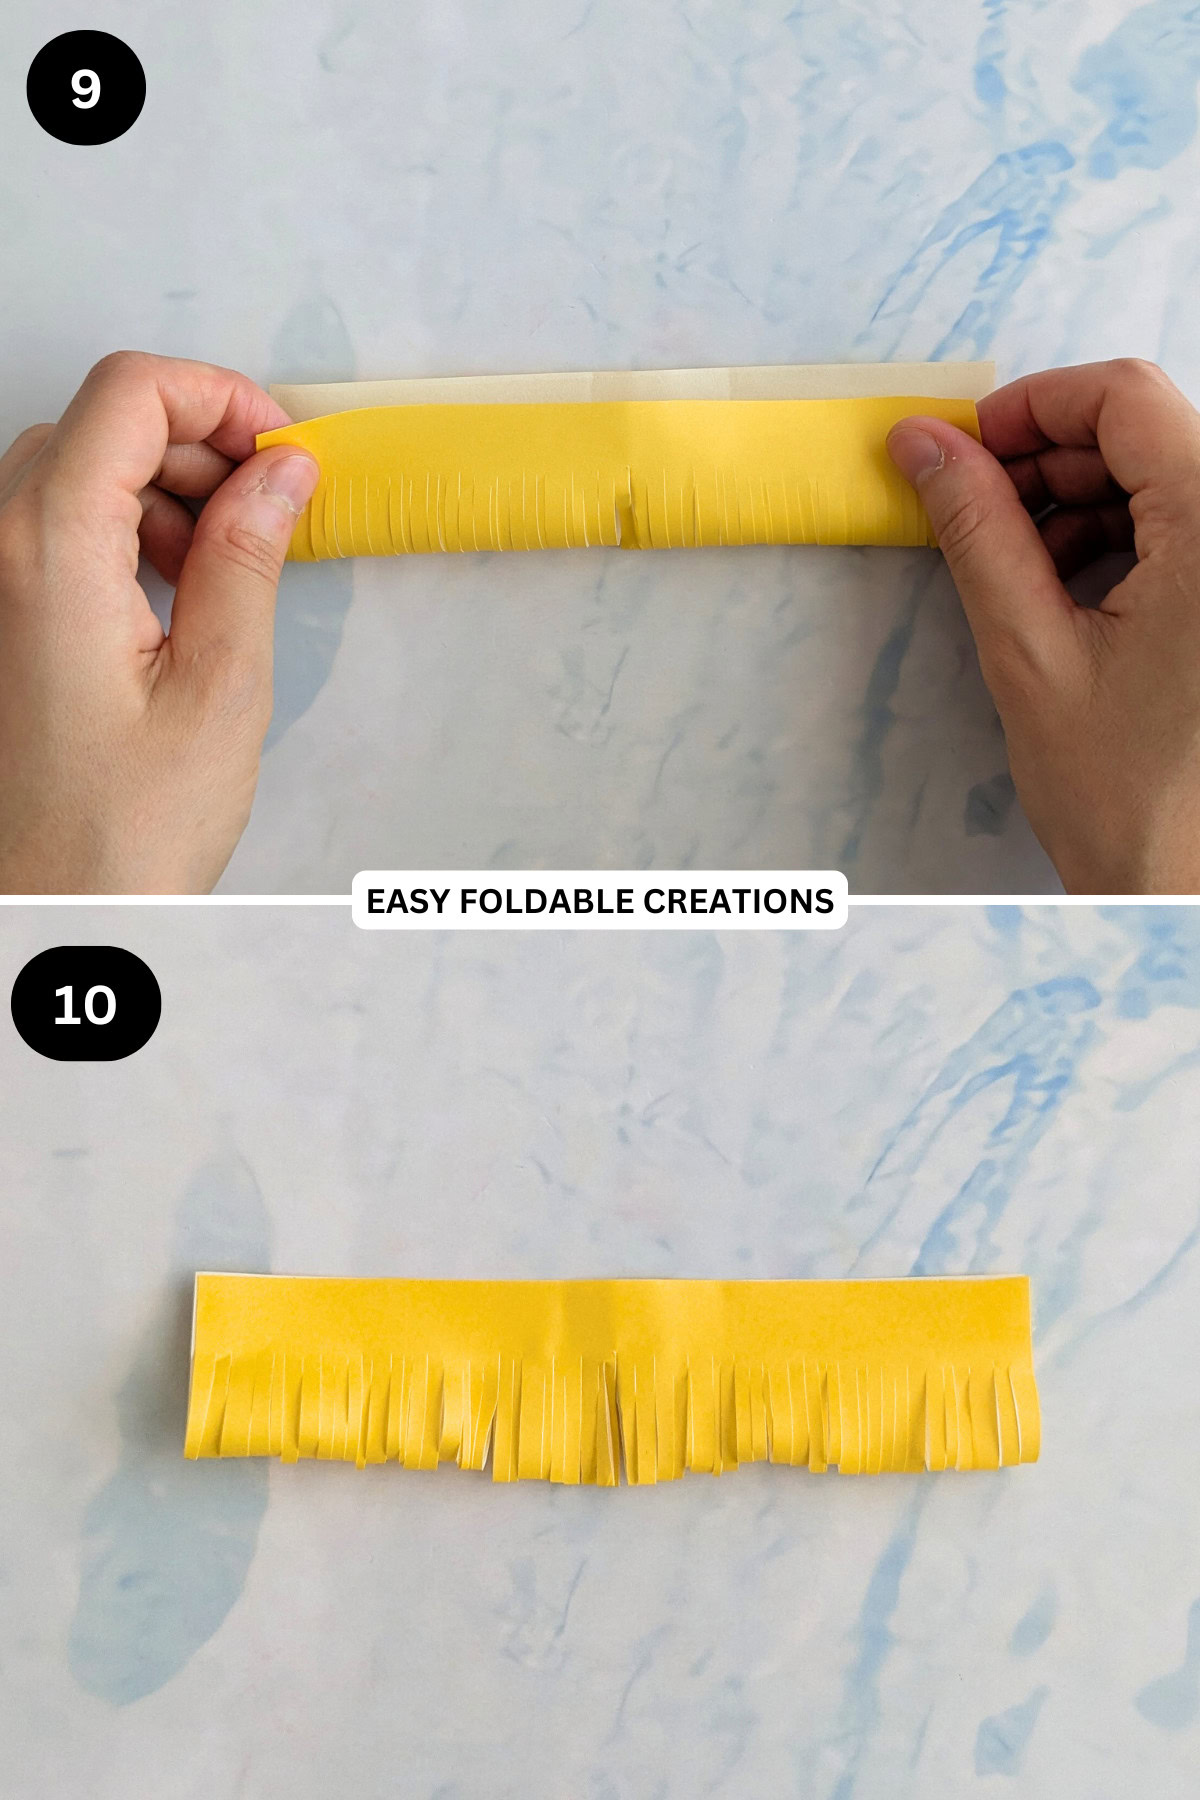
Step 1: Start with the color you want your pistil to be facing up. Arrange your paper to sit vertically.
Step 2: Fold the right edge of the paper to meet the left edge.
Step 3: If using double sided tape, apply it along the open edge of the paper. If not, skip this step.
Step 4: Rotate your paper 90 degrees so that the open edges are away from you.
Step 5: Cut small slits into the paper along the folded edge. Make sure you leave a gap of about 0.40 inches (1 cm) from the open edge. If you have applied double sided tape, you could use the edge of the tape as a guide. Make the slits small in width.
Step 6: Unfold the paper.
Step 7: Flip your paper over from top to bottom.
Step 8: If you are using glue, apply some glue to the top edge of the paper. If you already have double sided tape on your paper, skip this step.
Step 9: Fold the bottom edge to meet the top edge, attaching it with either glue or double-sided tape.
Step 10: Completed pistil. Set aside.
For the Stem
Using your green paper.
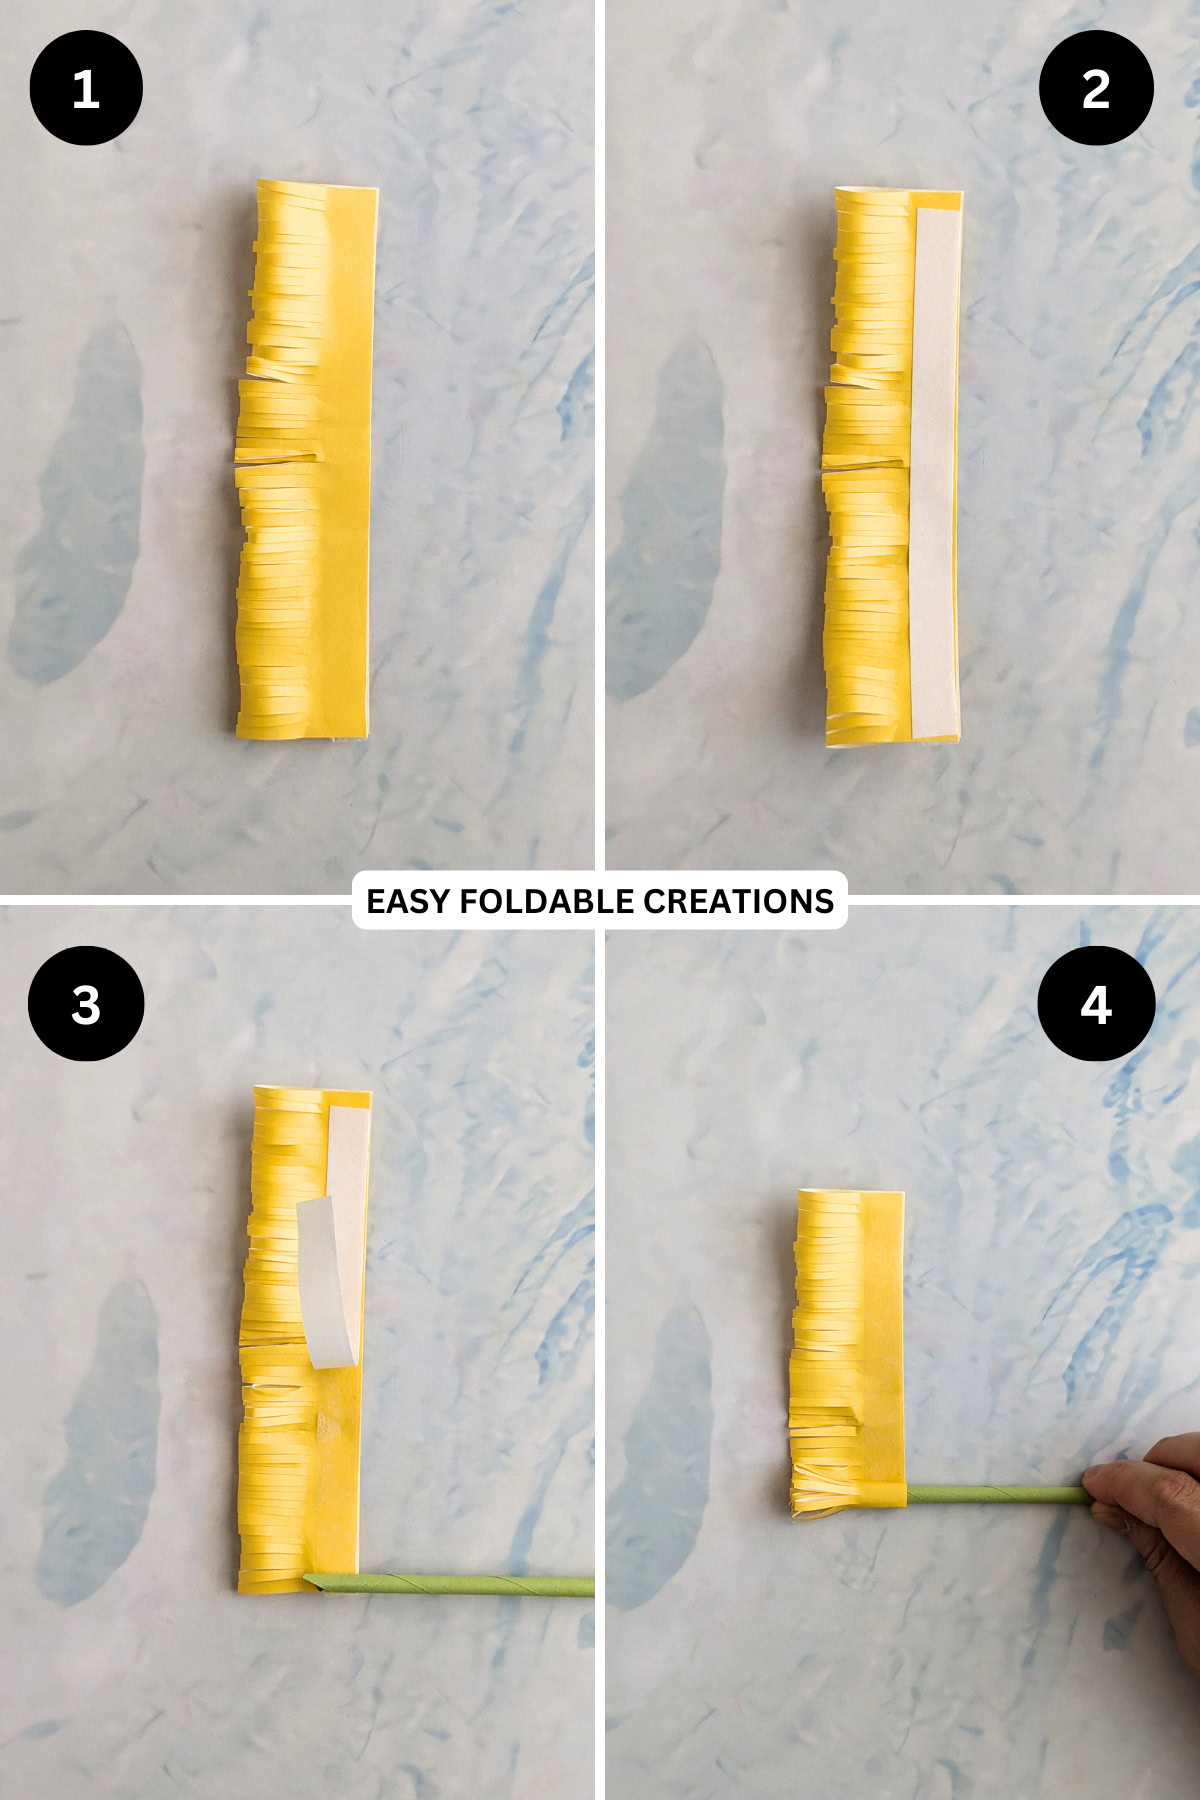
Step 1: Arrange the paper to sit slightly on a diagonal and have the color side facing down.
Step 2: Place the craft stick (or skewer) slightly above the bottom left corner of the paper.
Step 3: Wrap the paper firmly around the craft stick and then continue rolling the paper around the stick until you nearly reach the end of the paper.
Step 4: Apply some glue at the open end of the paper and then roll the paper over the remaining paper. Allow the glue to dry and remove the craft stick.

Step 5: Completed stem.

✨ You're almost there! ✨
To unlock the final steps of the photo tutorial and complete your pattern, create a free account with Grow.me. below.
Make sure you tick the box to subscribe to our newsletter and stay up to date with the latest patterns, tips, and more!
Once you're signed up, you'll get instant access to finish your project with the photo tutorial and enjoy exclusive content in the future.
Already signed up? Hit the button below and select 'Switch to Log In' to pick up where you left off and finish your project!
Putting It Together
Step 1: Start with your pistil (yellow paper). Arrange it so it sits vertically with the cut edge towards the left.
Step 2: Apply some glue or double-sided tape to the uncut edge of the pistil.
Step 3: Place the tip of the stem on the bottom of the flower head so it sits horizontally. The tip should not lie on the cut edge.
Step 4: Roll the pistil around the stem from bottom to top. If you are using glue, apply as needed.
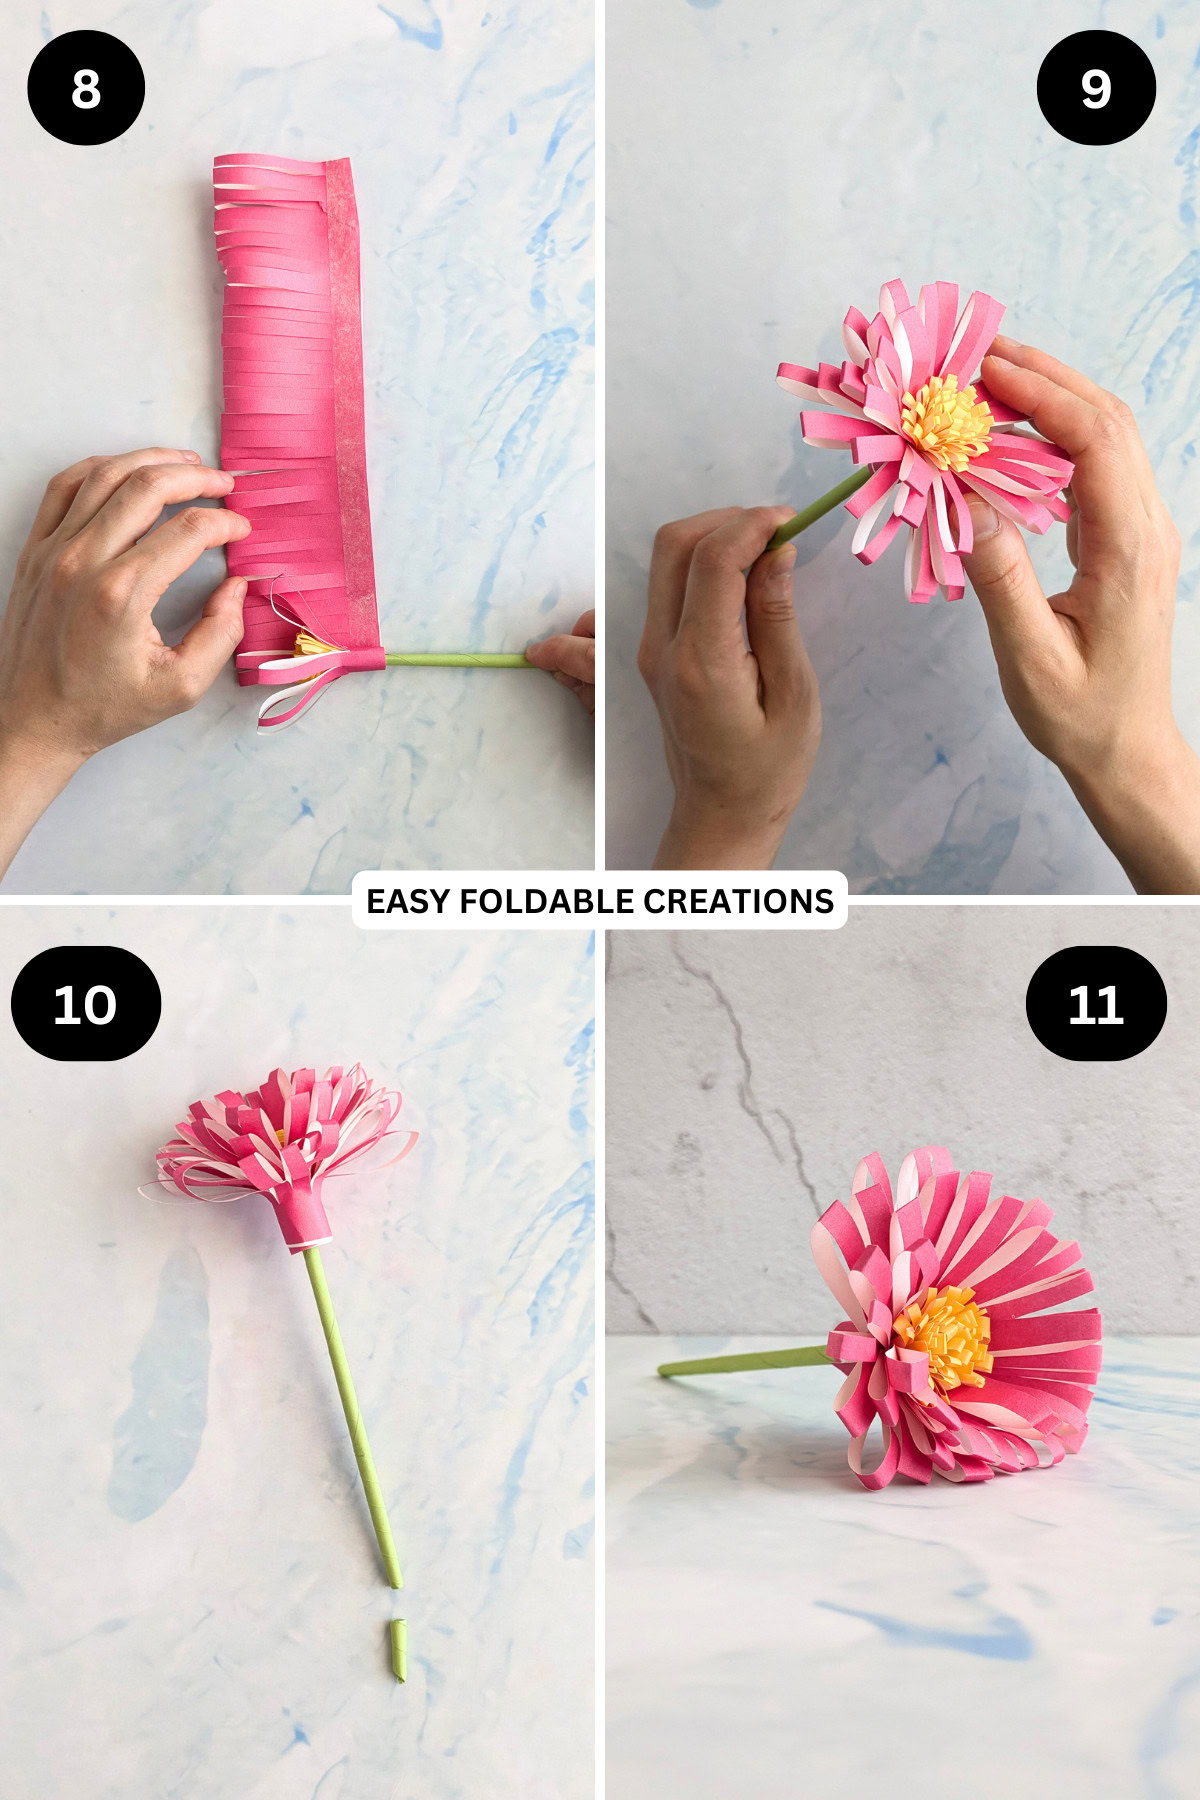
Step 5: Now we will attach the flower petals (colored paper). Arrange it so it sits vertically with the cut edge towards the left.
Step 6: Apply some glue or double-sided tape to the uncut edge of the flower petals.
Step 7: Place the stem and pistil on the bottom of the flower head so it sits horizontally. Line up the right edge of the petals with the edge of the pistil.
Step 8: Roll the flower petals around the stem from bottom to top. If you are using glue, apply as needed.
Step 9: Gently open out the flower petals.
Step 10: Trim the bottom edge of the stem.
Step 11: Completed daisy paper flower.
Tips For Success
If you're like me and sometimes you can't roll your stem evenly and one end is thicker than the other, place the thicker end on the flower head. This will give the flower a better finished look.

Color, Paper Ideas, and Variations
- Classic White and Yellow: Use white petals with a bright yellow center for a traditional daisy look. Perfect for spring crafts, Easter decorations, or cheerful home displays.
- Vibrant Summer Colors: Experiment with pinks, purples, oranges, or blues for a bold, summery vibe that's perfect for party décor or children's crafts.
- Pastels: Soft shades like lavender, baby blue, and mint green work beautifully for Mother's Day gifts, wedding decorations, or baby showers.
- Festive Daisies: Create red and white daisies for Christmas, or orange and black variations for Halloween. Add gold or silver centers for extra sparkle during New Year's celebrations.
- Natural Look: Choose muted tones like cream, beige, or pale green for a rustic aesthetic, great for weddings or farmhouse-style décor.
Other Crafts You Might Like To Try:
Helpful Origami Tips
If you're curious to learn more about origami, you might like to look at our basic guides on how to make some common origami folds.
Start with the valley fold and mountain fold-these are the foundation of most origami models.
Once you're comfortable, you might like to try the petal fold for 3D shapes, and explore the bird base and square base for more complex designs.
The water bomb base is also great for creating inflatable or geometric models, like this inflatable origami rabbit.
Useful Paper Craft Terms
Want to learn a little more about paper crafts and origami?
We've made this helpful printable just for you. It explains common terms and helpful tips you might come across when you are folding origami or making a paper craft project.
You can download the useful paper craft terms printable PDF here.
Stay Connected
Made this pattern? Let us know how it went in the comments below!
Pin this post - Pin now to take your paper crafting skills to the next level.
Share on Instagram or Facebook - Capture the beauty of your finished paper craft project and share it on Instagram or Facebook! Tag us @easyfoldablecreations so we can see your work!

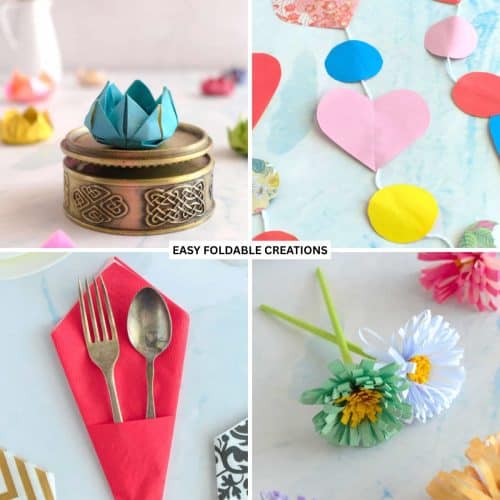
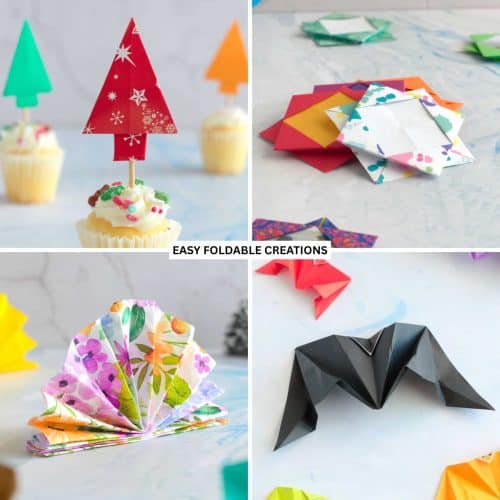
Other Patterns You Might Like To Try:
Looking for other easy patterns like this? Try these:
- Wedding Paper Craft Ideas for Decorations, Favors And Styling
- Paper Party And Event Decor Ideas
- Seasonal Paper Crafts Ideas
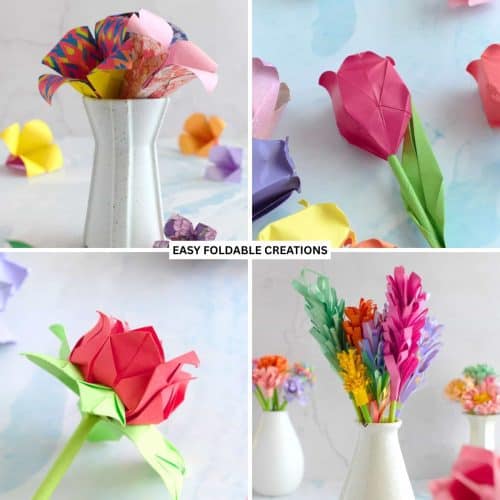
- Paper Flowers And Bouquets Ideas
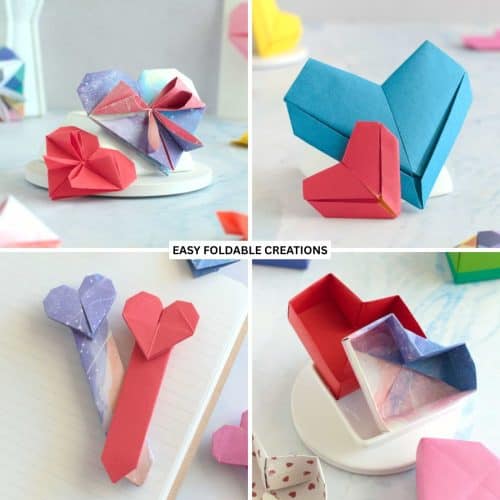
- Heart And Romantic Paper Crafts Ideas
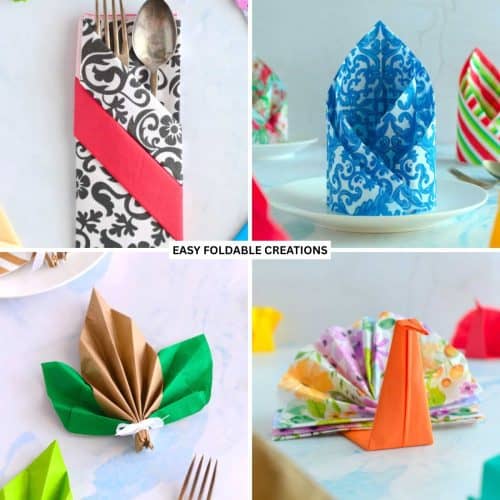
- Napkin Folding Ideas for Every Occasion (Easy and Elegant Table Ideas)
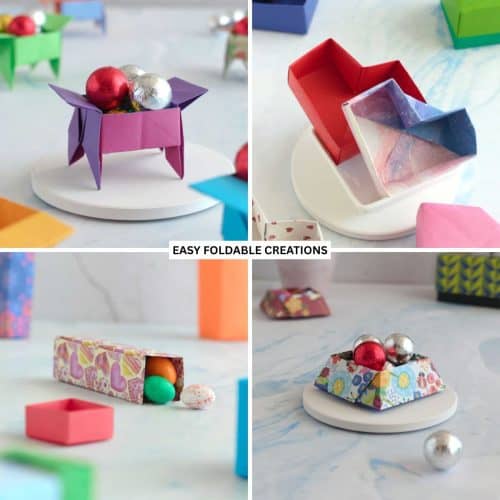
- Paper Boxes And Gift Packaging Ideas
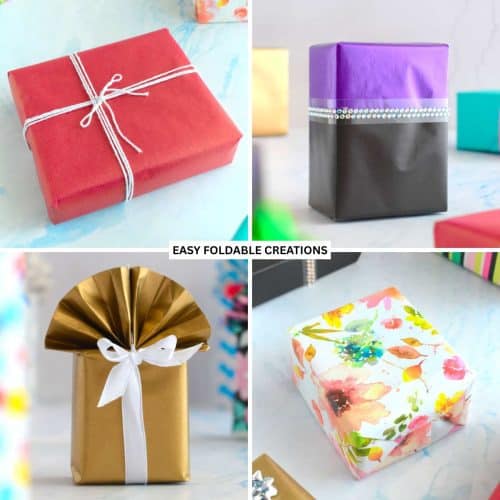
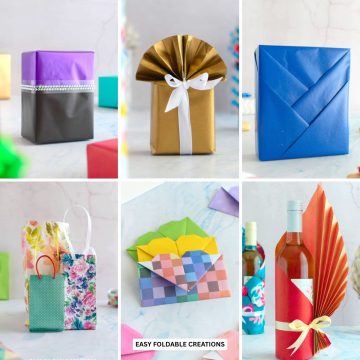
- Gift Wrapping Ideas for Every Occasion, Weddings And Special Events

Comments
No Comments