
Create your own beautiful butterfly origami with this easy-to-follow guide!
Perfect for gifts, decorations, or just for fun, these delicate creations are a great way to explore your creativity.

Jump to:
- Why You'll Love This Pattern
- Exclusive Content Just For You
- Skill Level
- Materials Needed
- Instructions
- Tips For Success
- Common Mistakes & How To Avoid Them
- Color, Paper Ideas, and Variations
- FAQ
- Other Crafts You Might Like To Try:
- Helpful Origami Tips
- Useful Paper Craft Terms
- Stay Connected
- Other Patterns You Might Like To Try:
- Comments
Origami butterflies are a delightful way to add a playful charm to any setting.
Butterfly origami is a folded paper design that creates a stylised butterfly shape using simple origami techniques. It is commonly used for decorative crafts, gift embellishments, and beginner origami practice, and is popular for its light, symmetrical form.
Whether you're looking to embellish gifts, create a beautiful garland for a birthday party, or design a captivating mobile for a child's room, these folded beauties are perfect for all occasions.
Each butterfly can be personalized with various colors, patterns, and sizes, allowing you to express your creativity and tailor them to any theme or event.
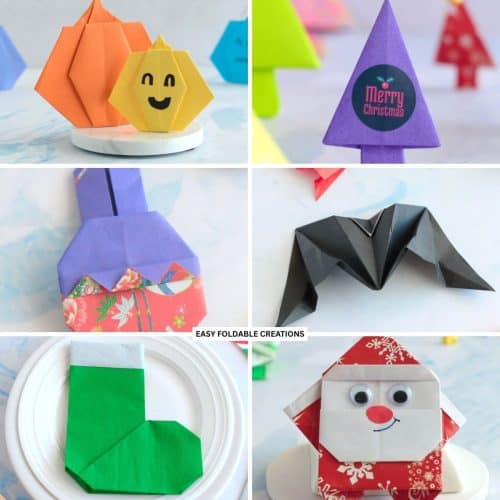
Creating origami butterflies can also be a wonderful bonding activity for family and friends. It's also great for occasions like Spring crafts, Easter paper crafting or Christmas.
Gather your loved ones for a fun crafting session where everyone can learn butterfly origami instructions together.
Plus, it's a great way to unplug from screens and engage in a hands-on activity that stimulates the mind.
In this article, we'll guide you through how to make an origami butterfly step by step with pictures, ensuring that even beginners can create stunning results.
This pattern is a wonderful example of traditional origami, perfect for anyone looking to explore this classic craft.
If you're after other easy to make butterfly crafts, you must make these butterfly origami corner bookmarks and these easy DIY butterfly cake toppers!

Why You'll Love This Pattern
This butterfly origami pattern is not only easy to fold but also incredibly versatile.
It can be used to enhance greeting cards, create stunning decorations, or simply serve as a delightful way to practice your folding skills.
The process of making these butterflies origami insects is both meditative and rewarding, providing a satisfying experience as you see your creation come to life.
Additionally, they can serve as meaningful gifts for friends and family, adding a personal touch to your gestures.
With its elegant design and the ability to personalize it with different colors and patterns, this origami project is a favorite among both novice and experienced folders.
Exclusive Content Just For You
Not sure what you want to make next, but feeling a bit creative? Or maybe you've been searching for a pattern that sparks something new. We've got a few ideas waiting for you.
The Fold Collective, Easy Foldable Creations' community, provides you with a library of exclusive ad-free video tutorials, printable PDF patterns, helpful tips, and more so you can improve your skills and enjoy crafting in your own time.
Skill Level
Difficulty: ★★☆☆☆ (Easy)
Materials Needed
Paper Size Options
We used 6x6 inches (15x15 cm) paper, but you can use any size you like!
This will create butterflies of different sizes, adding even more variety to your creations.
Paper Type & GSM
We recommend using a paper that is thinner for these butterflies.
You could use standard origami paper for this pattern.
If you want to use thicker paper such as scrapbook paper or cardstock we recommend doing so for larger butterflies.
If you use cardstock for making smaller butterflies, you may find it harder to fold.
Instructions
Step One: Start with the front of your paper (the colored or patterned side) facing down. This will be the color your butterfly will be.
Step Two: Fold the bottom left corner diagonally up to the top right corner.
Step Thee: Unfold previous step.
Step Four: Fold the bottom right corner diagonally up to the top left corner.

Step Five: Unfold previous step.
Step Six: Fold the bottom edge up to the top edge.
Step Seven: Unfold previous step.
Step Eight: Fold the left edge over to the right edge.

Step Nine: Unfold the previous step.
Step Ten: Fold the bottom left corner to the middle point.
Step Eleven: Repeat previous step for remaining corners, folding them all to the middle point.
Step Twelve: Flip the paper over.

Step Thirteen: Fold the bottom left corner to the middle point.
Step Fourteen: Repeat previous step for the remaining corners, folding them all to the middle point.
Step Fifteen: Unfold the paper completely so that it lies flat.
Step Sixteen: Flip the paper over.

Step Seventeen: Fold both the left and right edges to the centre of the paper.
Step Eighteen: Bring both of the top flaps down and outwards. Follow the existing crease lines.
Step Nineteen: Then flatten the top section. (this is known as a squash fold).
Step Twenty: Repeat the previous two (2) steps on the bottom.

✨ You're almost there! ✨
To unlock the final steps of the photo tutorial and complete your pattern, create a free account with Grow.me. below.
Make sure you tick the box to subscribe to our newsletter and stay up to date with the latest patterns, tips, and more!
Once you're signed up, you'll get instant access to finish your project with the photo tutorial and enjoy exclusive content in the future.
Already signed up? Hit the button below and select 'Switch to Log In' to pick up where you left off and finish your project!
Step Twenty-One: Flip the paper over. The points of the paper should be on the left and right.
Step Twenty-Two: Fold the top section to meet the bottom section. (this is known as a valley fold).
Step Twenty-Three: Fold the points of the top layer down.
Step Twenty-Four: Fold the sides of the outer diagonal edges of the lower flaps in slightly.

Step Twenty-Five: Fold the paper in half from left to right.
Step Twenty-Six: Fold both wings diagonally on the left edge.
Step Twenty-Seven: Fold one wing back.
Step Twenty-Eight: Completed butterfly.

Tips For Success
- Make sure your folds are sharp and precise for a clean look. A bone folder can help achieve crisp creases.
- If you're struggling to keep your folds neat, start with a square of paper that has a solid color on one side and a pattern on the other; this helps identify folds.

Common Mistakes & How To Avoid Them
Always align edges perfectly and crease firmly for clean results.
Stick to thinner origami paper to prevent bulky folds.
Handle the paper gently, especially during tighter folds.
Color, Paper Ideas, and Variations
Experiment with different colors and patterns for your butterfly. Use patterned paper for a vibrant look or metallic paper for a more elegant design.
Create a series of butterflies in various sizes and colors for a stunning mobile or decoration.
FAQ
Standard origami paper works best, but you can experiment with other types as well.
About 5-10 minutes, depending on your skill level.
Helpful Origami Tips
If you're curious to learn more about origami, you might like to look at our basic guides on how to make some common origami folds.
Start with the valley fold and mountain fold-these are the foundation of most origami models.
Once you're comfortable, you might like to try the petal fold for 3D shapes, and explore the bird base and square base for more complex designs.
The water bomb base is also great for creating inflatable or geometric models, like this inflatable origami rabbit.
Useful Paper Craft Terms
Want to learn a little more about paper crafts and origami?
We've made this helpful printable just for you. It explains common terms and helpful tips you might come across when you are folding origami or making a paper craft project.
You can download the useful paper craft terms printable PDF here.
Stay Connected
Made this pattern? Let us know how it went in the comments below!
Pin this post - Pin now to take your paper crafting skills to the next level.
Share on Instagram or Facebook - Capture the beauty of your finished paper craft project and share it on Instagram or Facebook! Tag us @easyfoldablecreations so we can see your work!

Other Patterns You Might Like To Try:
Looking for other easy patterns like this? Try these:
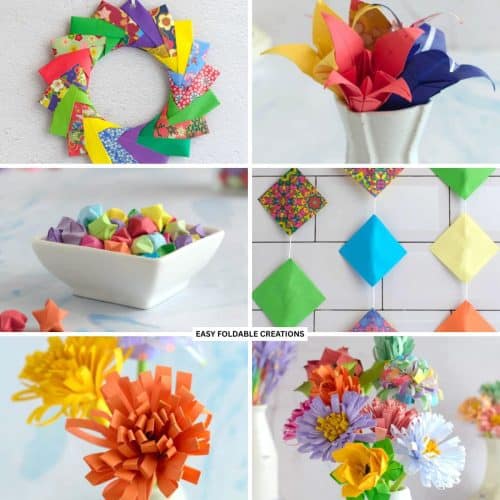
- Minimalist Seasonal Paper Decoration Ideas
- DIY Paper Decor Ideas For Every Season
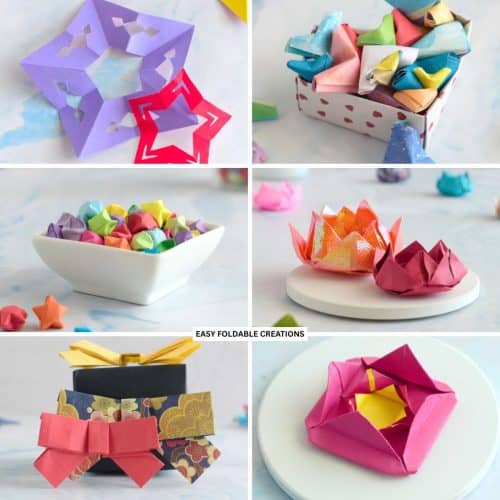
- Wedding Confetti Alternatives That Are Venue Friendly
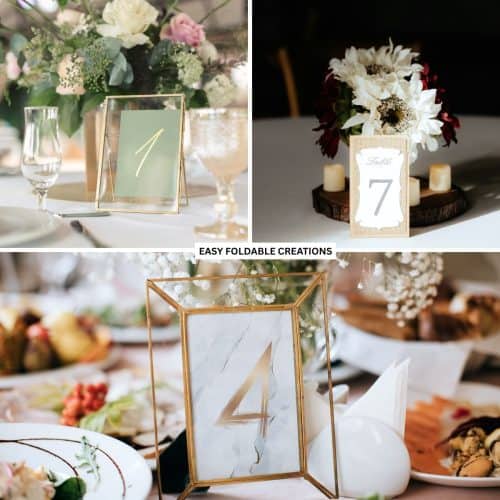
- DIY Wedding Table Number Ideas Using Paper
- DIY Paper Wedding Place Card Ideas You Can Make Yourself
- Gift Wrapping Topper Ideas
- Last Minute Gift Wrapping Ideas That Still Look Beautiful and Thoughtful
- Gift Wrapping Ideas For Oddly Shaped Gifts


Comments
No Comments