
Bring a touch of elegance and meaning to your celebrations with an origami crane garland.
This charming paper craft combines the delicate beauty of origami cranes with lucky stars that add sparkle and interest to any occasion.
Perfect for Christmas decorations, birthdays, weddings, or even as a year-round statement piece, this origami tutorial offers a step by step guide to folding both cranes and lucky stars, plus tips on assembling them into a stunning garland.

Jump to:
- Why You'll Love This Pattern
- Exclusive Content Just For You
- Skill Level
- Materials Needed
- Instructions
- Tips For Success
- Common Mistakes & How To Avoid Them
- Color, Paper Ideas, and Variations
- FAQ
- Other Easy Crafts You Might Like To Try:
- Helpful Origami Tips
- Useful Paper Craft Terms
- Stay Connected
- Other Patterns You Might Like To Try:
- Comments
This origami crane is a classic symbol of peace and good fortune, making it an ideal choice for decorative garlands at holiday events or special celebrations.
Alongside these cranes, small lucky stars folded from paper add texture and a playful accent that complements the graceful birds.
Using colorful or patterned paper, you can tailor your garland to fit Christmas décor, birthday parties, weddings, or cultural festivals such as Japanese Tanabata or New Year's celebrations.
This paper craft project involves folding multiple origami cranes and lucky stars, then stringing them together to create a beautiful, lightweight garland.
Whether you're an origami beginner or have some folding experience, this origami tutorial walks you through each fold step by step, making the process enjoyable and accessible.
The finished garland adds a handcrafted, meaningful touch to your décor, perfect for mantelpieces, windows, or party backdrops.

Why You'll Love This Pattern
- Combines iconic origami cranes with lucky stars for a layered festive look
- Step by step origami tutorial suitable for all skill levels
- Perfect for Christmas decorations, birthdays, DIY wedding paper crafts, and cultural celebrations
- Lightweight and easy to hang anywhere in your home or event space
- Customizable with your choice of paper colors and patterns
Exclusive Content Just For You
Not sure what you want to make next, but feeling a bit creative? Or maybe you've been searching for a pattern that sparks something new. We've got a few ideas waiting for you.
The Fold Collective, Easy Foldable Creations' community, provides you with a growing library of exclusive ad-free video tutorials, printable PDF patterns and more so you can improve your skills and enjoy crafting in your own time.
Skill Level
★☆☆☆☆ (Very Easy)
Materials Needed
- String (strong cotton thread or nylon thread is recommended)
- Needle (used to thread the stars, be cautious not to prick yourself!)
- Scissors
- Optional: Beads, charms, or decorative elements.
- For the Paper Cranes: Square sheet of origami paper. For smaller cranes, we recommend 3 inch x 3 inch (7.5 cm x 7.5 cm) paper.
- For the stars: Each star will need a strip of paper. You can cut a strip of paper from lightweight A4 paper. The width of the strip will determine how big your star will be. We recommend starting with a strip that is 0.8 inch x 11 inch (2cm x 29cm). This will make a star that is about 1.20 inch x 1.20 inch (3cm x 3cm). Once you get the hang of making a lucky star, you could then move on to a small strip of paper (such as 0.40 inch x 11 inch (1cm x 29cm)).
Instructions
Making The Paper Cranes
Step 1: Start with the color you want your crane to be facing down. Arrange the paper so it sits in a diamond shape.
Step 2: Fold the top point down to meet the bottom point.
Step 3: Fold the paper in half from right to left, matching the points.
Step 4: Open out the top flap and squash fold it down.

Step 5: Turn your paper over from left to right.
Step 6: Fold the top flap over to the left along the centre crease and then squash fold.
Step 7: Fold the bottom right edge (top layer only) to meet the centre crease.

Step 8: Fold the bottom left edge (top layer only) to meet the centre crease.
Step 9: Fold the top down along the top edge of the flaps you just made.
Step 10: Unfold previous 3 steps.
Step 11: Lift the top flap up along the creases you made in the previous steps.

Step 12: Continue to lift up the flap and at the same time push in the sides along the creases you made before. Flatten everything along the creases you made before. This is called a petal fold.
Step 13: Flip the model over and repeat steps 7 to 12.
Step 14: Fold the top flap on the right in to meet the middle on a slight diagonal.
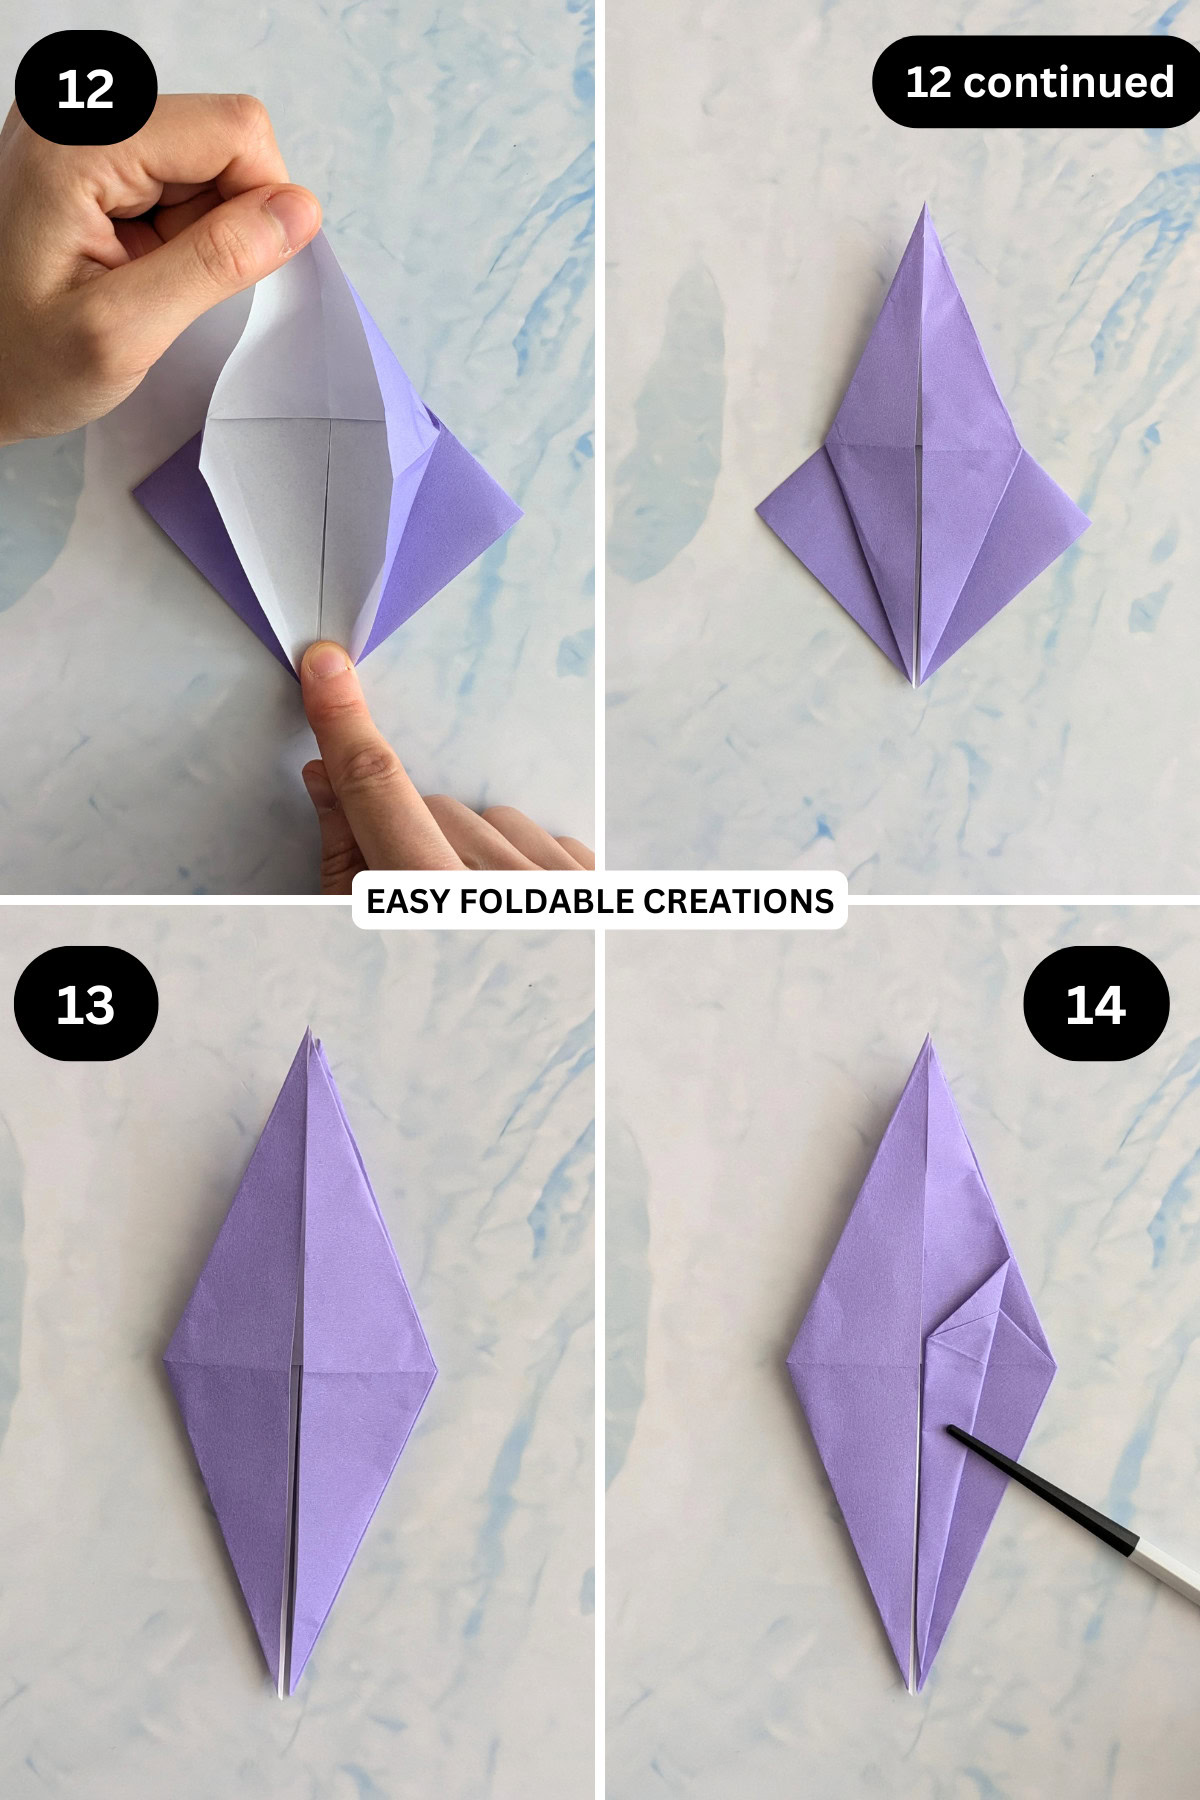
Step 15: Repeat previous step for the top flap on the left.
Step 16: Flip the paper over from left to right and repeat steps 14 to 15.
Step 17: Fold the long thin section on the left up on a slight diagonal. Crease well.
Step 18: Unfold previous step.
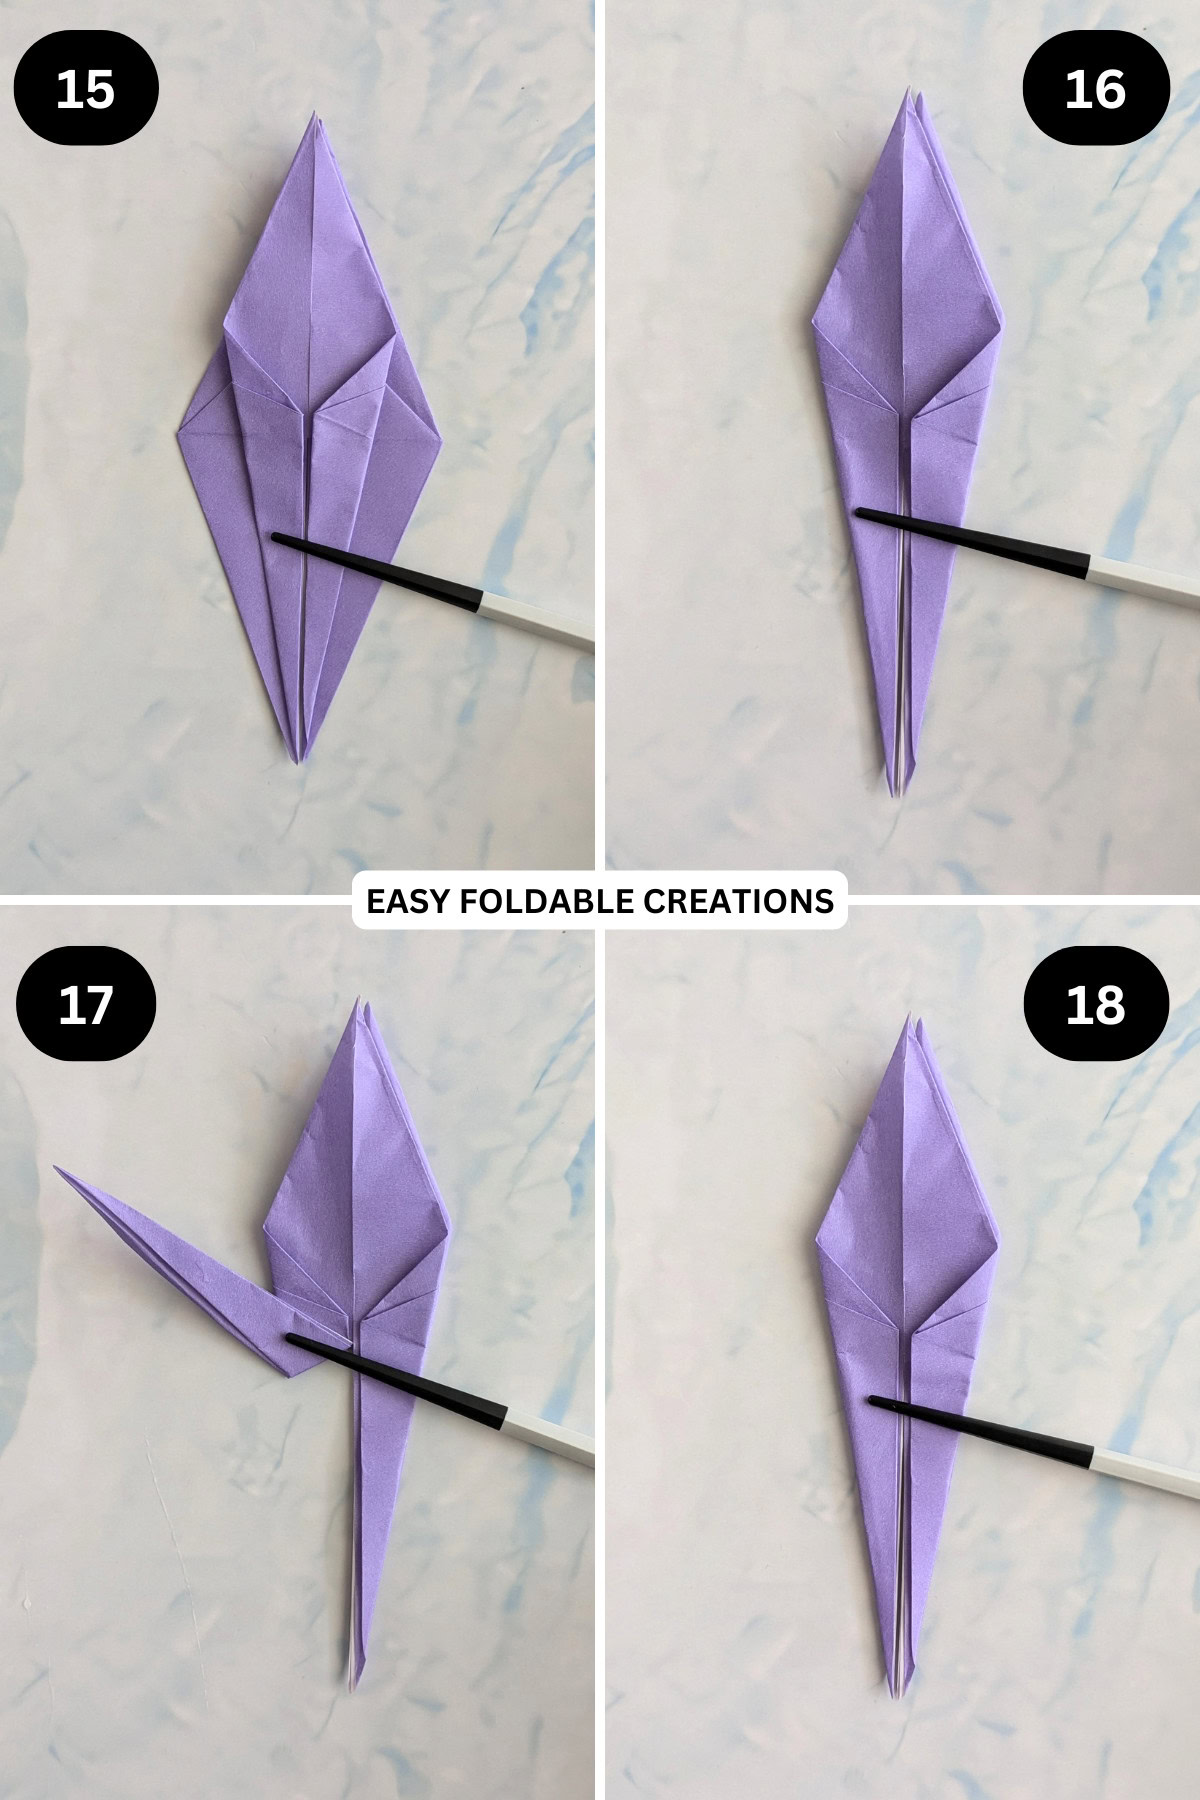
Step 19: Fold the long thin section on the right up on a slight diagonal, just like you did on the left.
Step 20: Unfold previous step.
Step 21: Flip the model over and repeat steps 17 to 20, following the creases you made before.
Step 22: Take one of the long thin sections and slightly open the model. Reverse fold along the creases you made before and then flatten.

Step 23: Repeat previous step for other long thin section.
Step 24: Fold the tip of one of the long thin sections down slightly. This will be the head.
Step 25: Unfold previous step.

Step 26: Open up the tip of the long section you just folded and reverse fold the head.
Step 27: Fold down the wings on both sides. You should be able to see a small triangle in the middle of your crane once you have folded it down.
Step 28: Completed origami paper crane. Make as many as you need using more sheet of paper.

Making The Lucky Stars
Step 1: Start with the color you want your star to be facing up.
Step 2: Bring the right end of the paper over the top of the strip.
Step 3: Bring the same end of the paper behind, forming a loop.
Step 4: Feed the top end behind and through the loop. Continue to pull gently to tighten the knot. Make sure the left side of the knot is much longer than the right side.

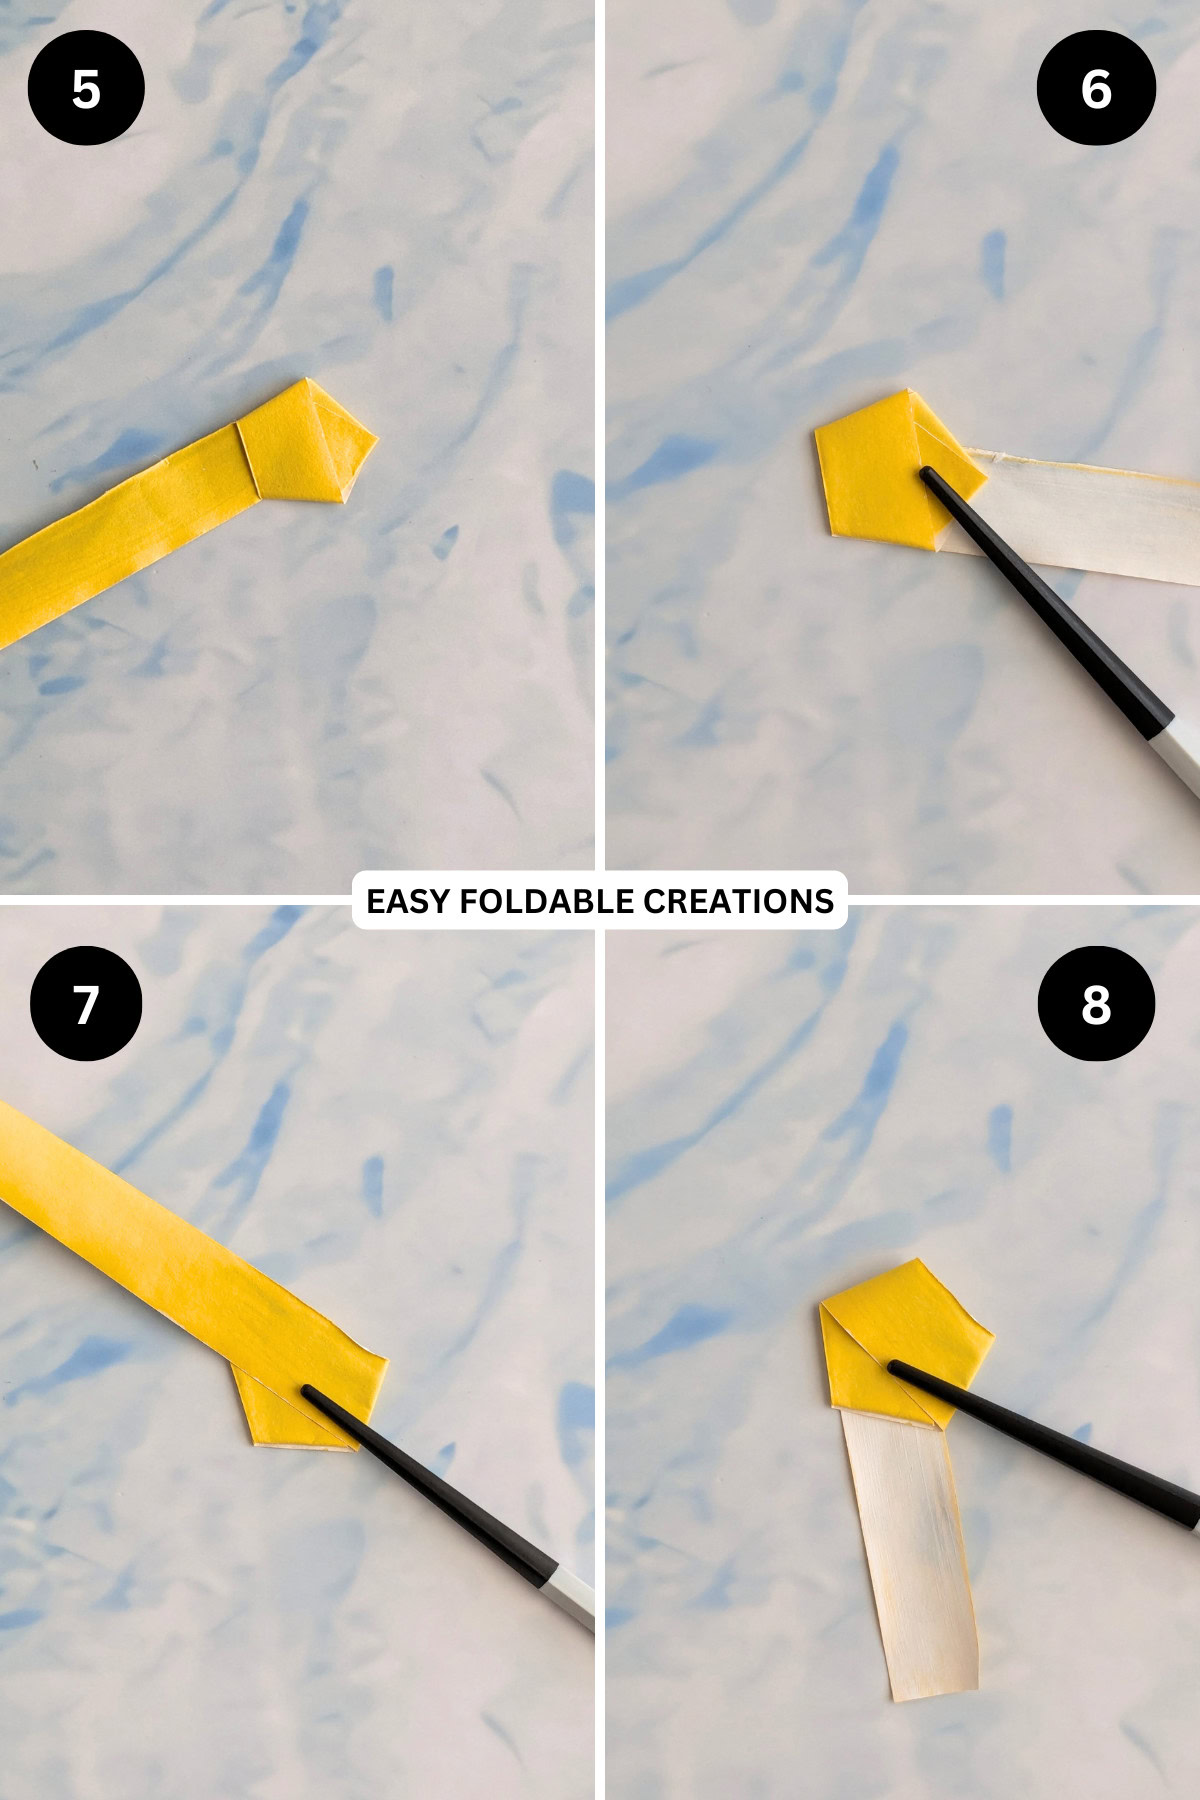
Step 5: Making sure the knot is flattened, fold any excess paper on the right behind. If the excess is too long, you can trim it down.
Step 6: Fold the left side behind, aligning it with the bottom edge of the pentagon.
Step 7: Wrap the long end to the left, following the top right edge.
Step 8: Continue wrapping, alternating between edges.
Step 9: Wrap until there is very little left of the strip.
Step 10: Insert the end of the strip inside the little pocket of your paper.
Step 11: Use your index finger and thumb to pinch in one of the points of the star.
Step 12: Repeat previous step for remaining points. Completed lucky star. Use more strips of paper to make as many stars as you need.

Putting the Origami Garland Together
Step 1: Arrange your lucky stars and cranes in the order you would like them to be hung up. Leave a small gap between each of the stars and cranes.
Step 2: Take your string and cut it to the length of your laid out cranes and stars plus an additional amount so that you can hang it. It's best to cut more than you think you need as you can always trim it down later. Tie a knot at one of the ends of the string.
Step 3: Thread your string through a needle (on the opposite end to where you tied the knot. Then, thread the stars and cranes onto the string.
Step 4: Continue until the garland is to your desired length. Then, remove needle. Completed garland.
Tip: You might like to also include some beads in your garland. Thread them through as you thread your cranes and stars.

Tips For Success
- Choose lightweight paper to keep the garland from sagging.
- Use contrasting colors for cranes and stars to make each element stand out.
- Thread cranes carefully to avoid tearing the paper.
- For an extra festive touch, add small bells or beads between cranes and stars.

Common Mistakes & How To Avoid Them
- Stars unraveling: Use firm folds when making lucky stars and tuck the paper ends securely.
- Garland string breaking: Use a strong twine or ribbon and double knot each piece for stability.
Color, Paper Ideas, and Variations
- Classic red and green paper cranes and stars for Christmas garlands.
- Pastel colors for spring celebrations or baby showers.
- Metallic or glitter paper stars for New Year's Eve or weddings.
- Mix solid and patterned paper for a playful, eclectic look.
- Create mini garlands for gift wrapping embellishments or table décor.
FAQ
Yes, but thinner origami paper folds more easily and holds shapes better for this project.
Absolutely! The origami tutorial provides clear step by step instructions for both cranes and lucky stars.
Other Easy Crafts You Might Like To Try:
Helpful Origami Tips
If you're curious to learn more about origami, you might like to look at our basic guides on how to make some common origami folds.
Start with the valley fold and mountain fold-these are the foundation of most origami models.
Once you're comfortable, you might like to try the petal fold for 3D shapes, and explore the bird base and square base for more complex designs.
The water bomb base is also great for creating inflatable or geometric models, like this inflatable origami rabbit.
Useful Paper Craft Terms
Want to learn a little more about paper crafts and origami?
We've made this helpful printable just for you. It explains common terms and helpful tips you might come across when you are folding origami or making a paper craft project.
You can download the useful paper craft terms printable PDF here.
Stay Connected
Made this pattern? Let us know how it went in the comments below!
Pin this post - Pin now to take your paper crafting skills to the next level.
Share on Instagram or Facebook - Capture the beauty of your finished paper craft project and share it on Instagram or Facebook! Tag us @easyfoldablecreations so we can see your work!

Other Patterns You Might Like To Try:
Looking for other easy patterns like this? Try these:
- Wedding Paper Craft Ideas for Decorations, Favors And Styling
- Paper Party And Event Decor Ideas
- Seasonal Paper Crafts Ideas
- Paper Flowers And Bouquets Ideas
- Heart And Romantic Paper Crafts Ideas
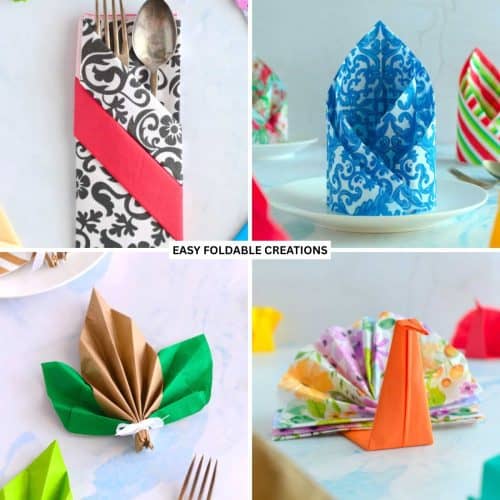
- Napkin Folding Ideas for Every Occasion (Easy and Elegant Table Ideas)
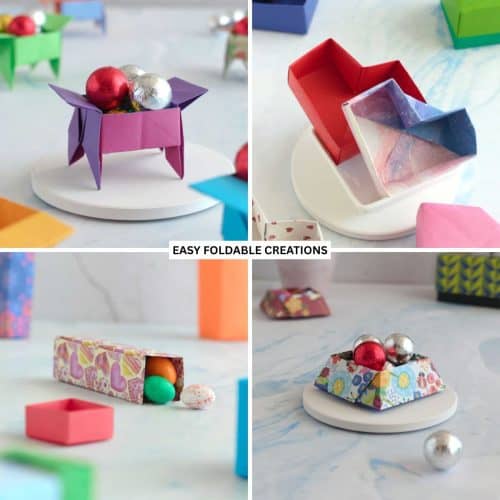
- Paper Boxes And Gift Packaging Ideas
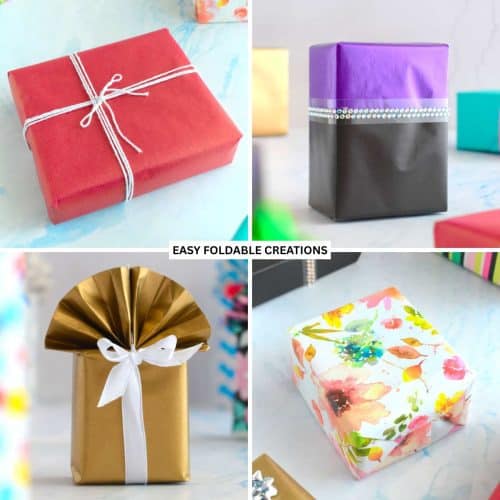
- Gift Wrapping Ideas for Every Occasion, Weddings And Special Events


Comments
No Comments