
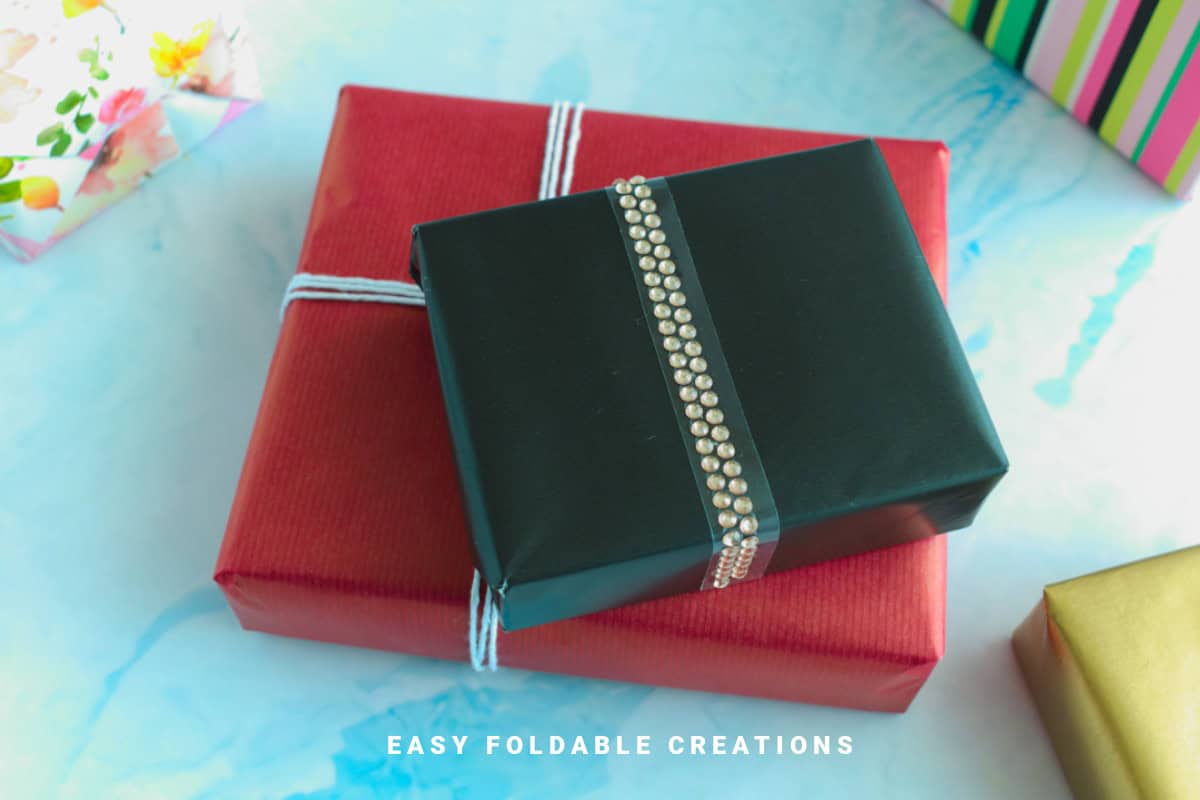
Keep things beautifully simple with this minimalist gift wrapping idea.
Using just a few materials, it's perfect for wrapping books, small boxes, or any rectangular gift.
Ideal for weddings, birthdays, Christmas, and more.
Jump to:
If you love clean lines, muted tones, and a timeless aesthetic, this minimalist gift wrapping idea is the perfect go-to for any occasion.
It's a fantastic option for those who want their gifts to look polished and thoughtful without any fuss.
With just a sheet of wrapping paper, some tape, and a simple ribbon or twine, you can turn an ordinary present into something that feels quietly special.
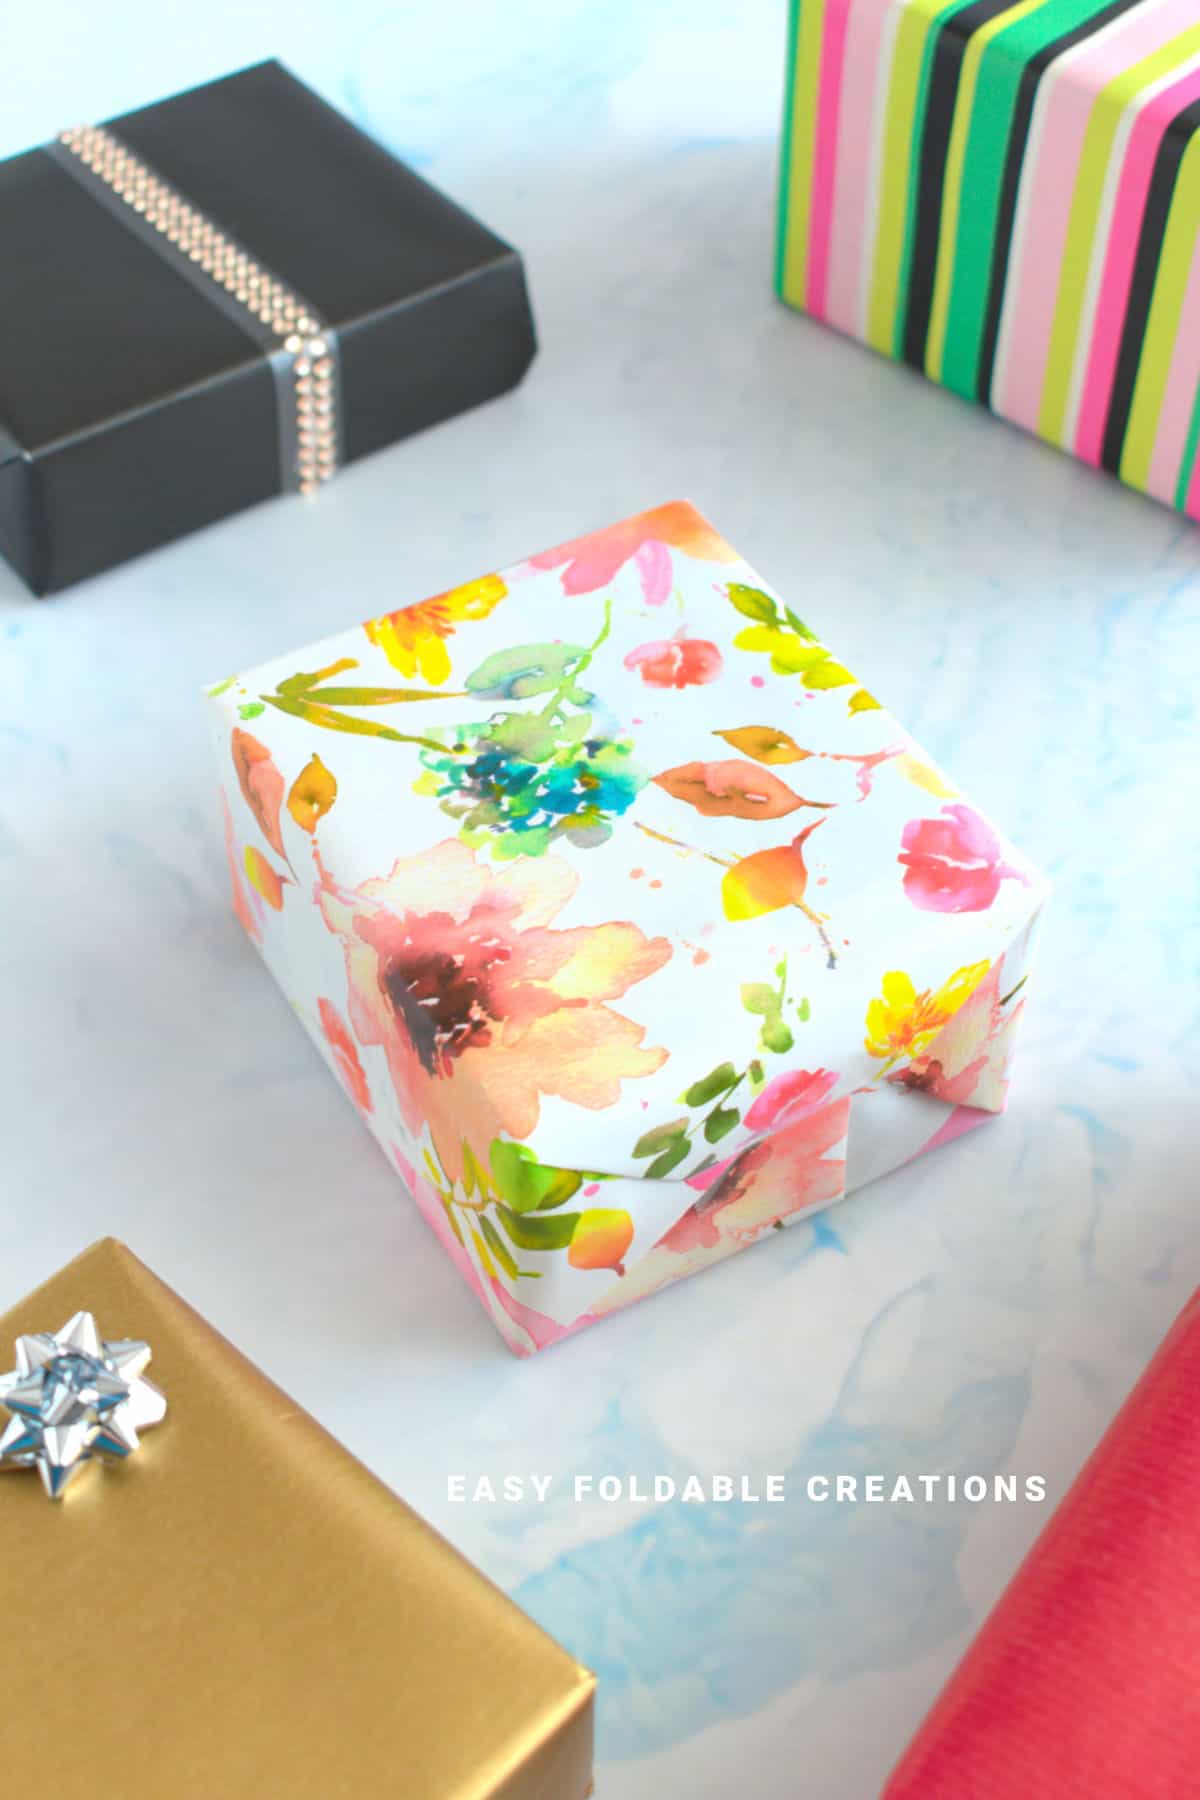
This style works best for gifts that are boxy or rectangular-think books, puzzles, candles, scarves, journals, or even tech items like phone cases or small gadgets.
It's also incredibly versatile and works just as well for a birthday as it does for a wedding or Christmas.
Whether you're gifting something small and meaningful or wrapping up party favors in advance, this is a go-to style that looks good every time.
Minimalist gift wrap is especially ideal if you're short on time or want to save on materials.
And it pairs beautifully with kraft paper, soft neutrals, or even scrap wrapping paper you have around.
Ready to learn how to make your gifts look sharp and intentional with barely any effort?
Why You'll Love This Pattern
- Quick and easy to do-even if you're in a rush.
- Uses minimal materials-great for eco-conscious gift giving.
- Suitable for nearly any occasion, from Christmas to weddings.
- Works beautifully with all kinds of gift wrap, even reused paper.
- Looks sleek and stylish without being overdone.
Skill Level
★☆☆☆☆ (Easy)
Materials Needed
- Wrapping paper (any style, kraft paper or plain paper works beautifully)
- Scissors
- Tape (double-sided looks extra tidy)
- Ribbon, string, or twine (optional, but nice)
- Your gift!
Instructions
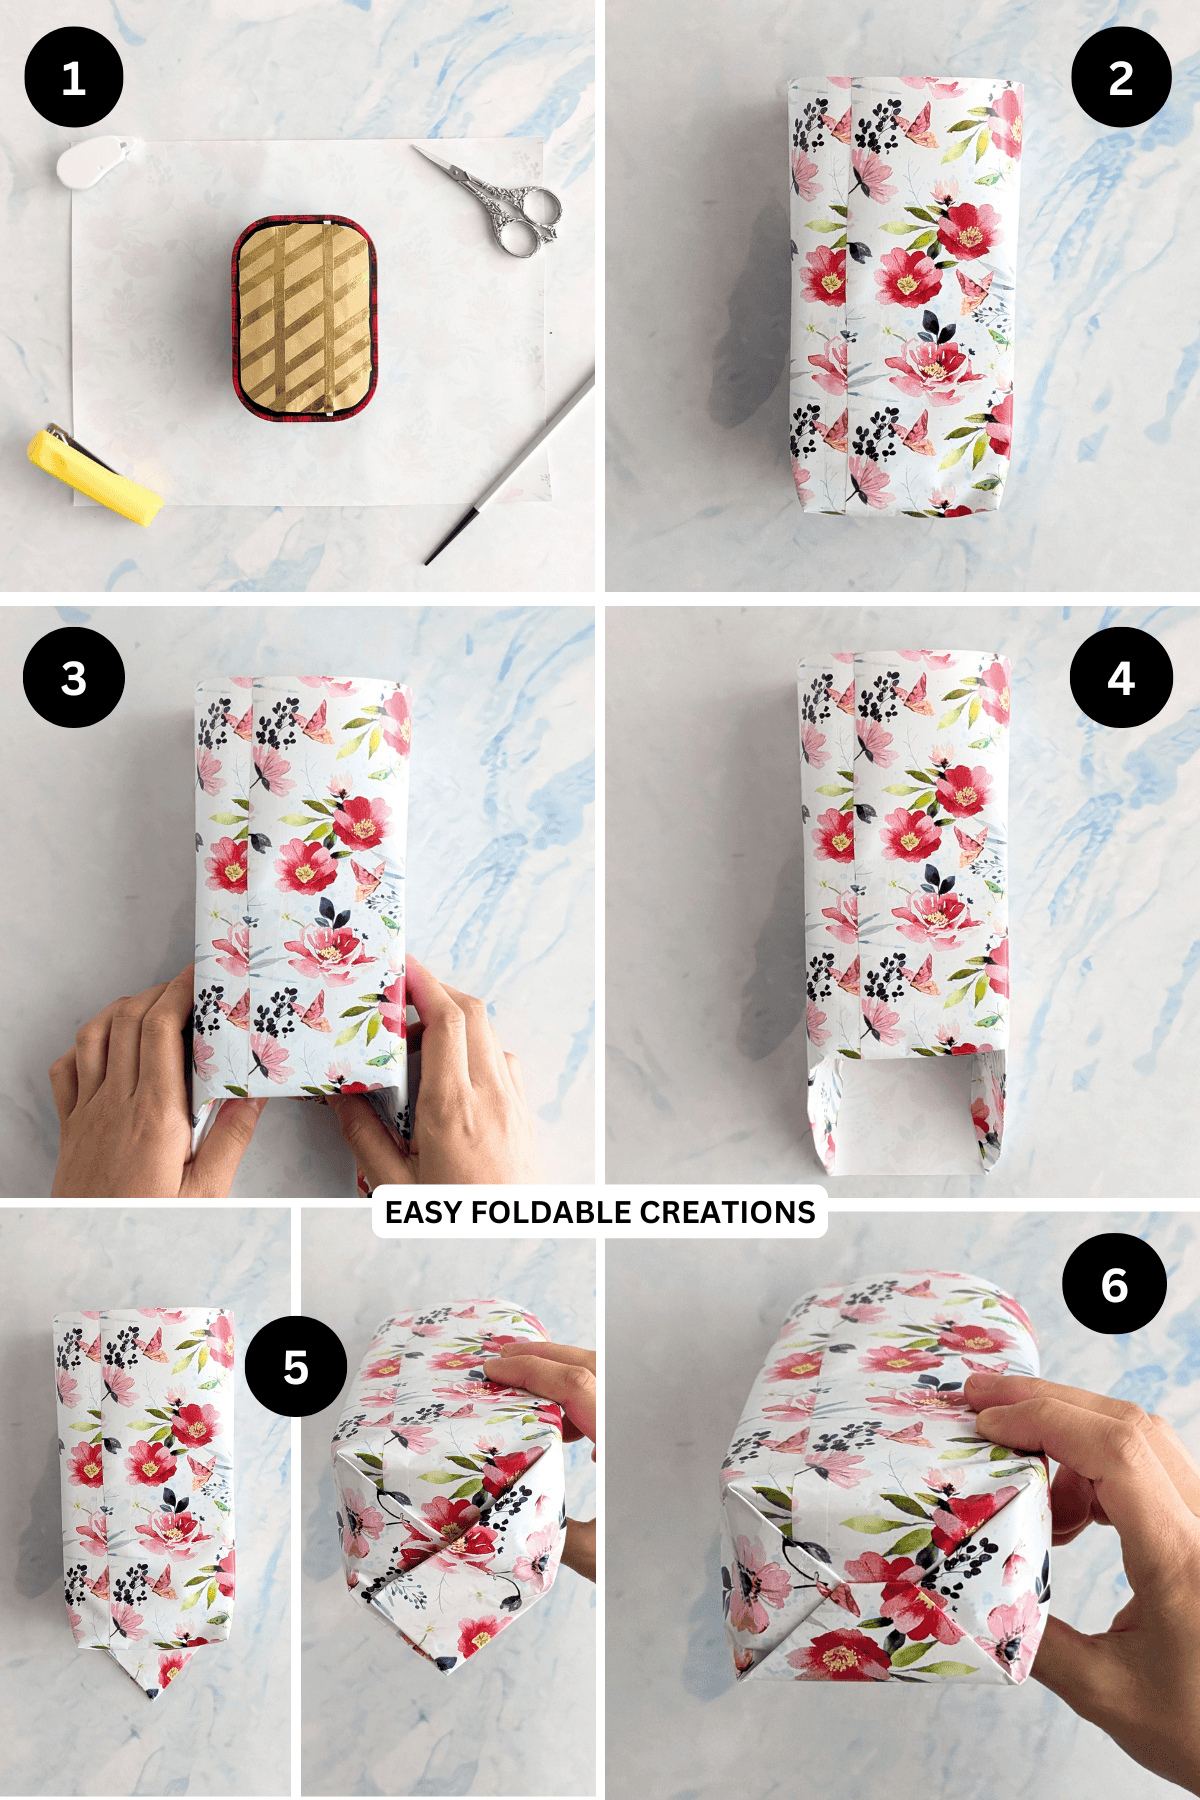
Step 1: Cut your wrapping paper to size. You want both the bottom and top edges to have enough that it can fold up just about a quarter of the gift.
The sides of the gift should have enough to cover the gift (e.g. 1 ¼ times the width of the gift on either side).
Step 2: Fold the left edge over to cover your gift. Then fold the right edge over your gift, so that it overlaps the left.
Once you have positioned the paper, tape along the middle of the gift as well as the top section (this makes it easier to fold the edges in the next steps). If you want to hide the tape, you could use double sided tape.
Step 3: Using your fingers, run them along the bottom edge of your gift. Then bring the paper down as shown.
Step 4: Straighten out the bottom left and right sides of the paper as shown. Make sure they align with the sides of the gift.
Step 5: Then, fold both the left and right sides of the bottom edge in.
Step 6: Fold the bottom edge up (note; if you think your bottom edge is a bit too long, you can trim it down slightly) and secure it with tape. You don't want the bottom edge to go over the top of the gift.
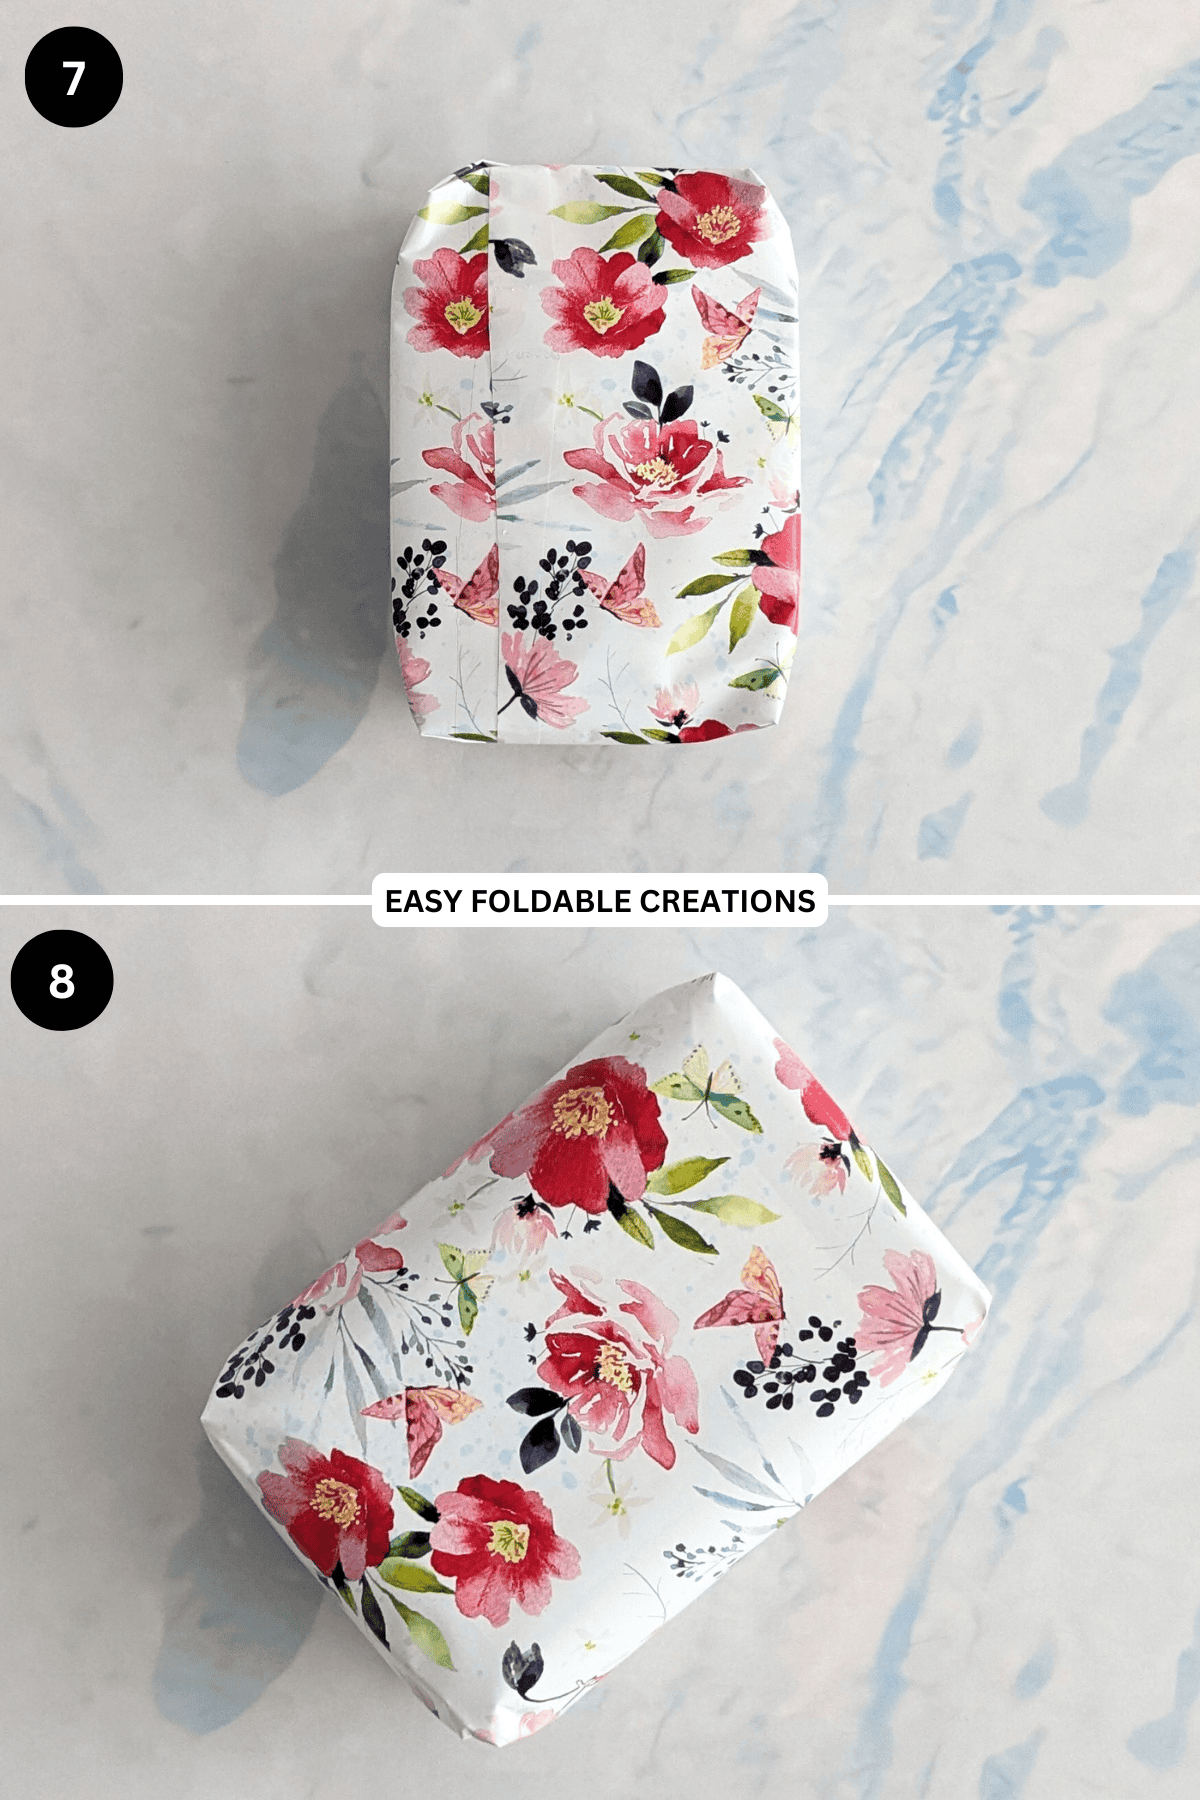
Step 7: Repeat steps 3 to 6 for the top edge.
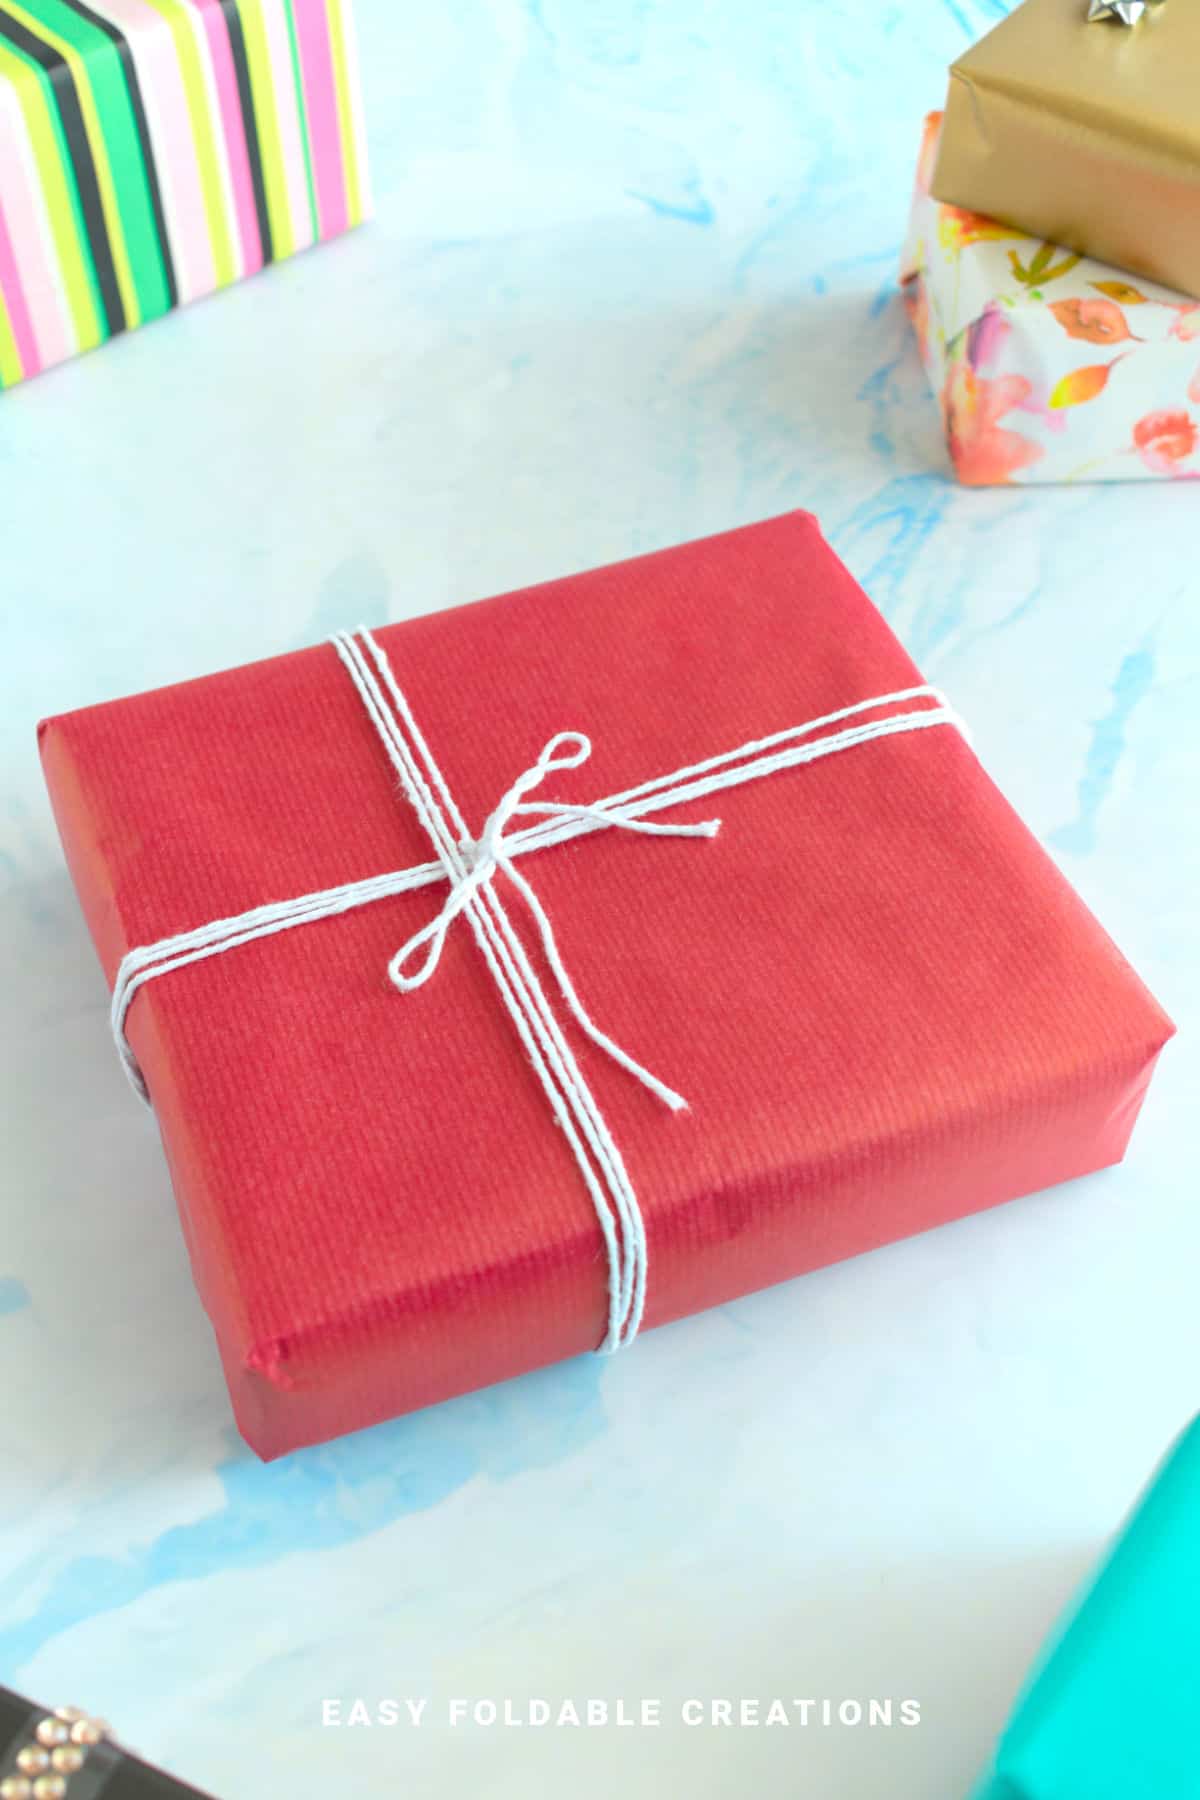
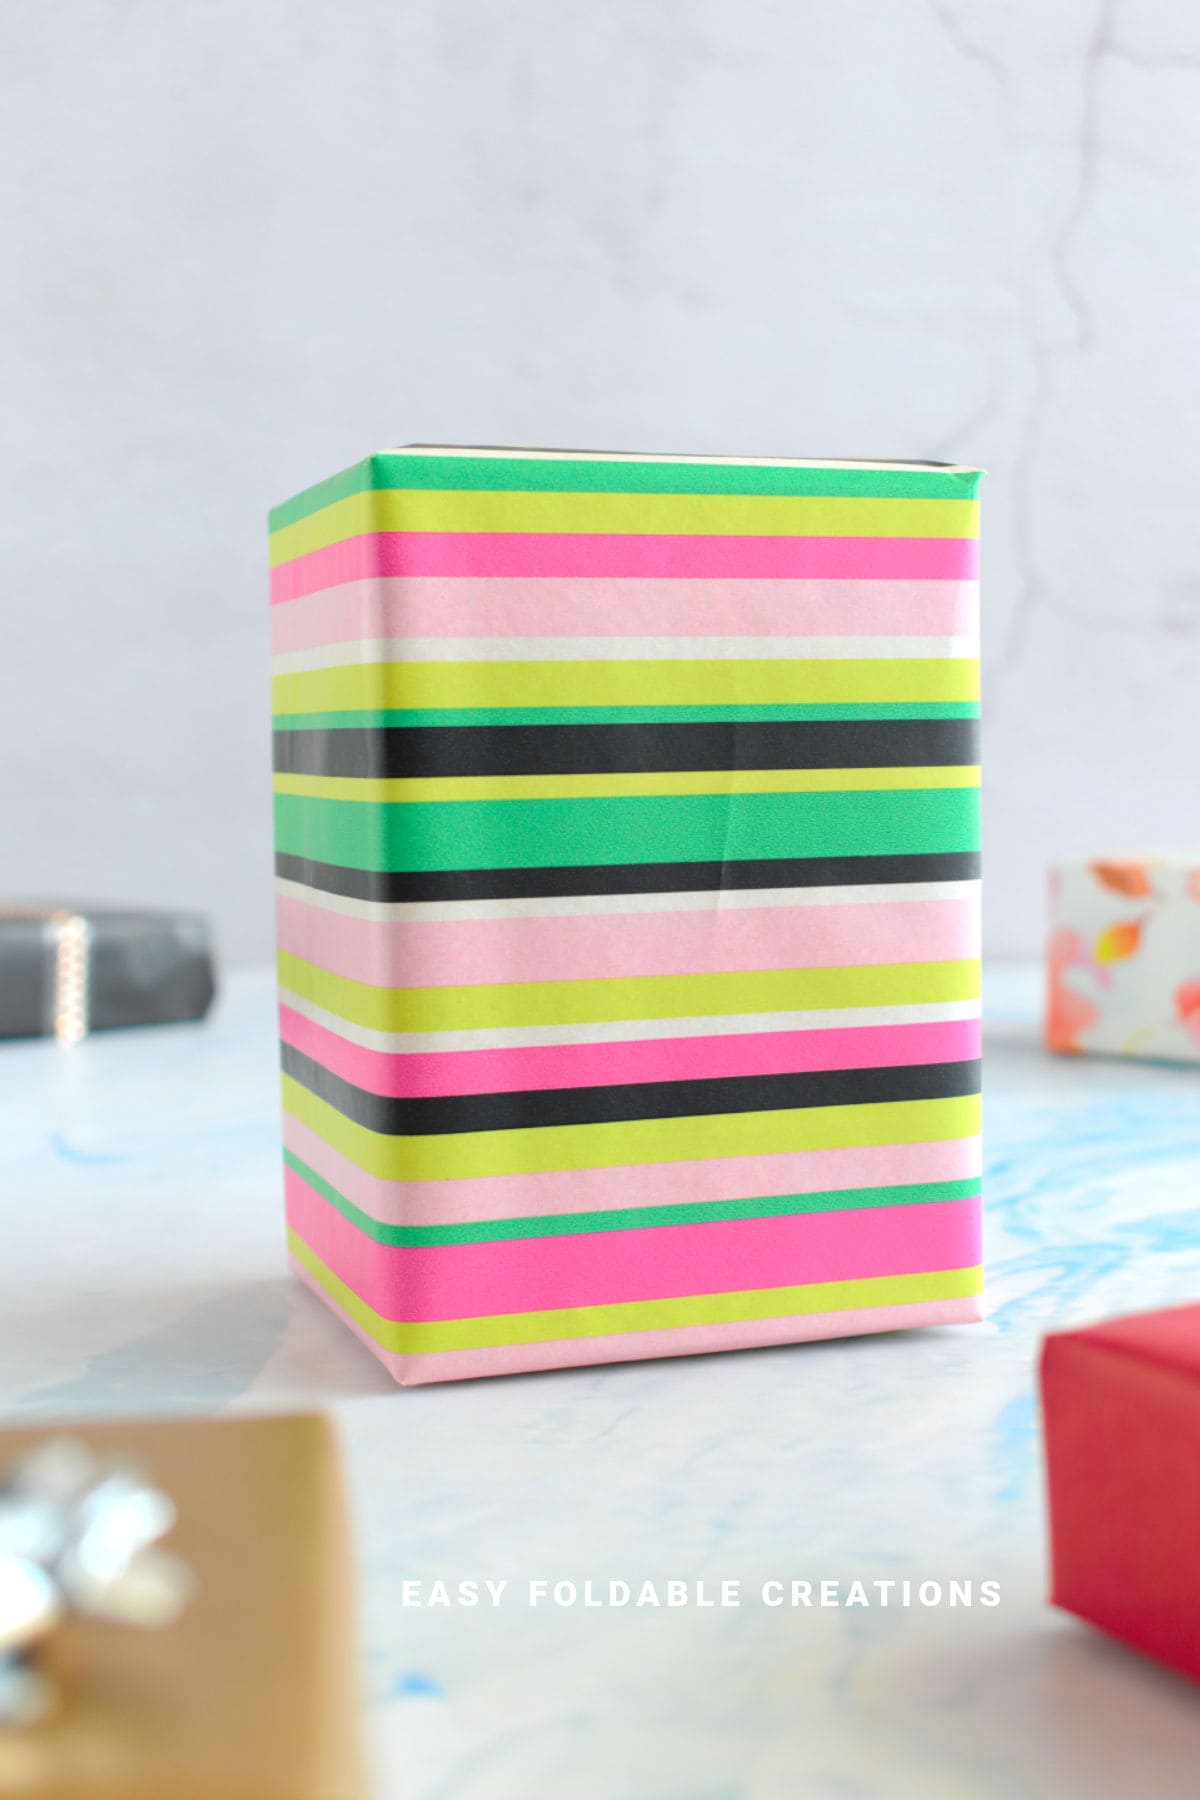
Step 8: Decorate your gift as you like. Since we want it in minimalist style you could keep it plain, tie some twine or ribbon around it or even add a simple sticker.
Tips For Success
- For a clean finish, fold and crease every edge sharply as you go.
- Choose one color palette for all your gifts to keep things cohesive.
- If you're using patterned paper, keep ribbons or accents simple.
- Want a luxe look? Add a dried flower, wax seal, or sprig of greenery under the ribbon.
Common Mistakes & How To Avoid Them
- Using too much tape: It can ruin the clean look. Try using double-sided tape sparingly for a neater finish.
- Using flimsy paper: It can tear easily. Choose paper with a bit of weight.
- Not measuring before cutting: Always check the size of your gift and leave extra allowance on all sides.
Color, Paper Ideas, and Variations
- Kraft paper + white string - A classic look that feels rustic and warm.
- Muted tones like sage, beige, or grey - Keeps the look soft and modern.
- Monochrome wrapping - Use all black or all white paper with minimal details.
- Add a simple dried flower - Think lavender or eucalyptus tucked under twine.
- Scrap paper reuse - Great way to upcycle old paper and make each gift unique.
FAQ
It's best for square or rectangular gifts. For awkward shapes, try placing them in a small box first.
Yes! If you use minimal tape or washi tape, the wrapping paper can be reused.
Almost all of them! Christmas, birthdays, weddings, anniversaries, housewarmings-you name it.
Absolutely. A tiny tag in neutral colors or kraft card works perfectly with this minimalist look.
Other Paper Crafts You Might Like To Try:
Helpful Origami Tips
If you're curious to learn more about origami, you might like to look at our basic guides on how to make some common origami folds.
Start with the valley fold and mountain fold-these are the foundation of most origami models.
Once you're comfortable, you might like to try the petal fold for 3D shapes, and explore the bird base and square base for more complex designs.
The water bomb base is also great for creating inflatable or geometric models, like this inflatable origami rabbit.
Stay Connected
Made this pattern? Let us know how it went in the comments below!
Pin this post - Pin now to take your paper crafting skills to the next level.
Share on Instagram or Facebook - Capture the beauty of your finished paper craft project and share it on Instagram or Facebook! Tag us @easyfoldablecreations so we can see your work!
Other Patterns You Might Like To Try:
Looking for other easy patterns like this? Try these:


Comments
No Comments