
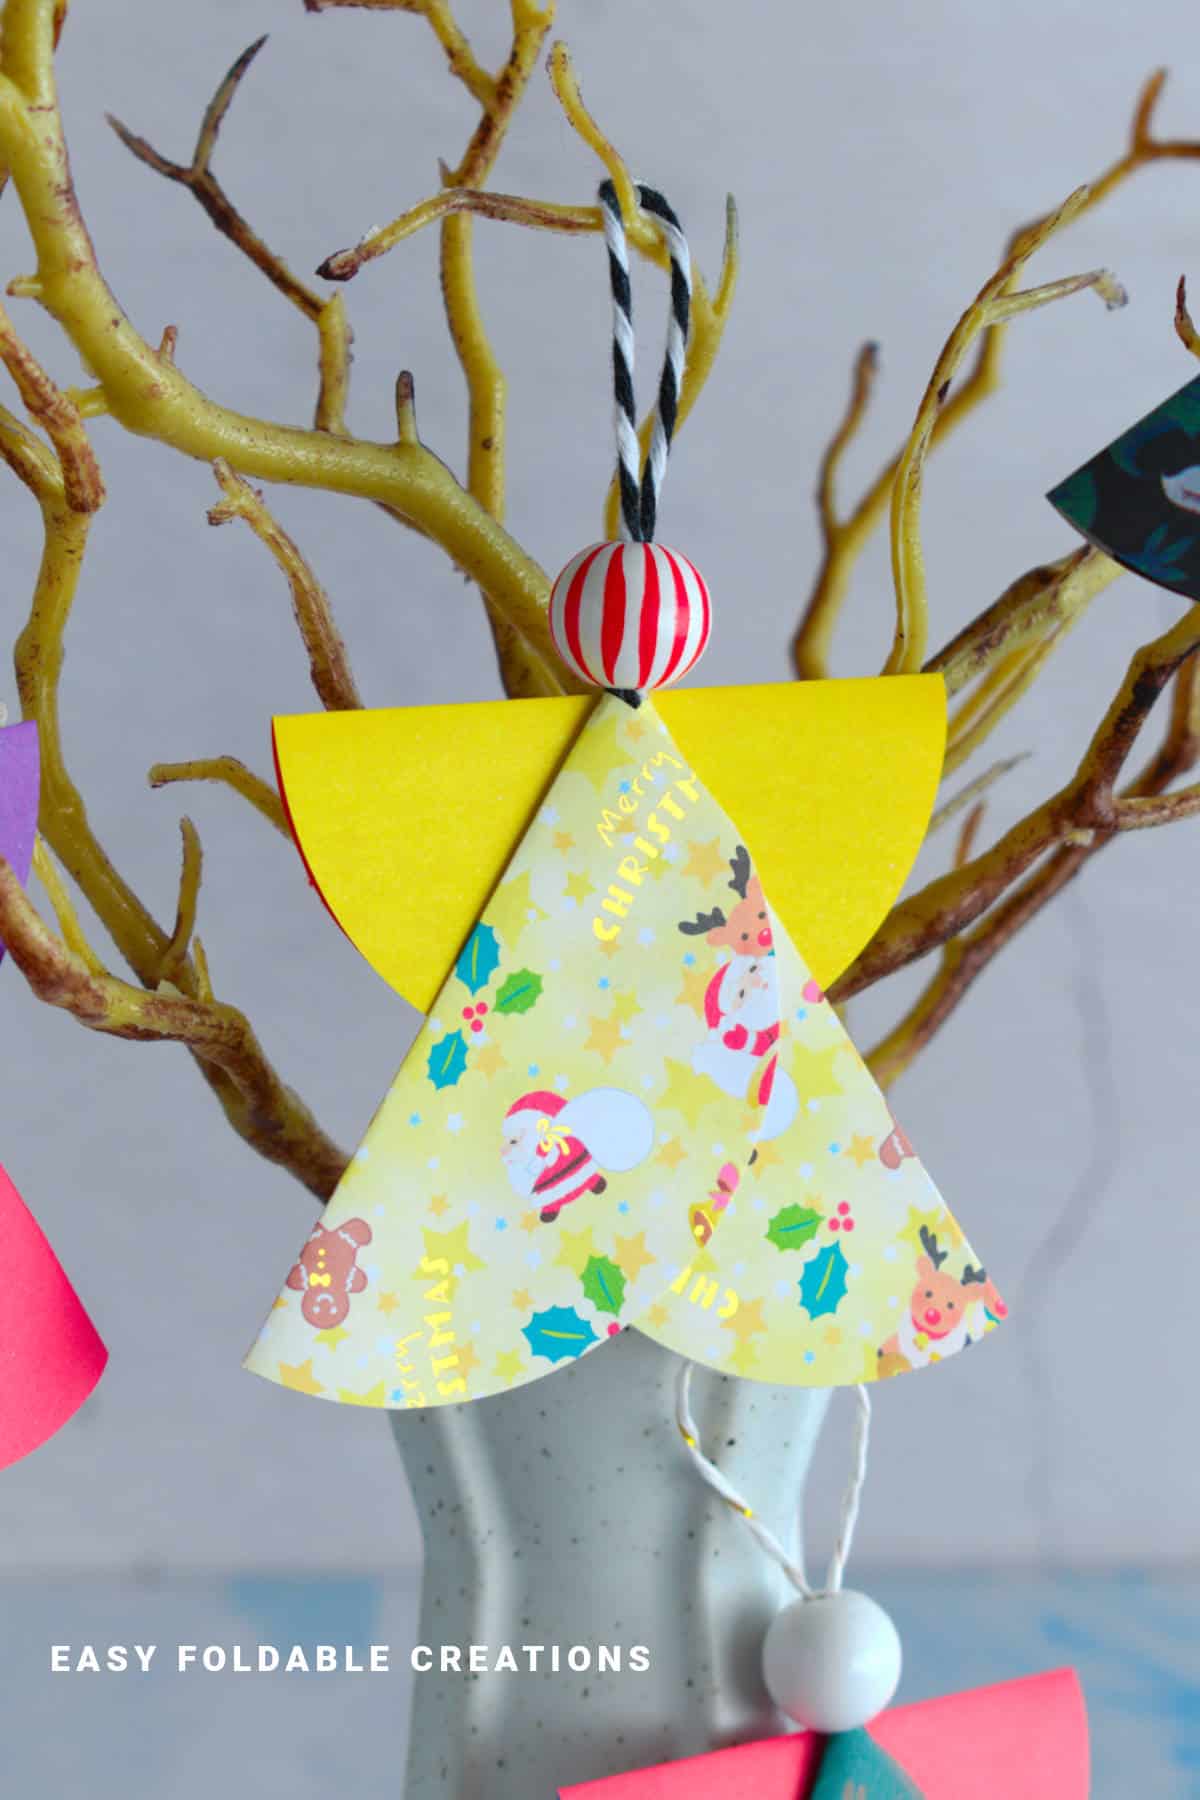
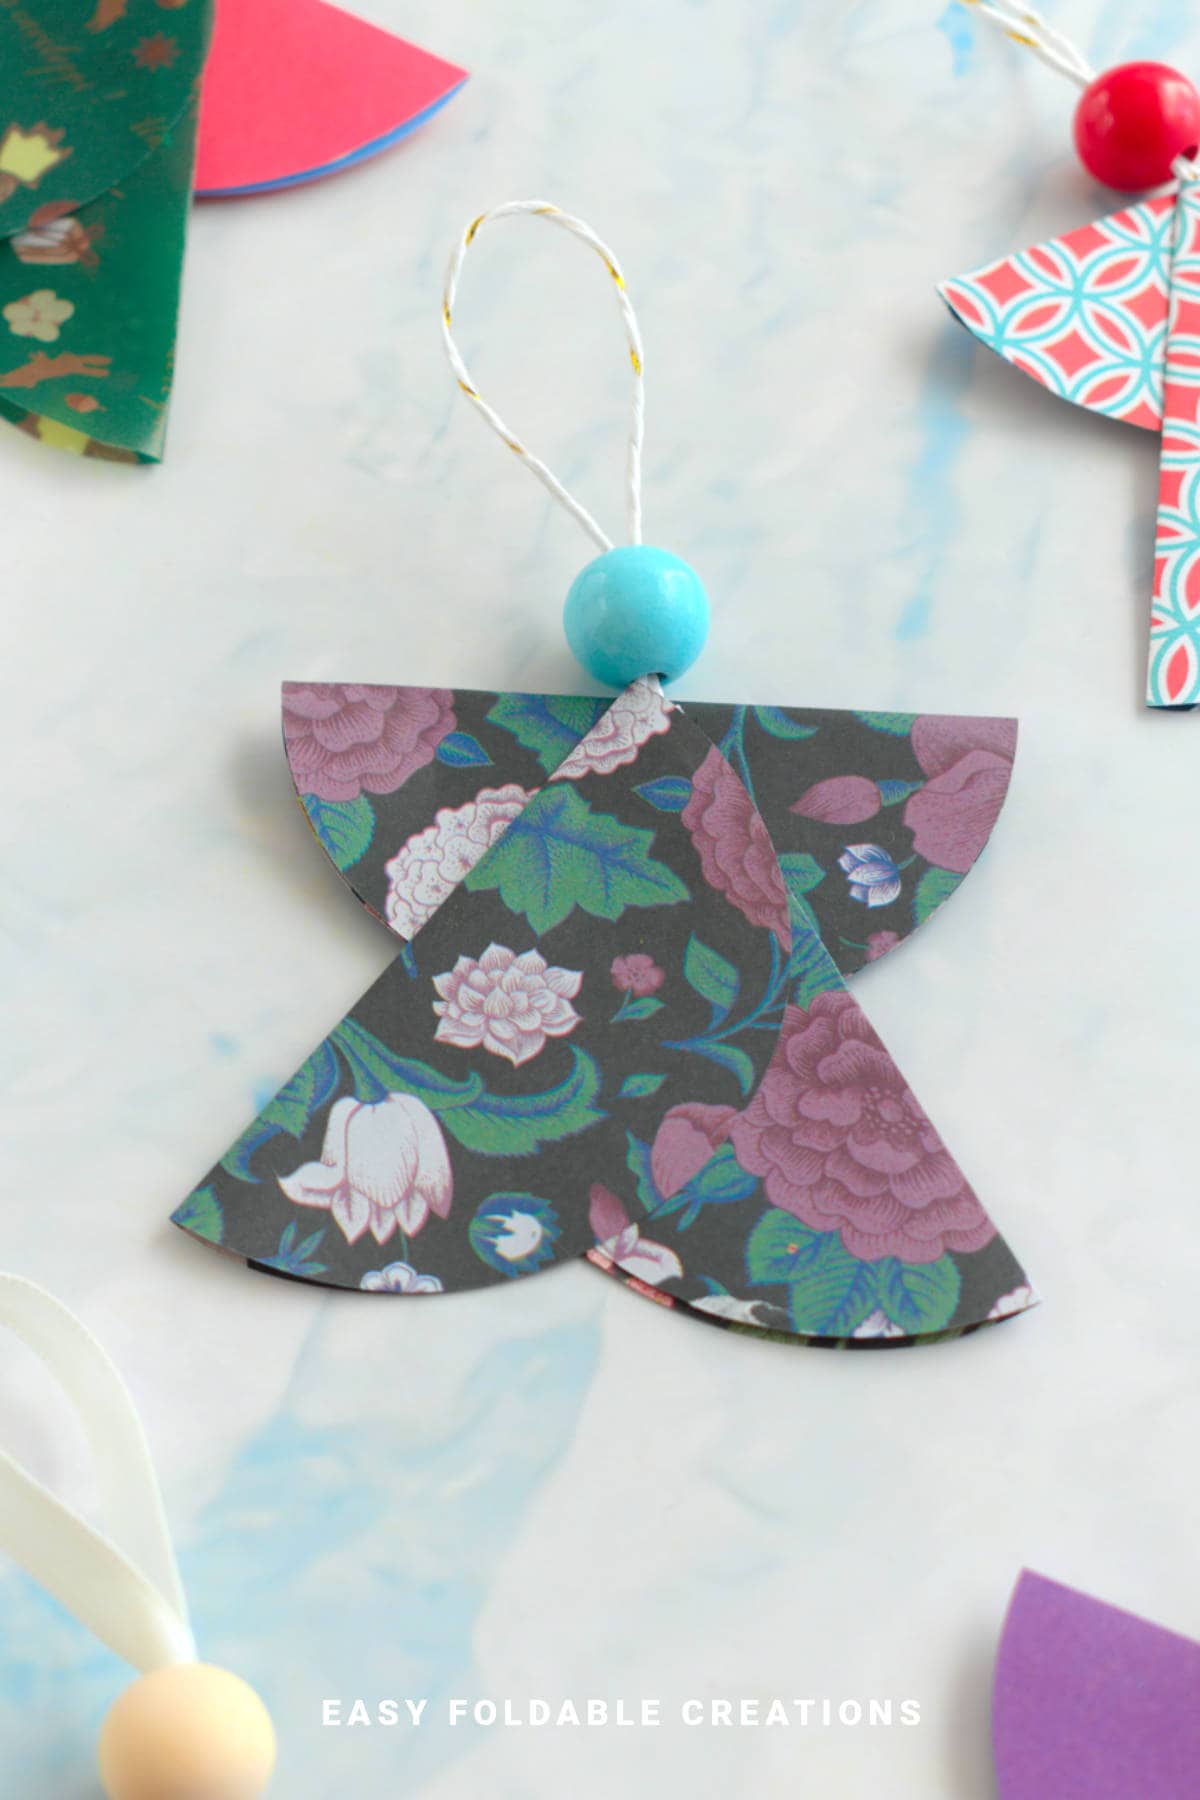
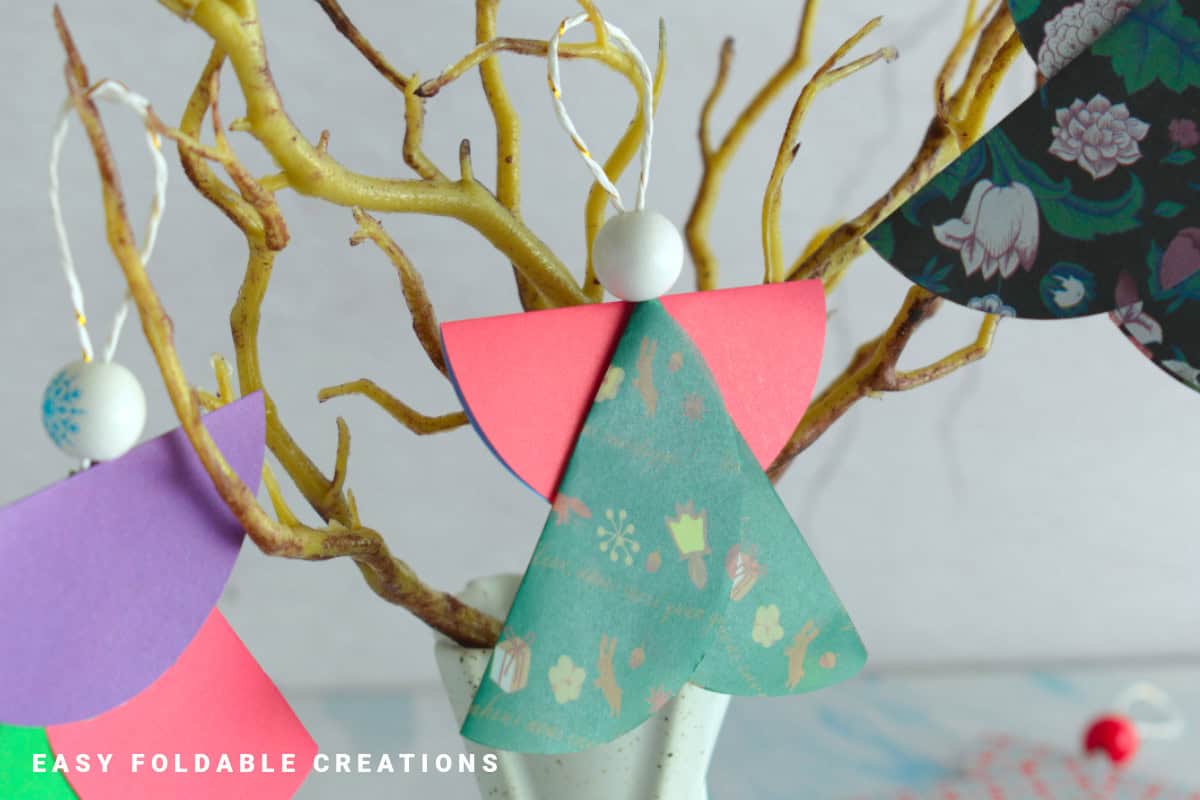
This simple DIY paper angel is a charming paper craft you can make with just three circles of paper, a bead, and string.
It's perfect for Christmas decorations, gift toppers, or even as a delicate handmade ornament for your tree.
Jump to:
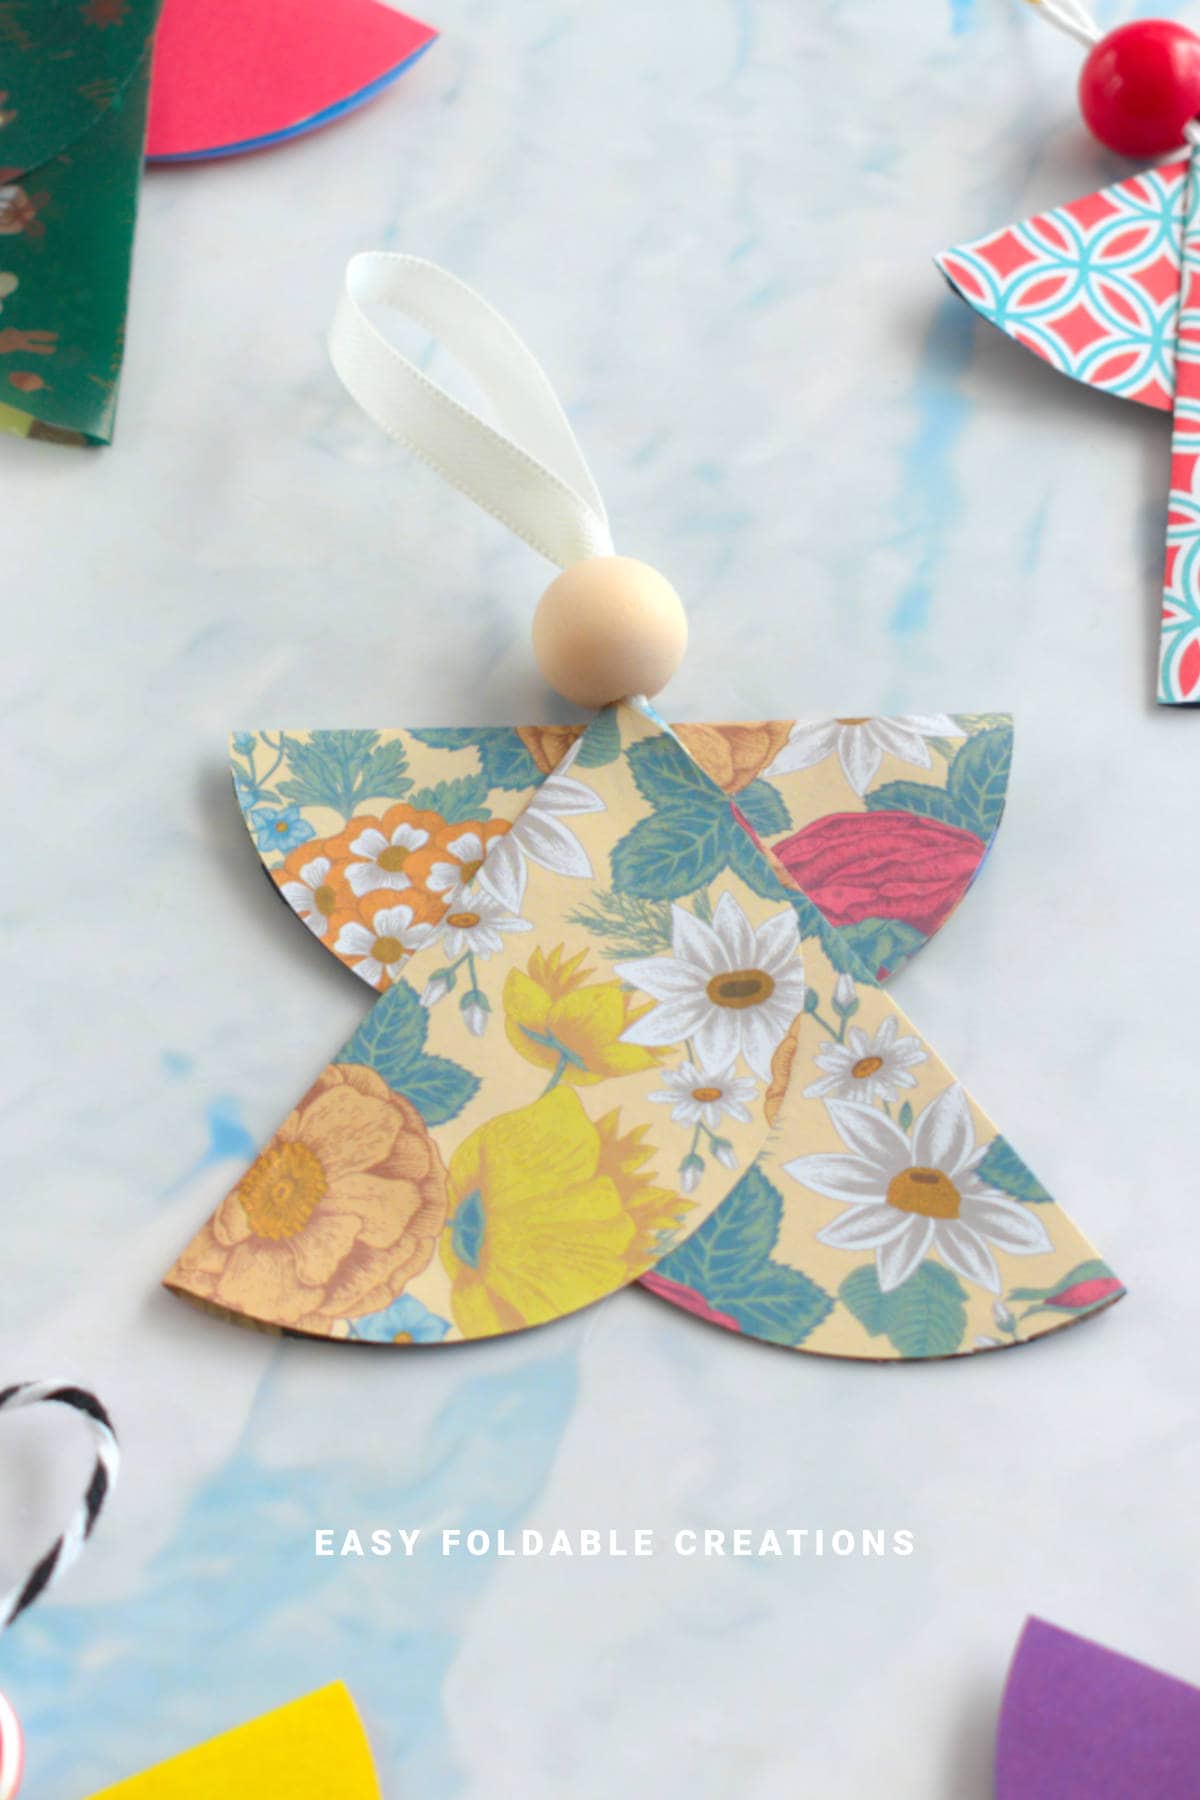
This DIY paper angel is an elegant and easy paper craft that's perfect for Christmas and other festive occasions.
Using just three paper circles, a bead for the head, and a little string, you can create a lovely angel that's ideal as a tree ornament, table decoration, or even as a thoughtful handmade gift topper.
Best of all, this design doesn't require any complicated folds-just a few simple steps and a touch of creativity.
This step by step paper craft tutorial is great for beginners and seasoned crafters alike.
Whether you're looking for a relaxing weekend project or a quick way to add a handmade touch to your holiday décor, this paper angel is a beautiful choice.
Try different paper colors and textures to create a whole choir of angels to brighten your home during Christmas, Easter, christenings, or any special celebration.
Why You'll Love This Pattern
- A quick and easy paper craft using only a few materials
- Great for all occasions - from Easter, Christmas, and more.
- Beginner-friendly-no advanced origami folds needed
- Perfect for making tree ornaments, table décor, or gift toppers
- Fun for kids and adults to create together
- Customizable with different paper colors and beads
Skill Level
★★☆☆☆ (Easy)
Materials Needed
- 3 paper circles (recommended size: 1.50 inches [4cm] diameter)
- Double-sided tape or glue
- 1 small bead (for the head)
- String (for hanging)
- Scissors (if cutting circles by hand), or you could use a circle cutter
Tip: To make your circles easier, you could trace around something small like a cup or even a cookie cutter.
Instructions
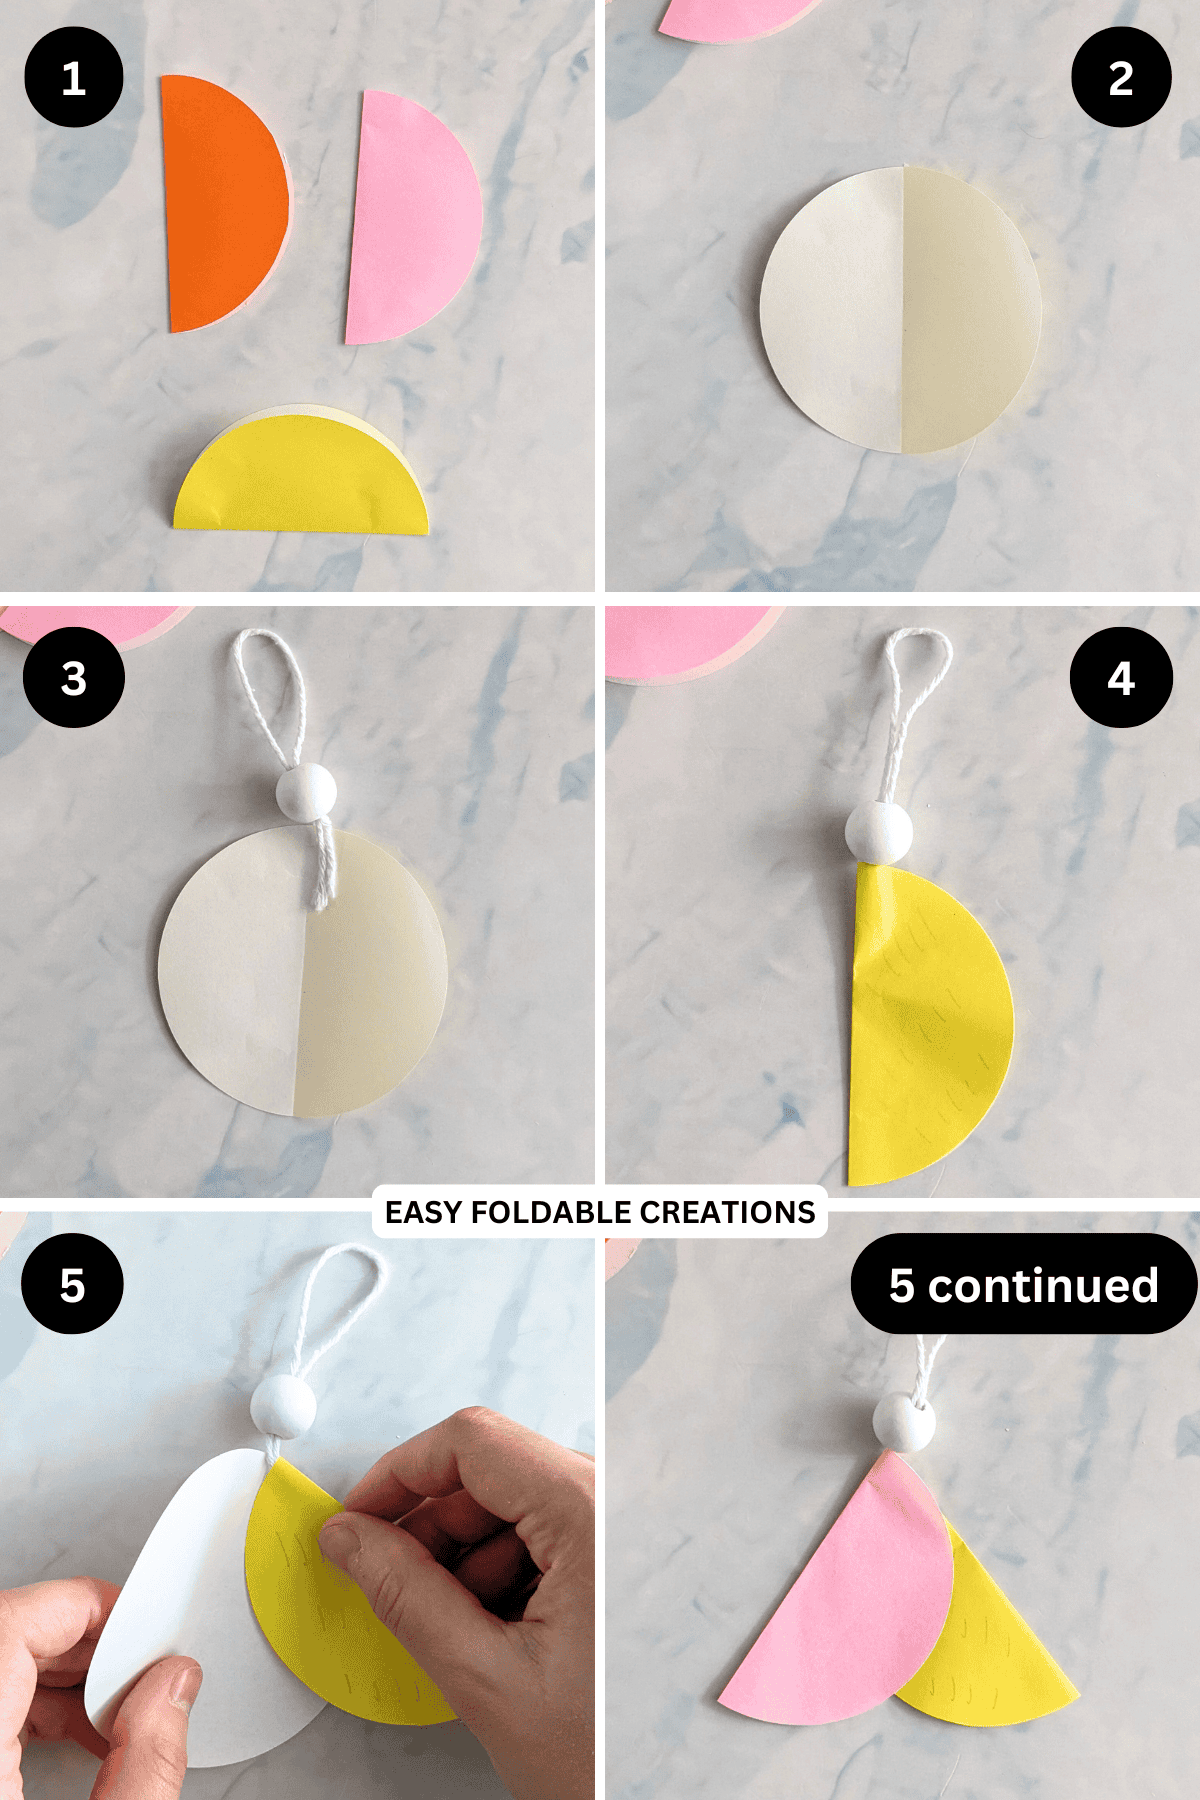
Step 1: Take all your circles and fold them in half, with the colored/patterned side facing the outside.
Step 2: Take one of the folded circles you want to use for the body and open it.
Step 3: Thread your bead through some twine or string, leaving a loop at the top and tail at the bottom. Then, apply some double sided tape to the centre of your circle and place the end of the twine on top.
Step 4: On that same circle, apply some more double sided tape on the same side you have the twine, and then re fold the circle in half.
Step 5: Take your next circle that you want on the body, unfold it, and apply some double sided tape to the middle of it. Then, re fold it and attach it to the circle with the twine as shown.
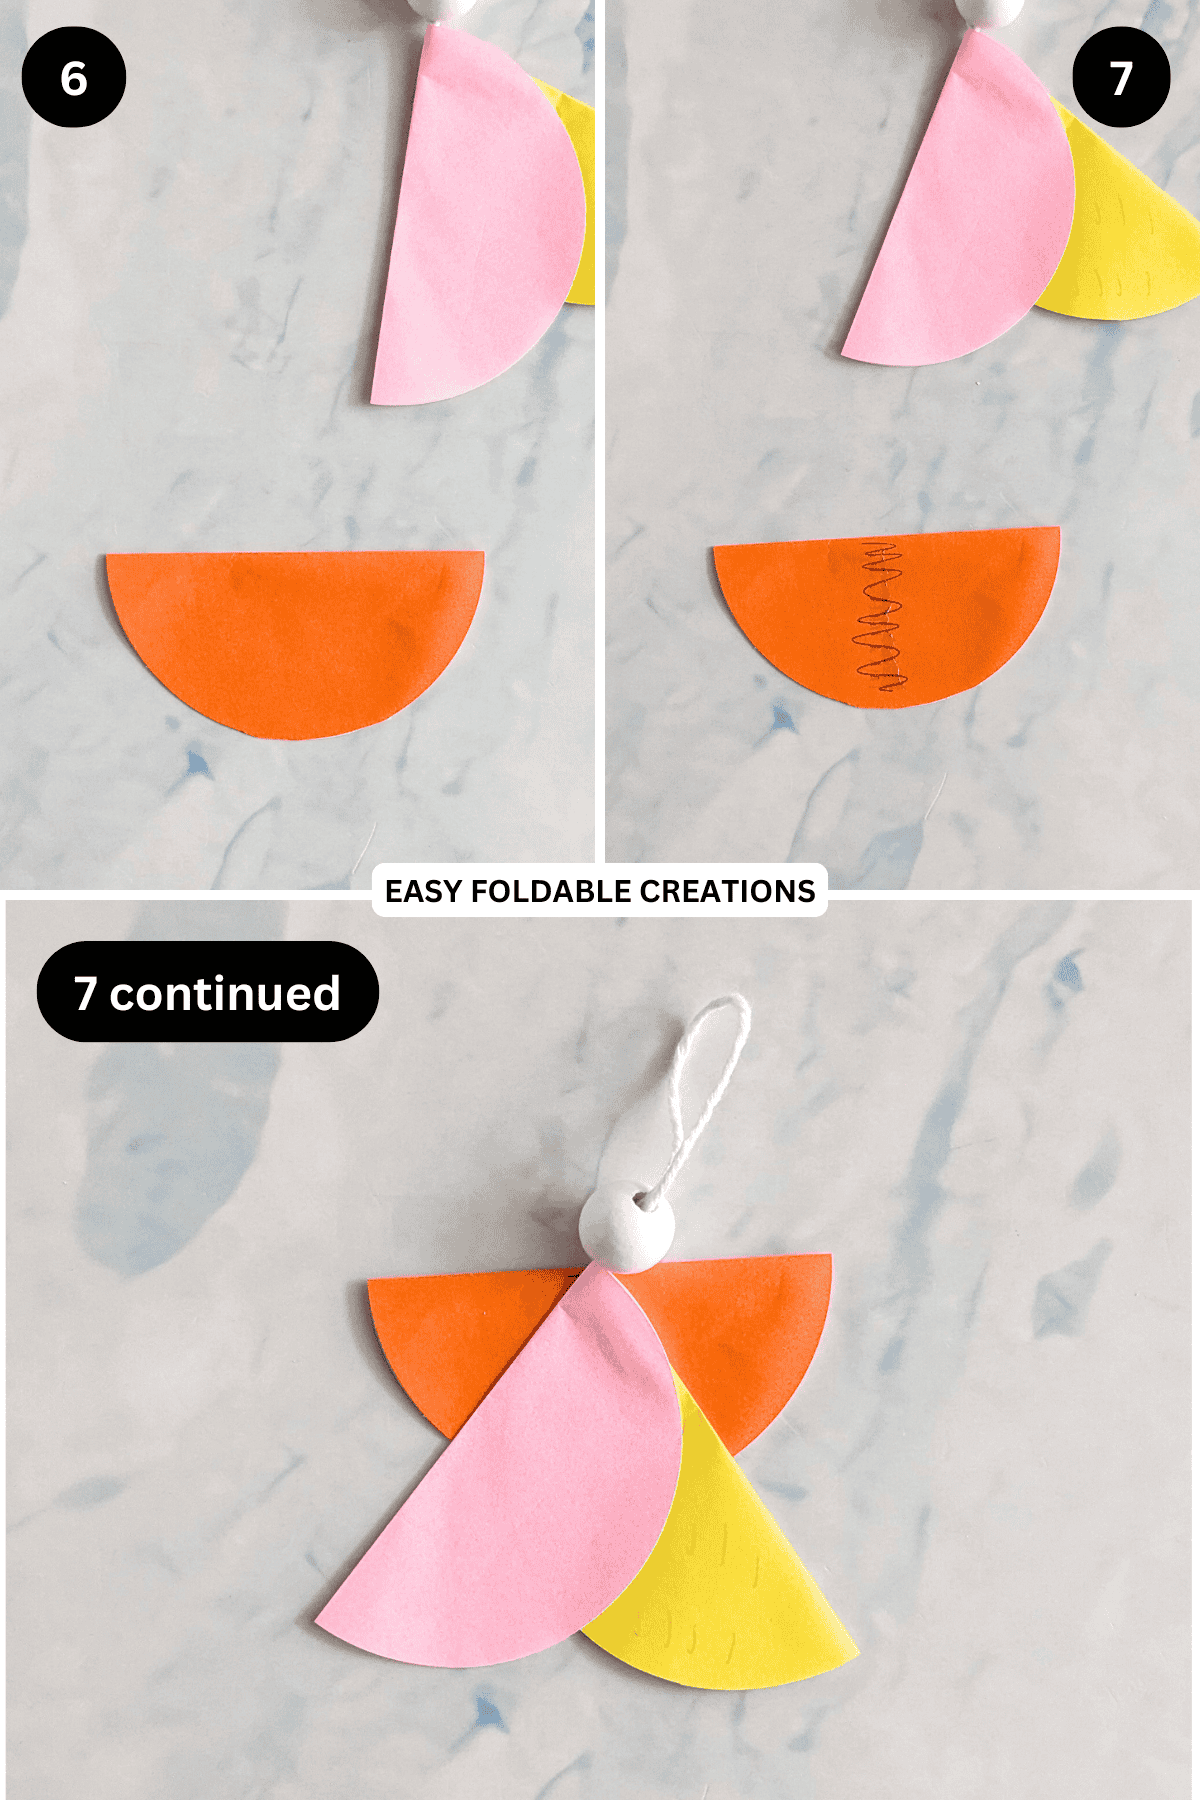
Step 6: Take your final circle and unfold it. Apply some double sided tape and then re fold.
Step 7: Apply a strip of double sided tape to the middle of the final circle and attach it to the other two circles as shown. Completed angel.
Tips For Success
- Use a circle punch to get perfectly round and even paper circles.
- Try metallic or glitter paper for an elegant, festive look.
- Add a touch of gold or silver paint around the edges of the paper circles for extra sparkle.
- Create a larger angel by scaling up the circle sizes (e.g., 2 inches [6 cm] diameter).
Common Mistakes & How To Avoid Them
Uneven circles: Use a template or punch for consistent shapes.
Color, Paper Ideas, and Variations
- Classic angel: White paper with a pearl bead for the head and gold ribbon for hanging.
- Rustic charm: Kraft paper circles, wooden bead head, and twine for a natural, farmhouse look.
- Modern chic: Pastel or metallic papers with a matching satin ribbon.
- Holiday sparkle: Glitter paper circles and a shiny gold bead for a festive feel.
- Mini angels: Use smaller circles (2-3cm) to make tiny ornaments or cupcake toppers.
FAQ
Yes! It's a very simple paper craft, though an adult may need to help with threading the bead and cutting the circles.
No. A circle punch makes it faster, but scissors and a homemade circle template work just as well.
Absolutely-roll a tiny paper ball or glue a small pom-pom instead.
Any size works, but we recommend starting with 1.50 inches (4 cm) in diameter for a small ornament.
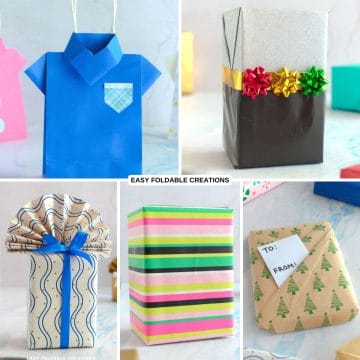
Other Paper Crafts You Might Like To Try:
Helpful Origami Tips
If you're curious to learn more about origami, you might like to look at our basic guides on how to make some common origami folds.
Start with the valley fold and mountain fold-these are the foundation of most origami models.
Once you're comfortable, you might like to try the petal fold for 3D shapes, and explore the bird base and square base for more complex designs.
The water bomb base is also great for creating inflatable or geometric models, like this inflatable origami rabbit.
Stay Connected
Made this pattern? Let us know how it went in the comments below!
Pin this post - Pin now to take your paper crafting skills to the next level.
Share on Instagram or Facebook - Capture the beauty of your finished paper craft project and share it on Instagram or Facebook! Tag us @easyfoldablecreations so we can see your work!
Other Patterns You Might Like To Try:
Looking for other easy patterns like this? Try these:


Comments
No Comments