
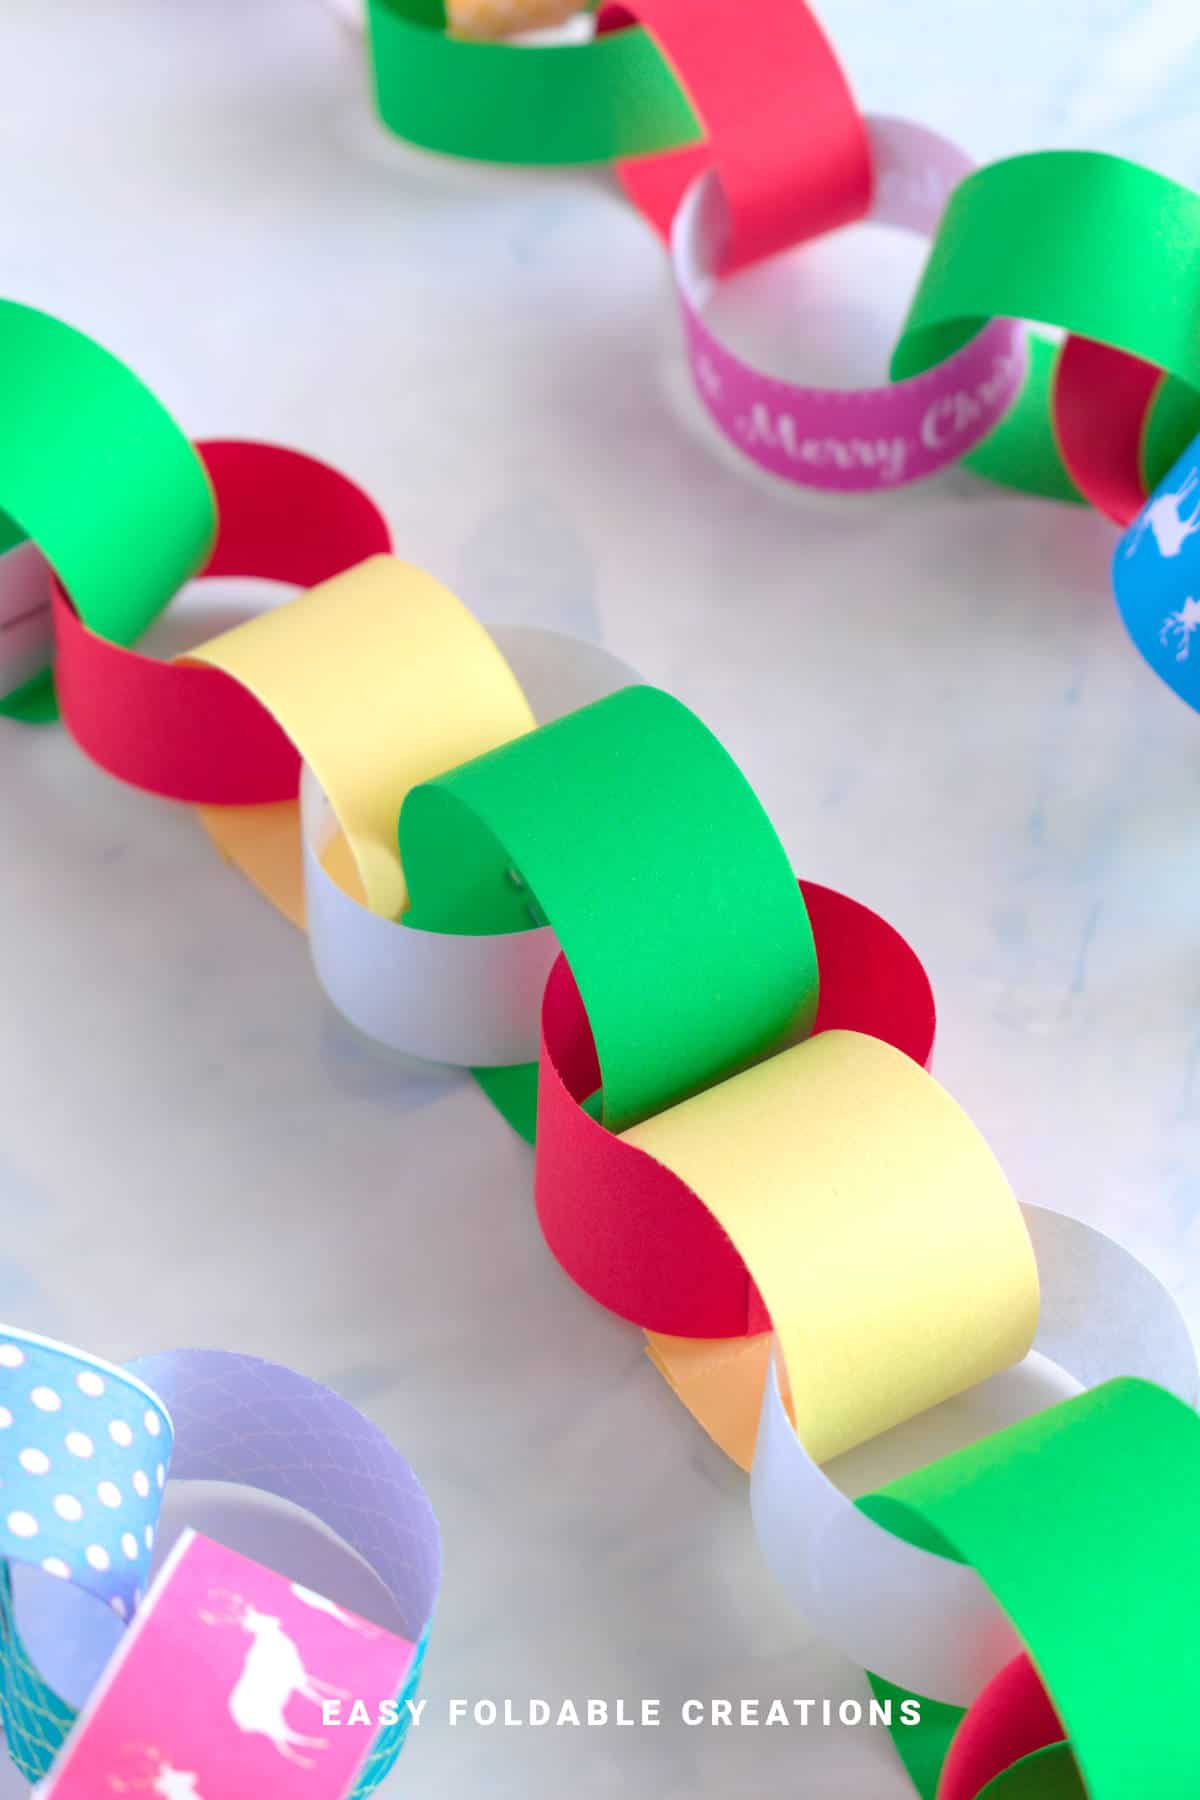
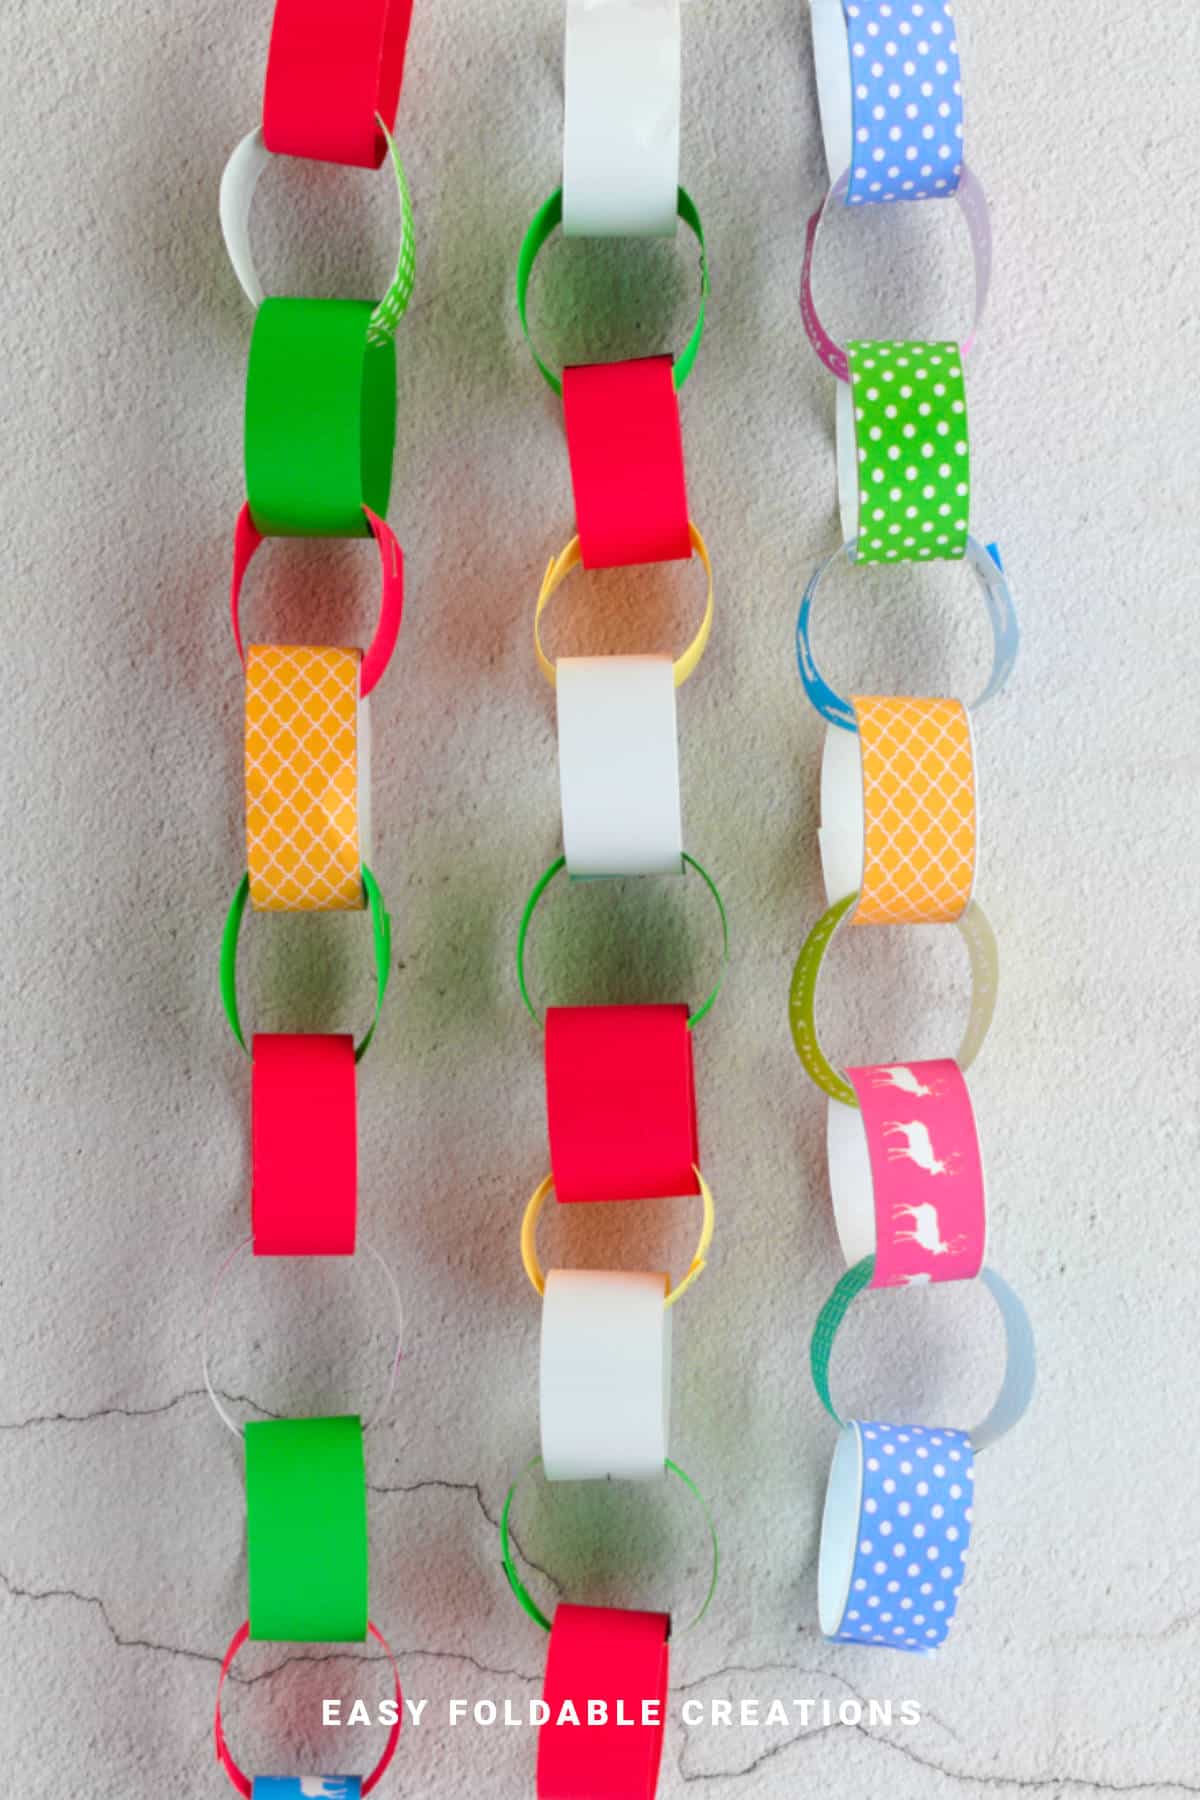
This Christmas paper chain is a festive, easy craft made from strips of red, green, and white paper.
Staple or glue the loops together for a cheerful garland kids and adults will love making.
Jump to:
- Why You'll Love This Pattern
- Exclusive Content Just For You
- Skill Level
- Materials Needed
- Printable Paper Strips Template
- Instructions
- Tips For Success
- Common Mistakes & How To Avoid Them
- Color, Paper Ideas, and Variations
- FAQ
- Other Crafts You Might Like To Try:
- Helpful Origami Tips
- Useful Paper Craft Terms
- Stay Connected
- Other Patterns You Might Like To Try:
- Comments
When it comes to holiday crafts, the simpler the better-especially when the whole family can join in.
This Christmas paper chain is a classic and easy project that adds instant charm to your decor.
All you need are paper strips and a stapler or glue stick to start building your festive garland, loop by loop.
You've probably made some version of this as a kid, and that's exactly what makes it so fun and nostalgic.
The basic technique is simple: take a strip of paper, loop it into a circle, secure it, then repeat, linking each new loop to the one before it.
It's the perfect DIY paper garland project-no complicated folds, no special tools.
This is an especially great craft for kids around the holidays. It's safe, mess-free, and endlessly customizable.
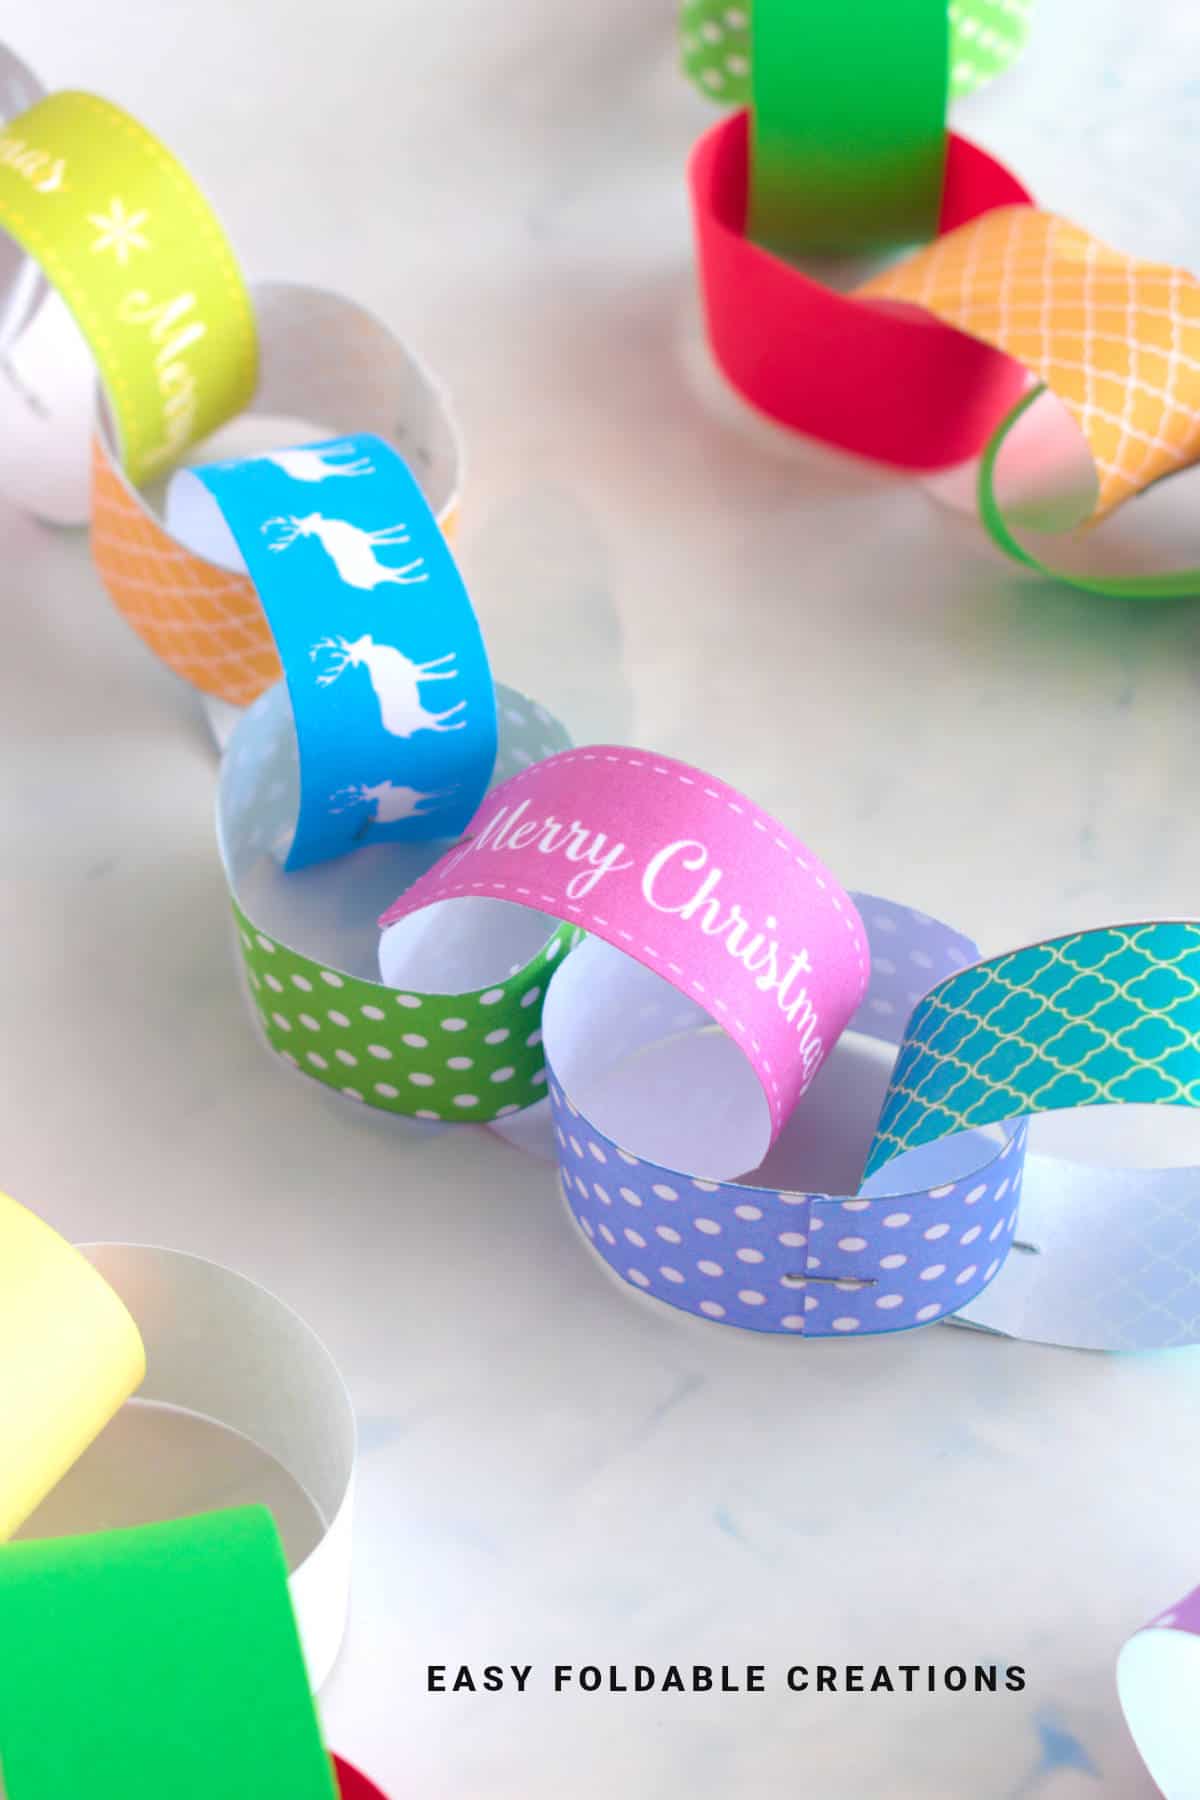
You can use solid red, green, and white paper for a traditional christmas paper chain, or go with patterned paper featuring trees, snowflakes, or candy canes. Metallic papers add a little sparkle, while kraft paper creates a rustic vibe.
The length is completely up to you-make a short garland for a doorway or go all out and wrap it around the entire Christmas tree.
This DIY paper chain also works great as a countdown calendar: simply tear off one loop each day leading up to Christmas.
Why You'll Love This Pattern
- Quick and festive holiday paper craft
- Fun for all ages-especially good for kids and families
- Only requires paper strips and a stapler or glue
- Great way to decorate walls, windows, or trees
- Doubles as a DIY Christmas countdown chain
- Uses christmas colors or themed patterned paper
Exclusive Content Just For You
Not sure what you want to make next, but feeling a bit creative? Or maybe you've been searching for a pattern that sparks something new. We've got a few ideas waiting for you.
The Fold Collective, Easy Foldable Creations' community, provides you with a growing library of exclusive ad-free video tutorials, printable PDF patterns and more so you can improve your skills and enjoy crafting in your own time.
Skill Level
★☆☆☆☆ (Easy)
Materials Needed
- Strips of paper (roughly 1 x 6 inches or 2.5 x 15 cm). The amount of strips depends on how long you want your chain to be.
- Suggested colors: red, green, white, or christmas patterned paper
- Stapler or glue stick
Note: Below we have included a printable template with some strips with various patterns.
You could also use leftover wrapping paper!
Printable Paper Strips Template
Instructions
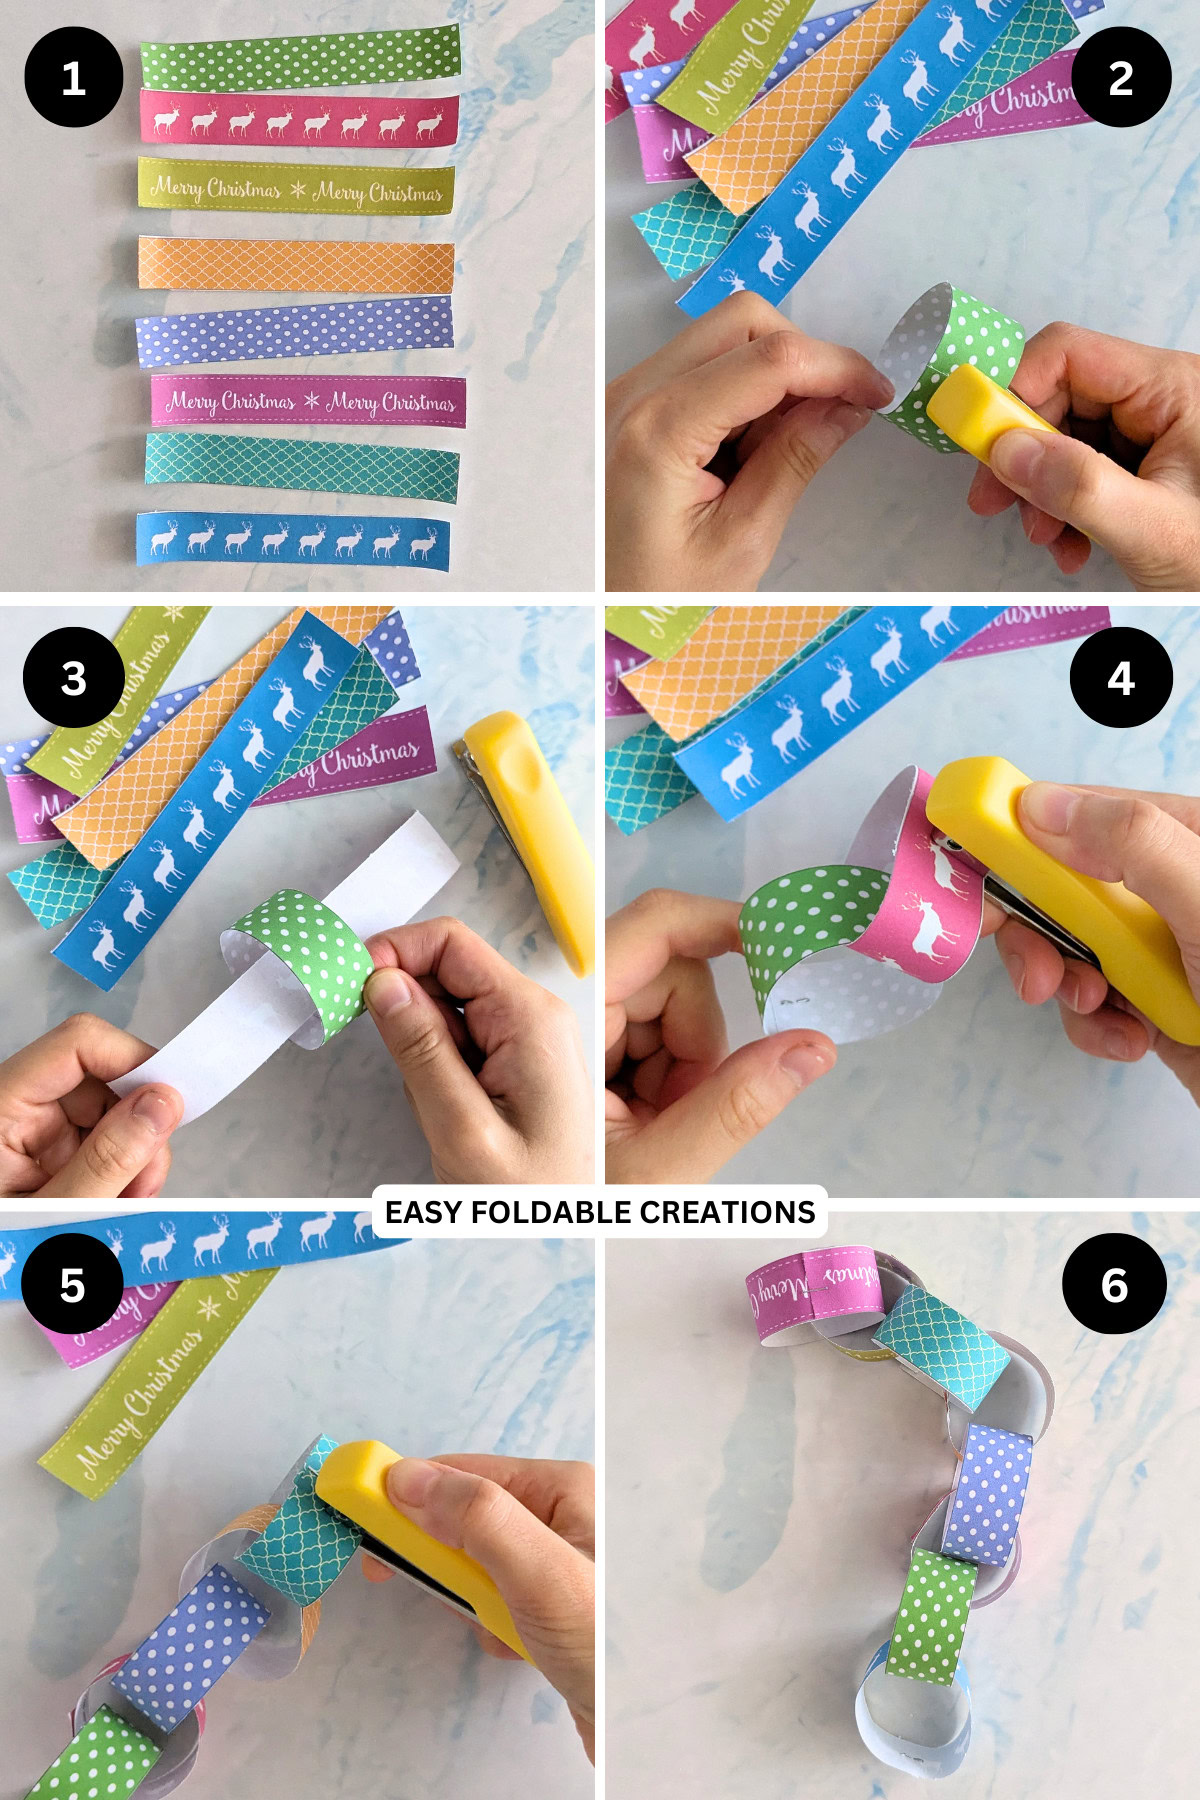
Step 1: Cut out your paper strips to the size you want. We have provided a printable with some patterned strips you might like to cut out and use. (1 sheet of that printable makes a chain that is about 13 inches (35 cm) long.
The number of strips you need will depend on your strip length and how long you want your chain to be.
As a guide, you could make strips that are 0.80 inches x 6 inches (2 cm x 15 cm) long. 8 strips of paper at that length will make a chain that is about 11 inches (30 cm) long.
When you have decided on your strip length and cut your paper out, arrange the strips in the color order you like. This way you can visually see what the chain can look like before you put it together.
Step 2: Take your first strip and staple or glue the ends together to form a ring. If you are using glue, hold the ends together until the glue dries.
Step 3: Take your next strip and place it through the ring you just made.
Step 4: On that same strip from the previous step, glue or use a stapler to hold the ends together to form a ring.
Step 5: Repeat steps 3 and 4 for as many links as you like.
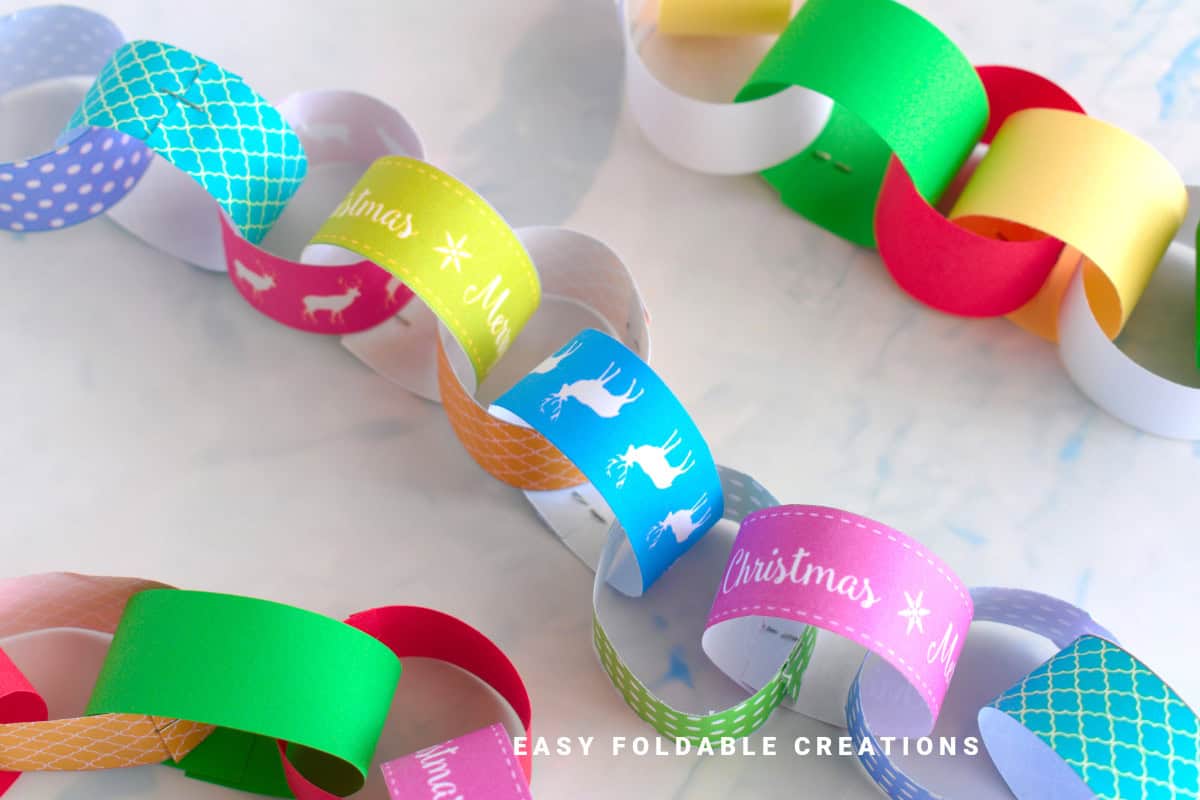
Step 6: Completed Christmas paper chain.
Optional: You could complete the paper chain by adding some string on either end to make it easier to hang.
You might also like to use another strip of paper to link both the top and bottom ends of the chain together to form a circular chain.
Tips For Success
- Use a paper cutter or template to make even strips
- Let kids personalize strips with drawings or names
- Alternate colors in a repeating pattern for visual rhythm
- Use glitter or metallic paper for extra sparkle
- Pre-cut lots of strips to make it easy for group crafting
- Create a paper chain countdown by labeling each link with a date
Common Mistakes & How To Avoid Them
- Using paper that's too thin - Go for mid-weight paper so the loops hold their shape
- Unbalanced colors - Plan out your red, green, and white order ahead of time
- Loose or weak staples - Press firmly or switch to glue for younger kids
- Too-short strips - Start with 6 inches (15 cm) for easy looping
- Stapling at the wrong angle - Keep the ends even so the loop lays flat
- Running out of strips mid-project - Cut extras to keep the chain going
Color, Paper Ideas, and Variations
- Red, green, and white paper - Classic christmas colors
- Patterned holiday paper - Snowflakes, Santas, reindeer, trees
- Metallic foil paper - Gold, silver, or glitter adds festive shine
- Kraft paper - For a natural, rustic holiday look
- Stamped or hand-drawn designs - Kids can decorate each link
- Countdown chain - Number each loop for December 1-25
FAQ
Yes, especially if you use stronger paper and store it carefully. But it's also a great project to remake every holiday season.
You could even add more links each year to keep it growing!
Tape, thumbtacks, or string at both ends work well. Drape it across mantels, windows, or walls.
Definitely-just allow a few seconds for drying before adding the next link.
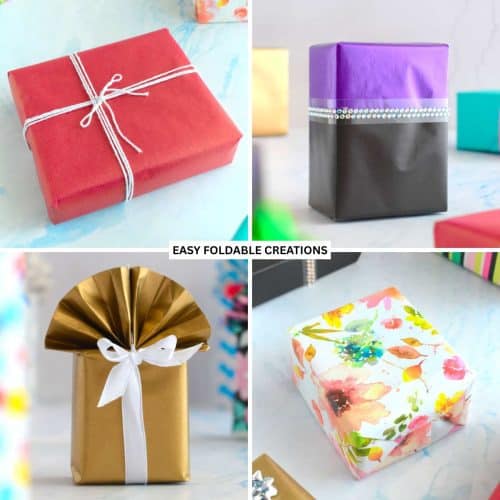
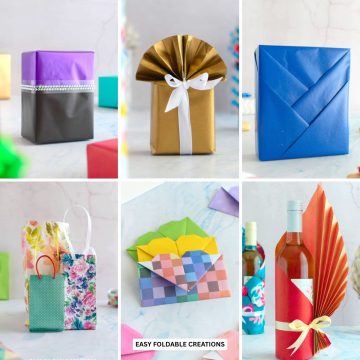
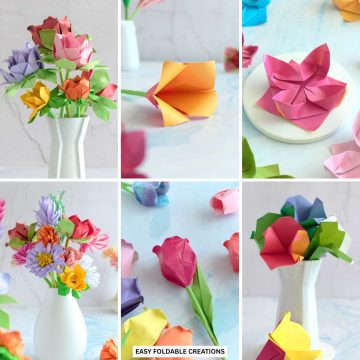
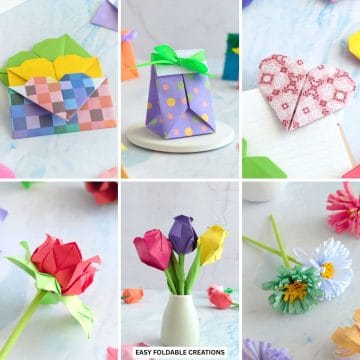
Other Crafts You Might Like To Try:
Helpful Origami Tips
If you're curious to learn more about origami, you might like to look at our basic guides on how to make some common origami folds.
Start with the valley fold and mountain fold-these are the foundation of most origami models.
Once you're comfortable, you might like to try the petal fold for 3D shapes, and explore the bird base and square base for more complex designs.
The water bomb base is also great for creating inflatable or geometric models, like this inflatable origami rabbit.
Useful Paper Craft Terms
Want to learn a little more about paper crafts and origami?
We've made this helpful printable just for you. It explains common terms and helpful tips you might come across when you are folding origami or making a paper craft project.
You can download the useful paper craft terms printable PDF here.
Stay Connected
Made this pattern? Let us know how it went in the comments below!
Pin this post - Pin now to take your paper crafting skills to the next level.
Share on Instagram or Facebook - Capture the beauty of your finished paper craft project and share it on Instagram or Facebook! Tag us @easyfoldablecreations so we can see your work!
Other Patterns You Might Like To Try:
Looking for other easy patterns like this? Try these:
- Wedding Paper Craft Ideas for Decorations, Favors And Styling
- Paper Party And Event Decor Ideas
- Seasonal Paper Crafts Ideas
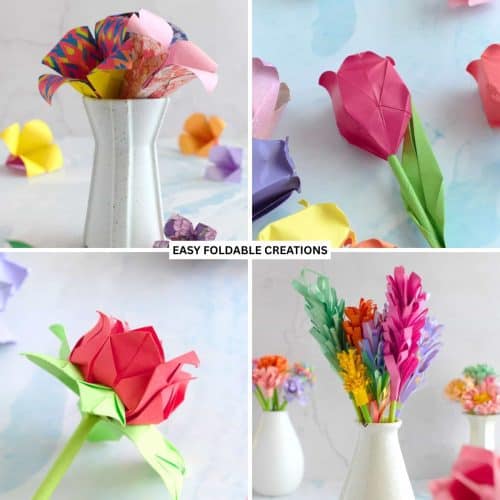
- Paper Flowers And Bouquets Ideas
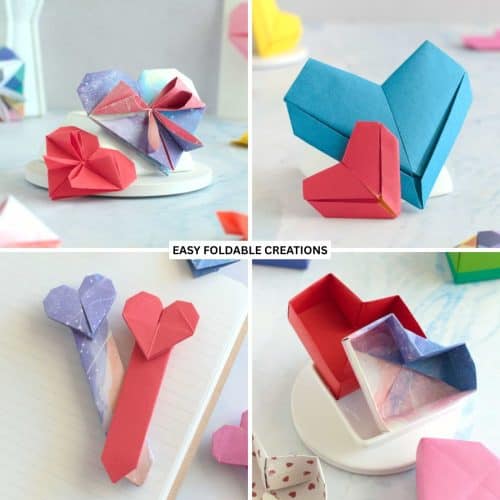
- Heart And Romantic Paper Crafts Ideas
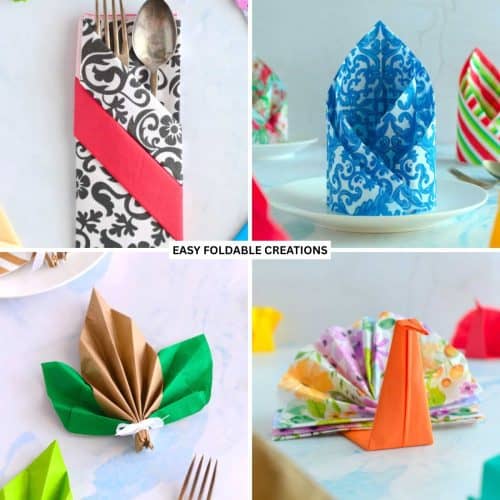
- Napkin Folding Ideas for Every Occasion (Easy and Elegant Table Ideas)
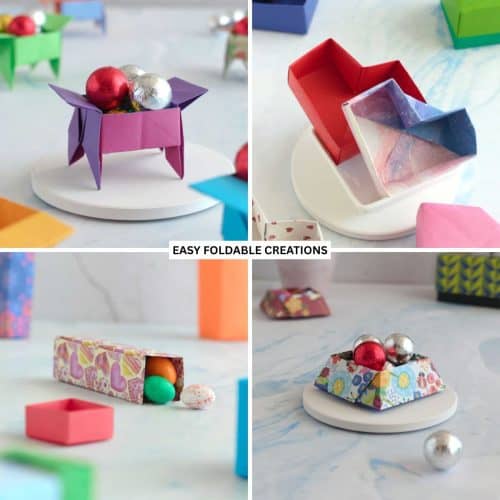
- Paper Boxes And Gift Packaging Ideas
- Gift Wrapping Ideas for Every Occasion, Weddings And Special Events

Comments
No Comments