
This simple origami wallet is made from a single sheet of rectangle paper and just a dab of glue.
It's fun, functional, and perfect for tucking in notes, gift cards, or pretend money for kids!
Great for all occasions including Father's Day, birthdays, or just because.
Jump to:
- Why You'll Love This Pattern
- Exclusive Content Just For You
- Skill Level
- Materials Needed
- Instructions
- Tips For Success
- Common Mistakes & How To Avoid Them
- Color, Paper Ideas, and Variations
- FAQ
- Other Paper Crafts You Might Like To Try:
- Helpful Origami Tips
- Useful Paper Craft Terms
- Stay Connected
- Other Patterns You Might Like To Try:
- Comments
Whether you're making a thoughtful handmade card holder, a DIY gift card pouch, or a fun pretend wallet for kids, this origami wallet is a quick, satisfying paper craft to try.
It's folded entirely from a rectangle sheet of paper - A4, US letter, or even A5 - and only needs a tiny bit of glue to help secure the final shape.
It's great for birthday party favors, teacher gifts, paper Father's Day gifts, pretend play, or even a creative way to hand out thank-you notes or Easter, Christmas, or Valentine's Day gift cards.
You can even use it as a slim, decorative storage wallet for paper items like receipts or stickers.
Use decorative paper for something fun and bold, or stick to neutral tones for a classic, clean look. Once folded, the wallet has two main compartments and closes neatly like a bifold.
Add your own decorations or labels, or leave it minimal-either way, it's super satisfying to fold and surprisingly sturdy.

Why You'll Love This Pattern
- Only one sheet of paper - No cutting needed, just folding!
- Works with common paper sizes - A4, US letter, or A5 paper all work well.
- Quick to fold - Can be finished in under 10 minutes.
- Practical and fun - Great for gift cards, messages, or pretend money.
- Customizable - Decorate, label, or add pockets as you like.
- Minimal materials - Just a dab of glue helps secure it if needed.
Exclusive Content Just For You
Not sure what you want to make next, but feeling a bit creative? Or maybe you've been searching for a pattern that sparks something new. We've got a few ideas waiting for you.
The Fold Collective, Easy Foldable Creations' community, provides you with a library of exclusive ad-free video tutorials, printable PDF patterns, helpful tips, and more so you can improve your skills and enjoy crafting in your own time.
Skill Level
★☆☆☆☆ (Very Easy)
Materials Needed
- 1 rectangle sheet of paper (A4, A5, or U.S. Letter)
- Glue or double sided tape
Note: an origami wallet made with A4 paper makes a paper wallet that is about 4 inches x 3 inches (9.5 cm x 7.5 cm).
Instructions
Step 1: Start with the color you want on the outside of your wallet facing down. Arrange your paper to sit vertically.
Step 2: Fold the bottom edge up to meet the top edge.
Step 3: Unfold previous step.
Step 4: Fold both the bottom edge and top edge in to meet the middle crease.

✨ You're almost there! ✨
To unlock the final steps of the photo tutorial and complete your pattern, create a free account with Grow.me. below.
Make sure you tick the box to subscribe to our newsletter and stay up to date with the latest patterns, tips, and more!
Once you're signed up, you'll get instant access to finish your project with the photo tutorial and enjoy exclusive content in the future.
Already signed up? Hit the button below and select 'Switch to Log In' to pick up where you left off and finish your project!
Step 5: Fold the edge of the top flap up to meet the top edge.
Step 6: Flip your paper over from left to right.
Step 7: Fold both the left and right edges of the paper in slightly, keeping it as symmetrical as possible.
Step 8: Fold the bottom edge up to meet the top edge. Then, unfold and apply some glue to the left and right edges and refold. Allow glue to dry.

Step 9: Flip your paper over from top to bottom.
Step 10: Fold the left edge to meet the right edge.
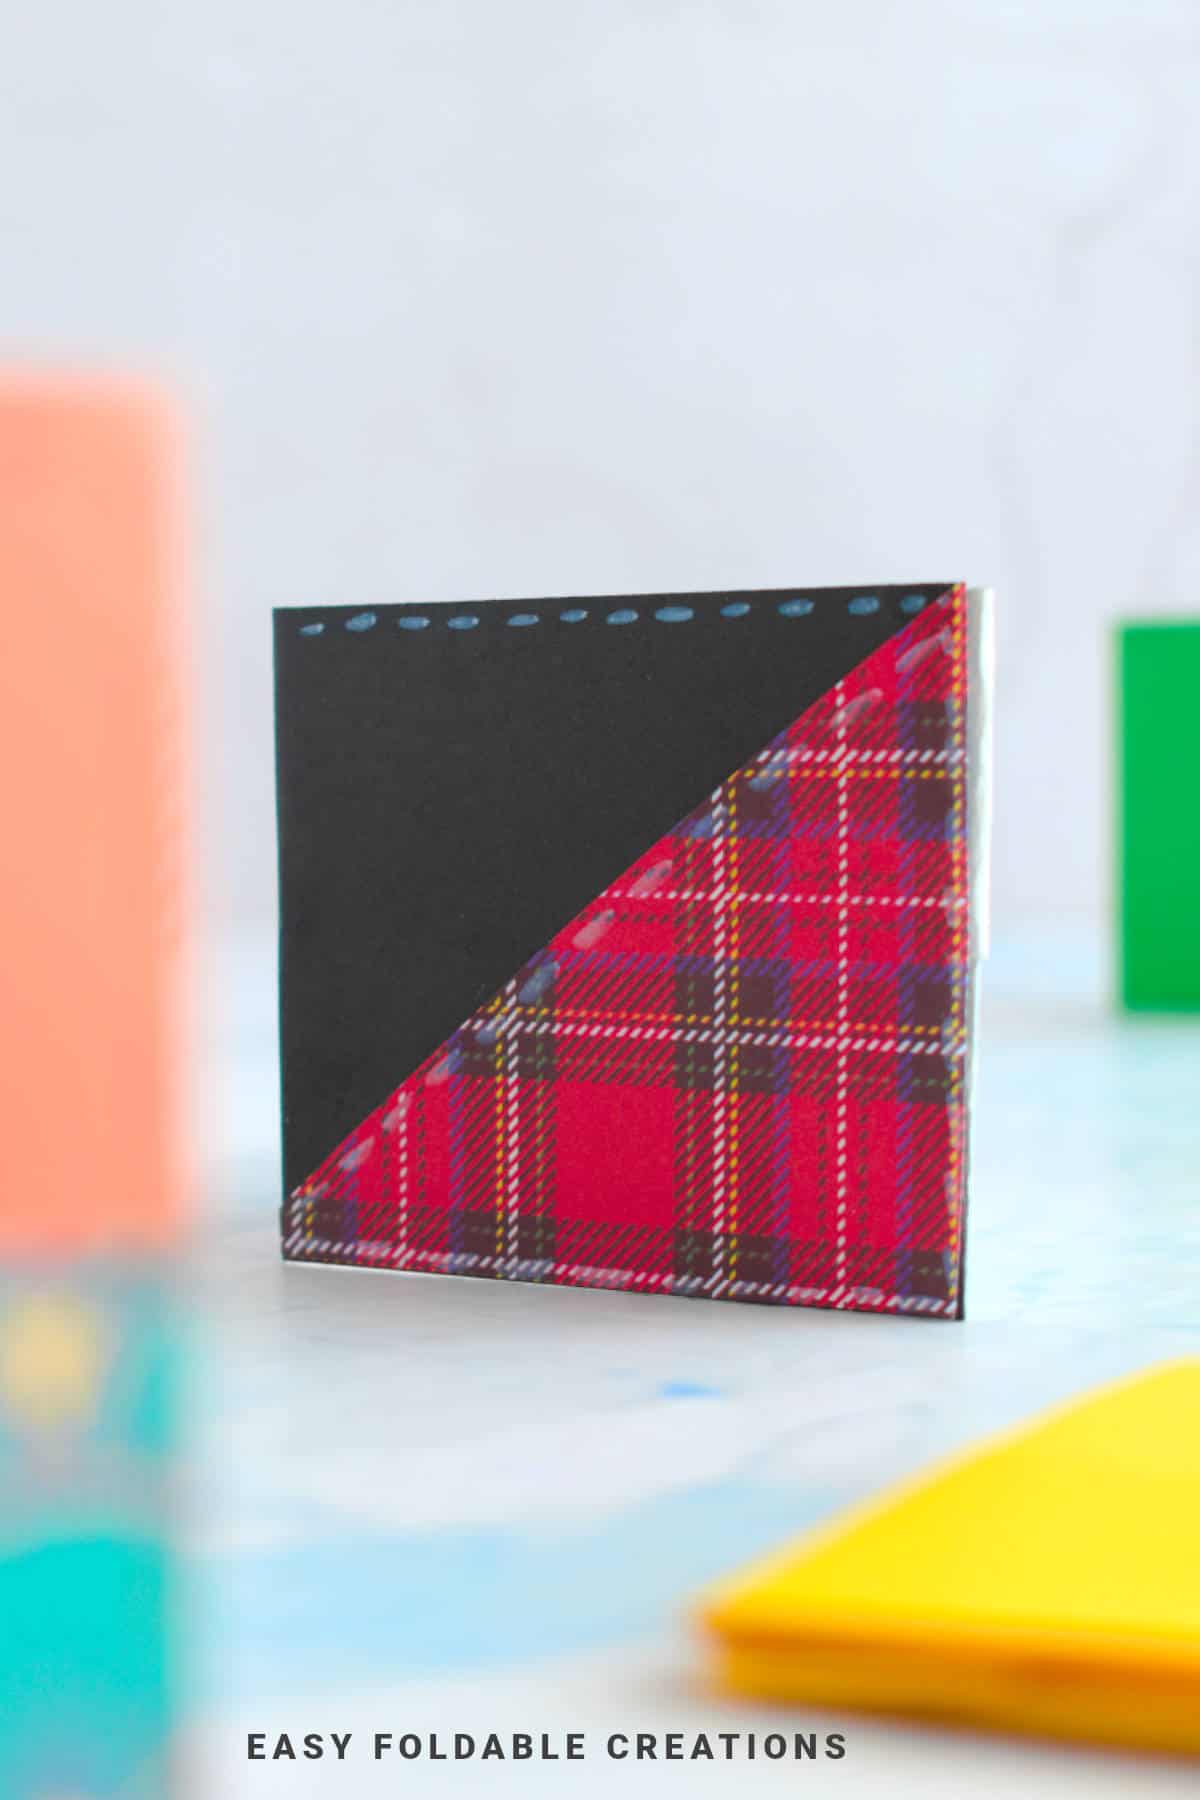
Step 11: Decorate your wallet with markers, paper, stickers, or keep it plain. Completed wallet.

Tips For Success
- Choose double-sided paper - Looks more polished when opened.
- Use a ruler - For crisp folds if your paper is thick.
- Try with recycled paper - Magazine pages or old calendars look great!

Common Mistakes & How To Avoid Them
- Paper too thick - Heavier paper may not fold cleanly; stick to 70-100gsm.
- Uneven folds - Line up edges carefully at each step for a tidy result.
- Too much glue - Use only a dab to avoid warping the paper.
- Forgetting final creases - Press each fold firmly to keep the wallet flat.
Color, Paper Ideas, and Variations
- Bright patterned paper - Great for kids' wallets or party favors.
- Metallic or foil paper - Makes a fun, gift-worthy version.
- Muted tones or kraft paper - For a minimalist, natural look.
- Themed paper - Use Christmas, Easter, or Valentine's Day paper to suit the occasion.
- Add embellishments - Stickers, drawn-on stitching, or even mini faux buttons.
- Gift card holder - Tuck a note or gift card inside for a personal touch.
FAQ
Yes, you can.
Other Paper Crafts You Might Like To Try:
Helpful Origami Tips
If you're curious to learn more about origami, you might like to look at our basic guides on how to make some common origami folds.
Start with the valley fold and mountain fold-these are the foundation of most origami models.
Once you're comfortable, you might like to try the petal fold for 3D shapes, and explore the bird base and square base for more complex designs.
The water bomb base is also great for creating inflatable or geometric models, like this inflatable origami rabbit.
Useful Paper Craft Terms
Want to learn a little more about paper crafts and origami?
We've made this helpful printable just for you. It explains common terms and helpful tips you might come across when you are folding origami or making a paper craft project.
You can download the useful paper craft terms printable PDF here.
Stay Connected
Made this pattern? Let us know how it went in the comments below!
Pin this post - Pin now to take your paper crafting skills to the next level.
Share on Instagram or Facebook - Capture the beauty of your finished paper craft project and share it on Instagram or Facebook! Tag us @easyfoldablecreations so we can see your work!

Other Patterns You Might Like To Try:
Looking for other easy patterns like this? Try these:


Comments
No Comments