
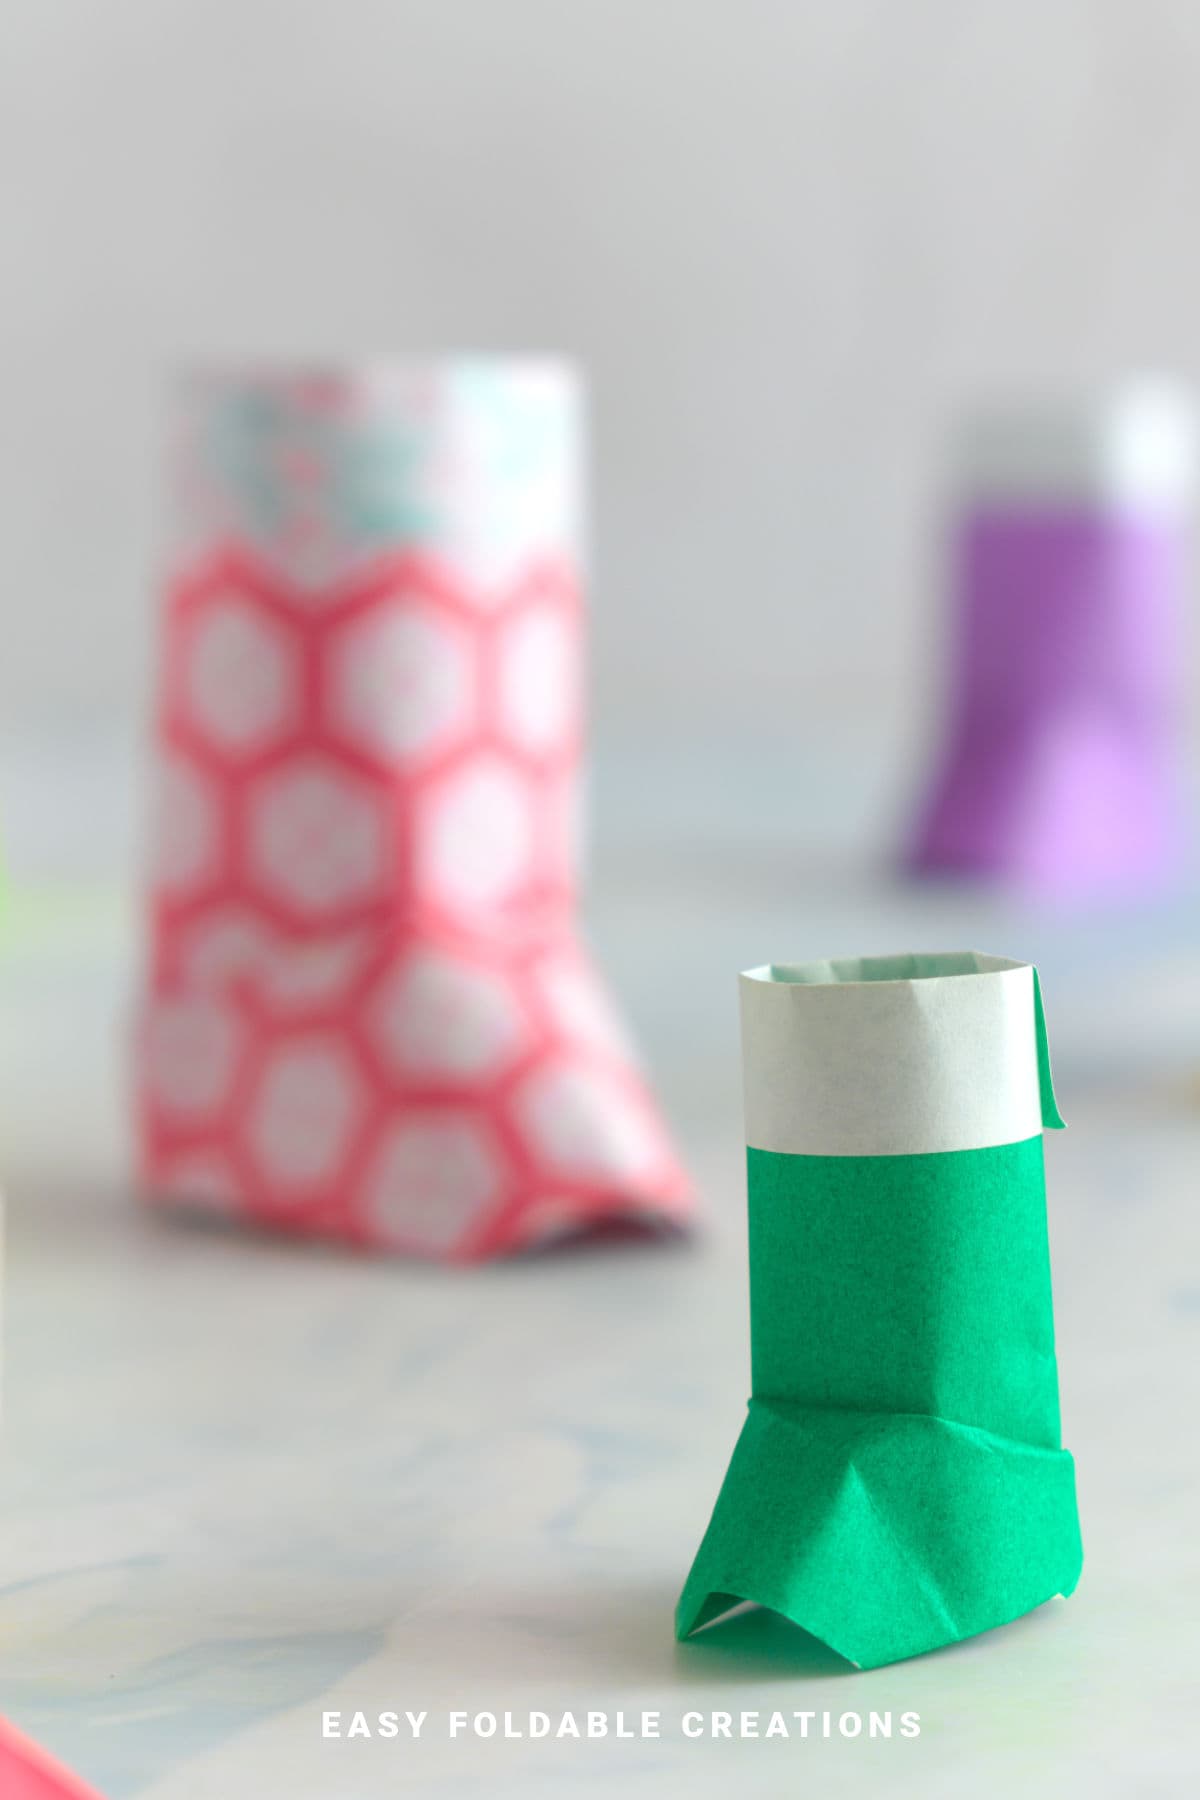
Add a festive touch to your holiday table with this charming 3D origami stocking.
It's a simple paper craft that uses just one sheet and can hold small treats like candy canes, making it perfect for Christmas gatherings and parties.

Jump to:
This 3D origami stocking is a delightful project that brings a handcrafted feel to your Christmas décor.
Whether you're hosting a family dinner, preparing holiday party favors, or looking for unique place settings, this paper craft offers a fun and approachable way to decorate.
Using just one sheet of origami paper, you can create a stocking that stands on its own and holds little treats like candy canes or chocolates.
This project is ideal for anyone who enjoys origami tutorials or step by step crafts, as it's suitable for beginners and experienced folders alike.
This stocking is especially great for Christmas, but it can also be adapted for other winter holidays or festive occasions.
The 3D design adds texture and dimension to your table, making it feel warm and inviting.
Plus, it's a wonderful alternative to traditional napkin folding when you want to add a personalized and creative touch without much hassle.
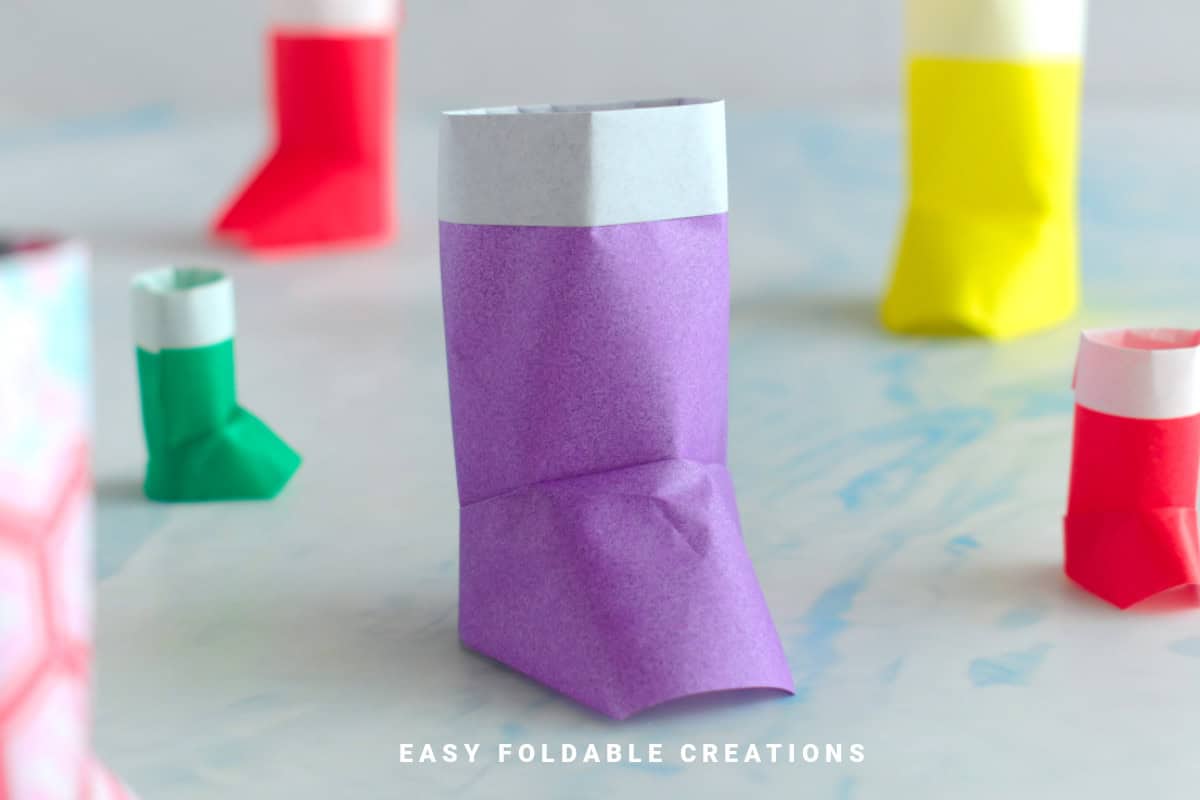
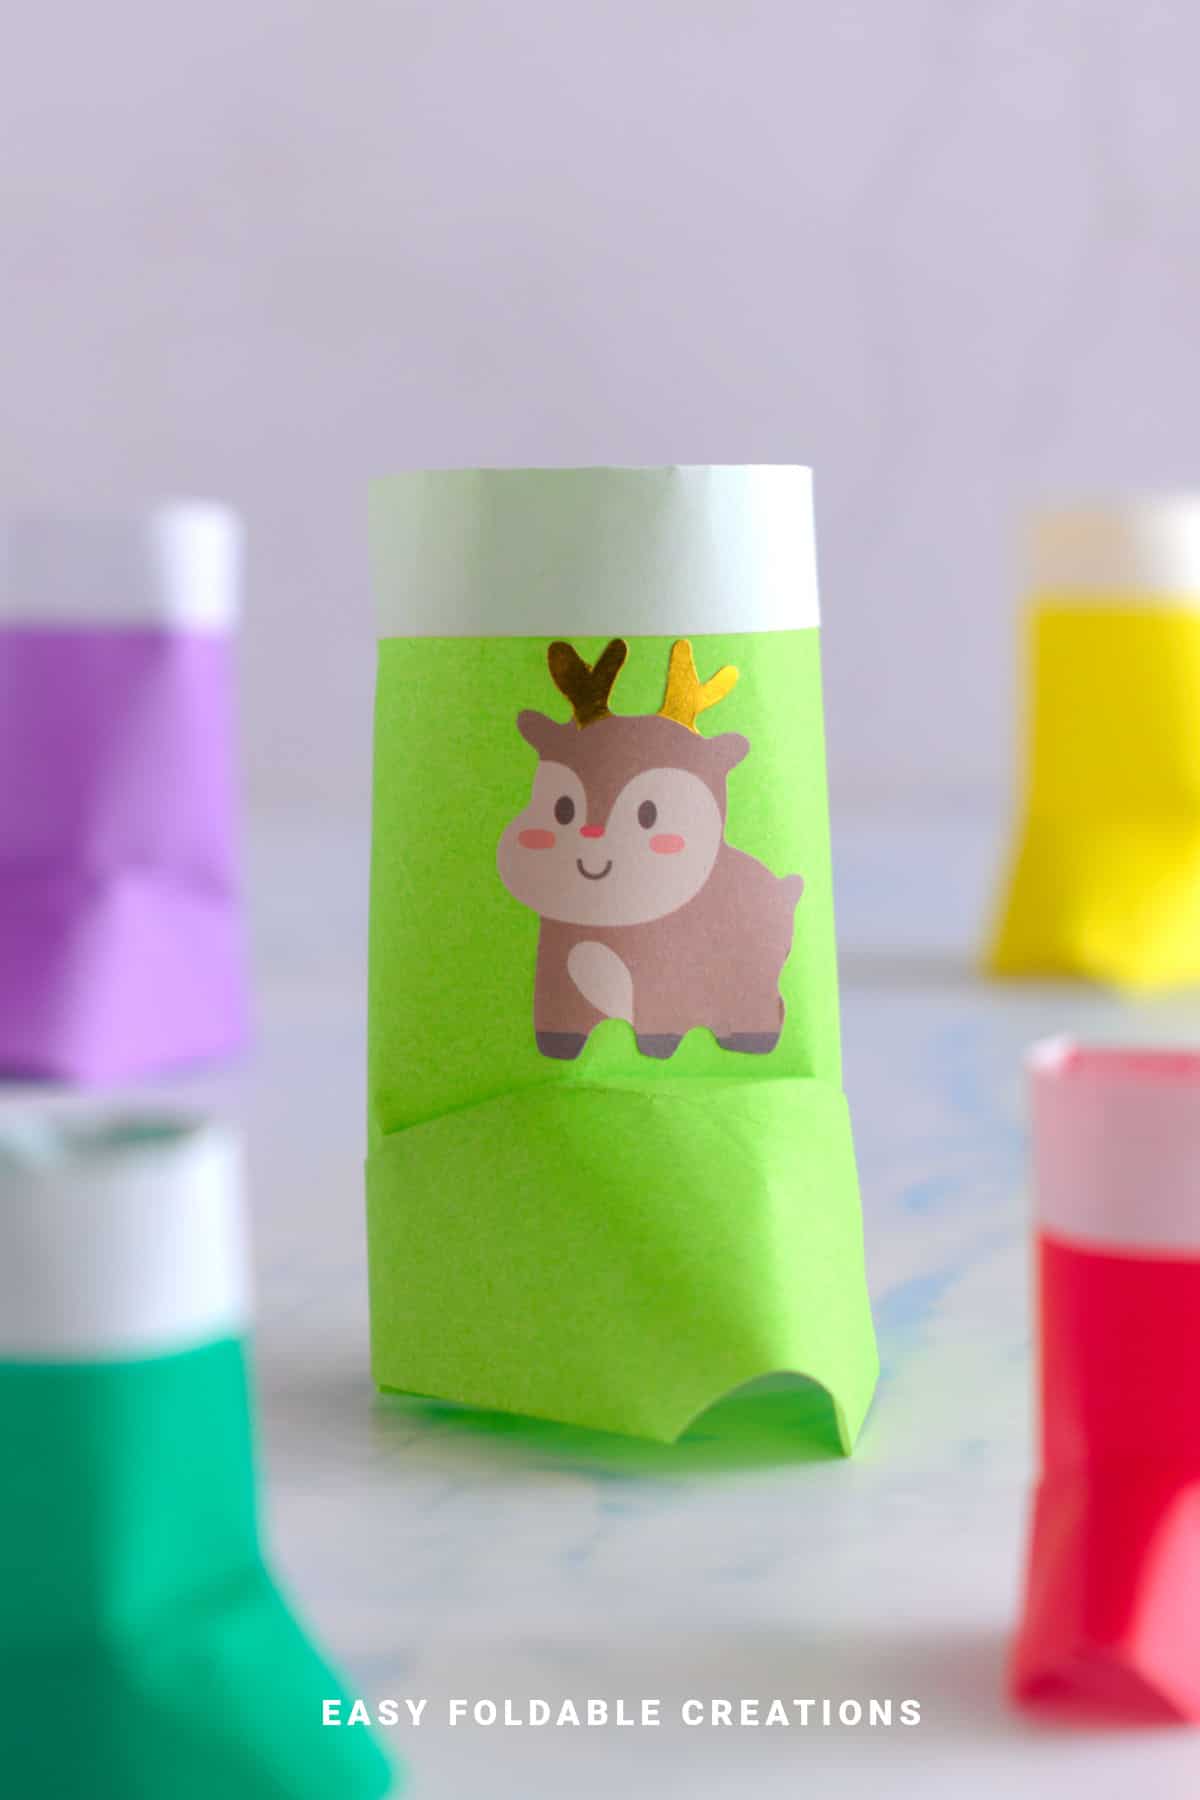
Whether you use classic red and white paper or experiment with patterns and metallic colors, this stocking fits well into any holiday theme, including Christmas dinners, office parties, or school events.
Why You'll Love This Pattern
- Uses only one sheet of paper-simple and budget-friendly
- Creates a sturdy, 3D stocking perfect for small treats like candy canes
- Great for Christmas table décor, holiday parties, or gift wrapping accents
- A step by step origami tutorial suitable for beginners and experts alike
- Adds a handmade, festive touch to any holiday celebration
Skill Level
★★☆☆☆ (Easy)
Materials Needed
1 square sheet of origami or craft paper (preferably red or patterned for a Christmas look) and white on the other side.
Instructions
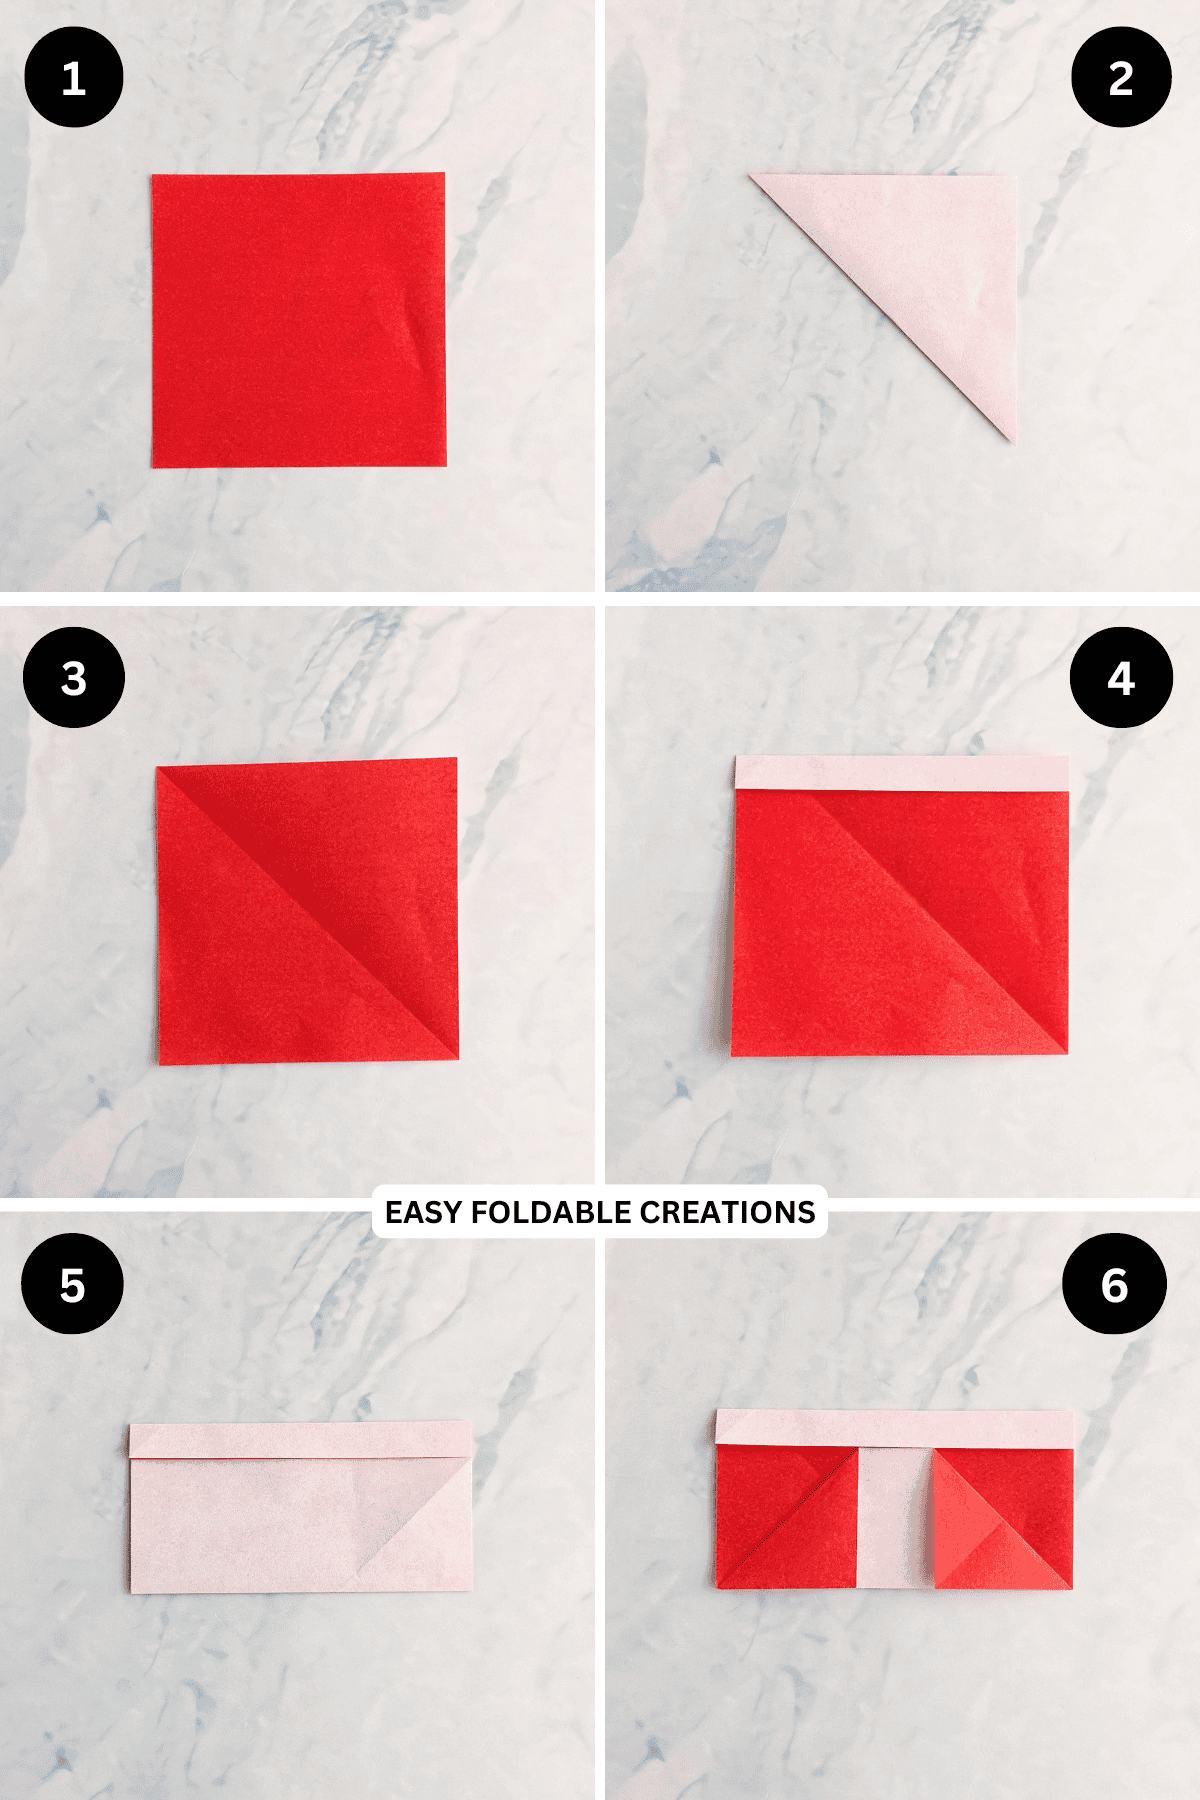
Step 1: Start with the color you want your stocking to be facing up.
Step 2: Fold the bottom left corner up to meet the top right corner.
Step 3: Unfold previous step.
Step 4: Fold the top edge down slightly. This will become the trim of your stocking.
Step 5: Fold the bottom edge up to meet the edge of the fold you made in the previous step.
Step 6: Fold both the top left and top right points of the upper layer (the flap you folded up in the previous step) down to meet the bottom edge.
✨ You're almost there! ✨
To unlock the final steps and complete your pattern, create a free account with Grow.me. below.
Make sure you tick the box to subscribe to our newsletter and stay up to date with the latest patterns, tips, and more!
Once you're signed up, you'll get instant access to finish your project and enjoy exclusive content in the future.
Already signed up? Hit the button below and select 'Switch to Log In' to pick up where you left off and finish your project!
Step 7: Fold the top left edge of the same flap down to meet the bottom edge.
Step 8: Fold the top right edge of the same flap down to meet the bottom edge.
Step 9: Lift up the bottom flap slightly, pulling the centre forward and curving it to form the toe of the stocking.
Step 10: Wrap the outer edges of the stocking backward until they meet. Then tuck the corners of one side into the other.
Step 11: Completed 3D origami Christmas stocking.

Tips For Success
- Choose paper that's not too thin to help the stocking hold its shape better.
- Use patterned or textured paper to add interest and a festive vibe.
- Experiment with different paper sizes to create a variety of stocking sizes for your décor.
Color, Paper Ideas, and Variations
- Traditional red and white with a fluffy white trim added with cotton or felt for a classic Christmas look.
- Green and gold patterned paper for an elegant holiday vibe.
- Mix and match multiple stockings in different colors and patterns to create a festive display on your table or mantel.
- Use metallic or glitter paper for a sparkling effect perfect for New Year's Eve or holiday parties.
FAQ
Regular printer paper can work but is usually too stiff or thick for smooth folding. Origami paper or lighter craft paper is best for neat folds and sturdiness.
Other Paper Crafts You Might Like To Try:
Helpful Origami Tips
If you're curious to learn more about origami, you might like to look at our basic guides on how to make some common origami folds.
Start with the valley fold and mountain fold-these are the foundation of most origami models.
Once you're comfortable, you might like to try the petal fold for 3D shapes, and explore the bird base and square base for more complex designs.
The water bomb base is also great for creating inflatable or geometric models, like this inflatable origami rabbit.
Stay Connected
Made this pattern? Let us know how it went in the comments below!
Pin this post - Pin now to take your paper crafting skills to the next level.
Share on Instagram or Facebook - Capture the beauty of your finished paper craft project and share it on Instagram or Facebook! Tag us @easyfoldablecreations so we can see your work!
Other Patterns You Might Like To Try:
Looking for other easy patterns like this? Try these:


Comments
No Comments